I’ve spent years perfecting my arepa recipe, and I’m excited to share what I’ve learned with you. These golden Venezuelan cornmeal pockets might look simple, but there’s a technique to getting that perfect crispy exterior and soft, fluffy inside. With just three ingredients and a few key tricks, you’ll be making arepas that rival any street vendor in Caracas. Let me show you exactly how it’s done.
Why You`ll Love these Authentic Venezuelan Arepas
Since I first tasted arepas in a small Venezuelan kitchen, I’ve been completely hooked on these golden, crispy cornmeal pockets.
They’re incredibly versatile, working perfectly for breakfast, lunch, or dinner. What makes them special is their simplicity—just three basic ingredients create something truly magical.
The cultural significance runs deep, as arepas have been Venezuela’s beloved staple for generations, bringing families together around the table.
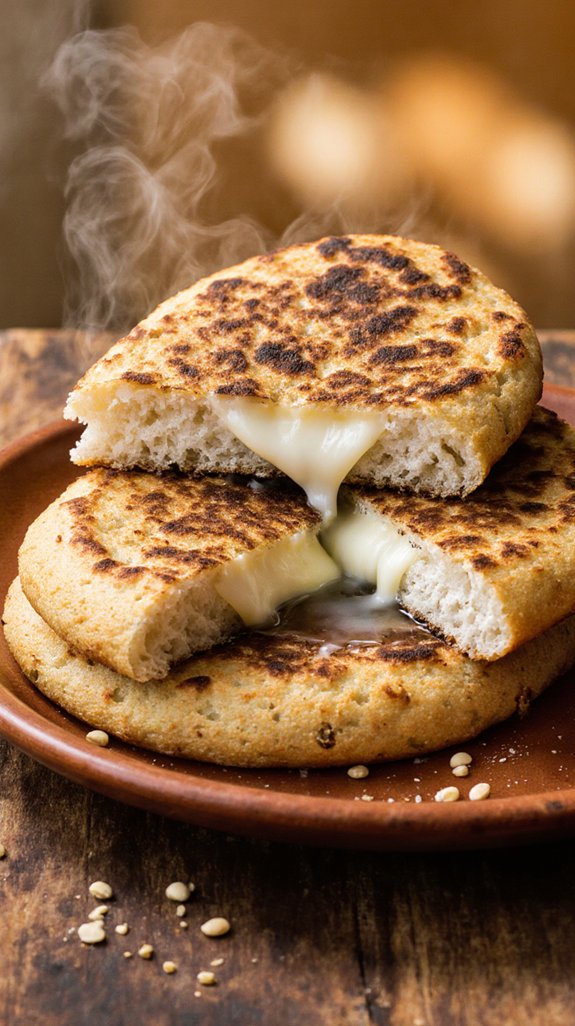
You’ll love how the crispy exterior gives way to a soft, warm center that’s ready for delicious fillings. From shredded beef to black beans, cheese to avocado, the possibilities are endless.
Best of all, they’re naturally gluten-free and surprisingly easy to make at home, even for beginners.
What ingredients are in Authentic Venezuelan Arepas?
The beauty of authentic Venezuelan arepas lies in their remarkable simplicity. Unlike many traditional dishes that require exotic or hard-to-find ingredients, arepas call for just three basic pantry staples that come together to create something extraordinary. This minimalist approach is part of what’s made arepas a daily staple in Venezuelan households for centuries, as the ingredients are affordable, accessible, and easy to keep on hand.
Ingredients:
- 4 cups water (lukewarm or cold)
- 3 cups cornflour (Harina Pan)
- 1 teaspoon salt
- Vegetable oil (for cooking)
When it comes to making authentic arepas, the type of cornflour matters considerably. Harina Pan is the traditional pre-cooked white cornmeal flour specifically designed for arepas, and it’s widely considered essential for achieving the proper texture and flavor.
While you might find other brands of pre-cooked cornmeal, Harina Pan remains the gold standard in Venezuelan kitchens. Regular cornmeal or masa harina (used for tortillas) won’t produce the same results, so it’s worth seeking out the authentic product at Latin American grocery stores or online retailers.
The water temperature can vary based on preference—some cooks swear by lukewarm water for easier mixing, while others prefer cold water.
How to make these Authentic Venezuelan Arepas
Making authentic Venezuelan arepas is a wonderfully tactile process that connects you directly with the dough, and it’s much simpler than you might expect. Start by taking a large bowl and adding your 4 cups of water (either lukewarm or cold, depending on your preference), then mix in 1 teaspoon of salt until it’s completely dissolved.
The key to success here is adding your 3 cups of cornflour gradually, a little bit at a time, to prevent those frustrating lumps from forming. Use your fingers to mix the flour into the water with circular motions, working the dough gently but thoroughly. Once all the cornflour has been incorporated, let the dough rest for exactly 5 minutes—this brief waiting period allows the flour to fully hydrate and makes the dough much easier to work with.
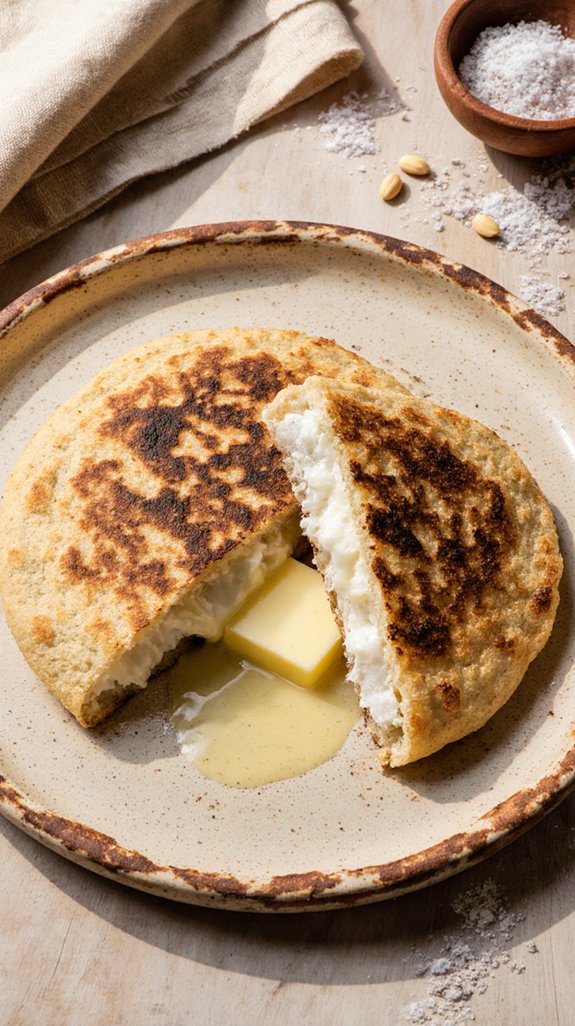
After the resting time, it’s time to shape your arepas, which is where the fun really begins. Take portions of the dough and form them into balls about the size of snowballs, then gently squeeze and flatten them between your palms until you have discs that are roughly 2 inches thick. The thickness matters because it affects how evenly they’ll cook through.
Heat an iron skillet over medium heat and add some vegetable oil, then carefully place your formed arepas in the pan. Toast them on one side until they develop a golden crust, then flip them over—being careful because they’ll be hot—and toast the other side. Investing in a premium cookware set can make a significant difference in how evenly your arepas cook and develop that perfect golden crust.
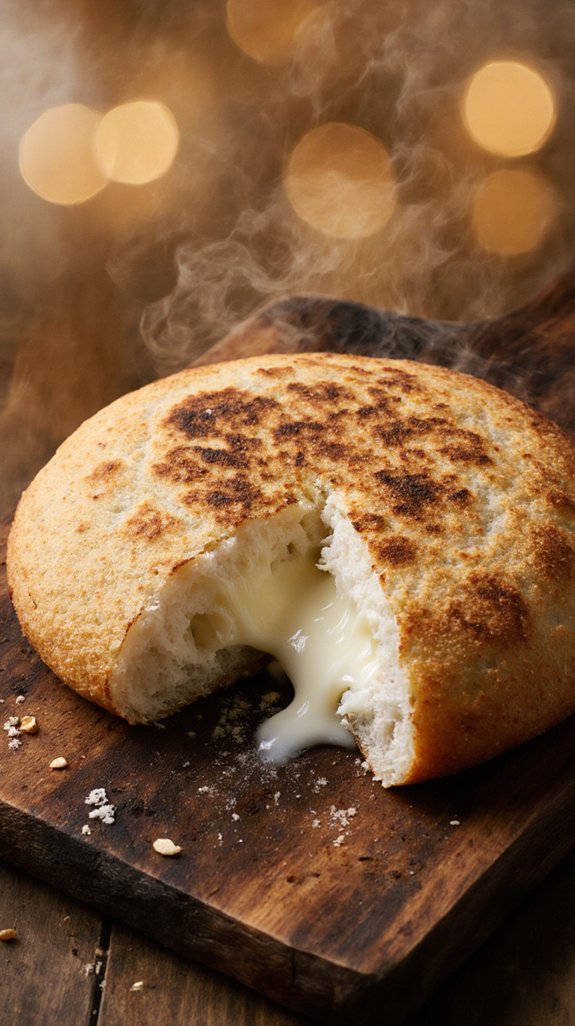
Once both sides are nicely browned and crusty, transfer the arepas to an oven preheated to 350 degrees and let them finish cooking for 20 to 30 minutes. This two-step cooking method guarantees that the outside gets crispy while the inside cooks through completely, creating that perfect contrast of textures that makes arepas so irresistible.
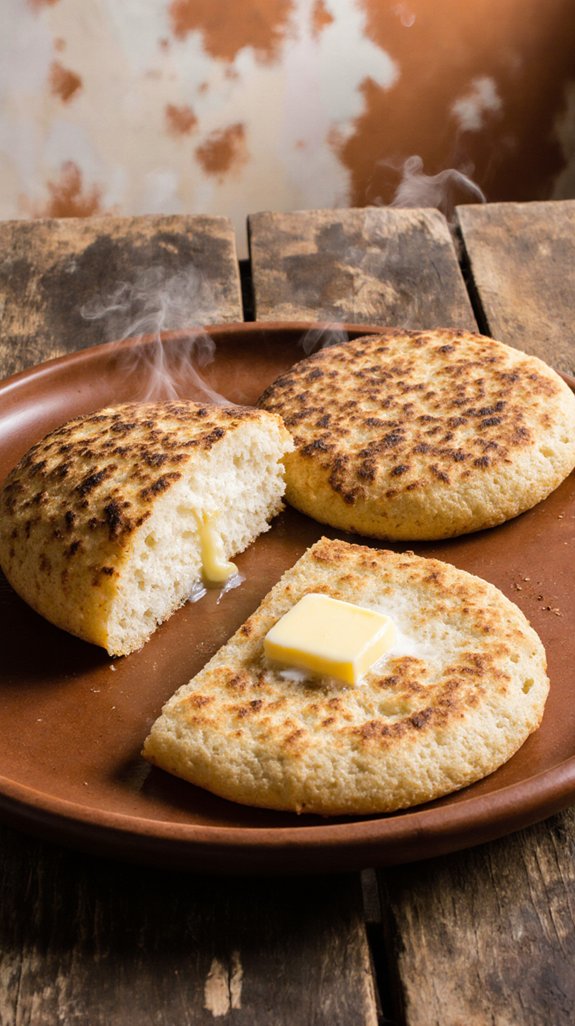
When they’re done, you can slice them open and fill them with endless possibilities like butter, cheese, ham, or whatever toppings your heart desires.
Shop Related Products
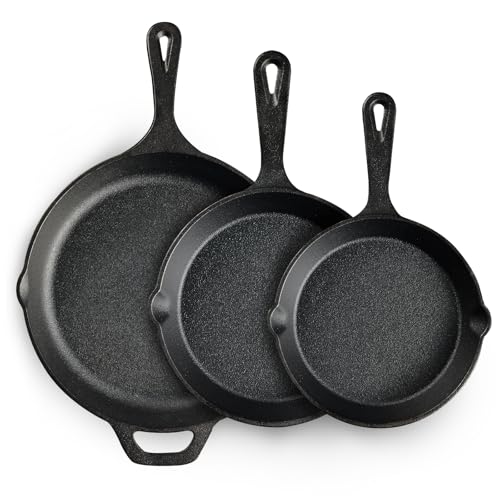
SEASONED COOKWARE FOR IMMEDIATE USE: Pre-seasons every pan with 100% natural vegetable oil, giving it a non-stick finish without synthetic chemicals, to enhance the non-stick performance and deliver authentic flavors right out of the box. The more you use your skillet, the better the seasoning becomes for effortless cooking.
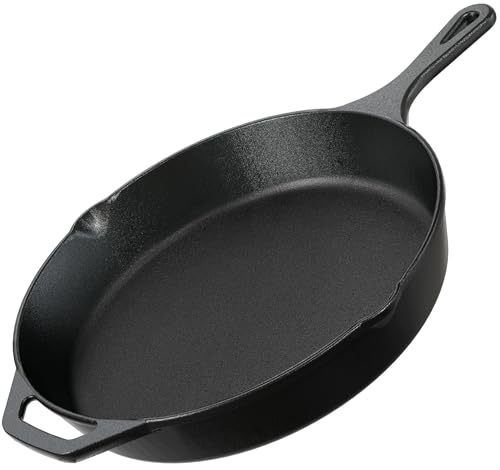
Exceptional Heat Retention: Enjoy perfectly cooked meals with cast iron skillets that provide even heat distribution, ideal for searing, frying, and baking in a 12 inch frying pan.

Versatile Cooking Skillet: The Lodge Cast Iron Skillet is a multipurpose, everyday cooking pan that excels at searing, sautéing, baking, frying, and campfire meals
Authentic Venezuelan Arepas Substitutions and Variations
While traditional arepas call for Harina Pan—the pre-cooked cornmeal that’s specifically made for this dish—you’ve got several options if you can’t find it at your local store or want to experiment with different flavors and textures.
Masarepa is another pre-cooked cornmeal that works beautifully, though regular cornmeal won’t give you the same authentic results since it hasn’t been pre-cooked.
For arepa variations, I love adding shredded cheese directly into the dough or mixing in fresh herbs like cilantro.
The real fun comes with arepa fillings, though. You can stuff them with anything from simple butter and cheese to pulled pork, black beans, avocado, or scrambled eggs.
Sweet versions with chocolate or dulce de leche are also delicious for breakfast or dessert.
Shop Related Products

THE MOST POPULAR WHITE CORN MEAL – Pre-cooked white corn meal P.A.N. from Empresas Polar is made with 100% selected White Corn which allows to obtain a soft dough ideal for the preparation of traditional Latin-American dishes. It has become one of the most popular and cherished brands of pre-cooked cornmeal

THE MOST POPULAR WHITE CORN MEAL – Pre-cooked white corn meal P.A.N. from Empresas Polar is made with 100% selected White Corn which allows to obtain a soft dough ideal for the preparation of traditional Latin-American dishes. It has become one of the most popular and cherished brands of pre-cooked cornmeal

THE MOST POPULAR YELLOW CORN MEAL – Pre-cooked yellow corn meal P.A.N. from Empresas Polar is made with 100% selected Yellow Corn which allows to obtain a soft dough ideal for the preparation of traditional Latin-American dishes. It has become one of the most popular and cherished brands of pre-cooked cornmeal
What to serve with Authentic Venezuelan Arepas
Since arepas are incredibly versatile and work for any meal, I like to pair them with sides that complement their slightly sweet corn flavor and sturdy texture.
For breakfast, I serve them alongside scrambled eggs, fresh avocado slices, and black beans. The creamy avocado balances the arepa’s dense texture beautifully.
When I’m making lunch or dinner, I’ll add a simple mixed green salad with a lime vinaigrette, or plantain chips for extra crunch. Side dishes like Colombian-style chicken soup or shredded beef stew also work wonderfully.
The best part about arepa toppings is that you can get creative—try them with cheese, ham, or pulled pork. Since they’re naturally filling, I find that light, fresh sides work best to round out the meal without making it too heavy.
Final Thoughts
Arepas have earned their place as one of my favorite recipes to make at home because they’re forgiving, customizable, and bring people together around the table.
The arepa history spans centuries across Venezuela and Colombia, where these corn cakes have fed families through countless generations.
I love how this simple recipe respects that tradition while allowing room for creativity.
My cooking tips boil down to three essentials: don’t skip the resting time for your dough, maintain medium heat to avoid burning, and always finish them in the oven for that perfect texture.
Whether you fill them traditionally or experiment with new combinations, you’re participating in a delicious cultural legacy that’s meant to be shared and enjoyed together.
Frequently Asked Questions
Can I Freeze Arepa Dough or Cooked Arepas for Later Use?
I’ll share helpful freezing techniques and storage tips with you. You can absolutely freeze both uncooked arepa dough and cooked arepas. I recommend wrapping them individually in plastic wrap, then storing in freezer bags for up to three months.
How Do I Know When the Arepa Is Fully Cooked Inside?
I know the arepa’s fully cooked when it sounds hollow after tapping it. The arepa texture should feel firm outside with a fluffy interior. My cooking tips: they’ll puff slightly and develop a golden crust when done.
What’s the Difference Between Venezuelan Arepas and Colombian Arepas?
I’ve found that Venezuelan arepas typically use white cornmeal and are thicker, stuffed with various ingredients. Colombian arepas often incorporate cheese directly into the dough and feature different toppings, making them thinner and crispier.
Can I Make Arepas Without an Oven Using Only Stovetop?
Yes, I can make arepas using only stovetop cooking! I’ll toast them longer on each side over medium-low heat until they’re cooked through. Many arepa variations are traditionally made this way without ovens.
How Long Do Cooked Arepas Stay Fresh at Room Temperature?
I don’t recommend room temperature arepa storage for more than 2 hours. After cooking, they should be refrigerated to prevent bacterial growth. For best food safety, I’d store them in the fridge within that timeframe.