I’ve discovered that mastering a perfect beef tenderloin doesn’t require culinary school training or complicated techniques. What it does need is understanding a few critical steps that’ll transform this premium cut into something your guests won’t stop talking about. The difference between a good tenderloin and an exceptional one comes down to temperature control, proper seasoning, and one often-overlooked step that changes everything.
Why You`ll Love this Perfect Beef Tenderloin
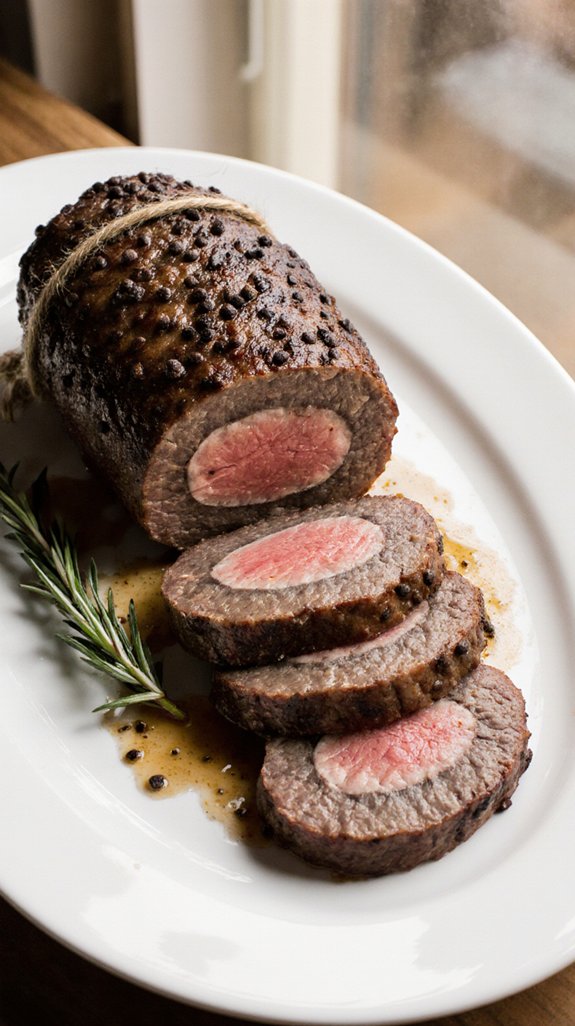
This recipe transforms an elegant cut of meat into an impressive centerpiece that’s surprisingly simple to prepare.
I love how the natural tenderloin tenderness shines through with minimal fuss. You’ll appreciate that it requires just four ingredients and straightforward cooking techniques, making it perfect for both seasoned cooks and beginners.
The olive oil creates a beautiful crust while keeping the meat moist, and the garlic salt provides excellent flavor enhancement without complicated seasonings.
What really excites me is the consistent results—following the timing guide guarantees your roast comes out exactly how you want it.
Plus, there’s something deeply satisfying about serving such an impressive dish that actually gave you time to enjoy your guests instead of being stuck in the kitchen all evening.
What ingredients are in Perfect Beef Tenderloin?
The beauty of this perfect beef tenderloin lies in its elegant simplicity, requiring only four basic ingredients that work together to enhance the meat’s natural flavors. Each component plays a specific role in creating the golden exterior and juicy interior that makes this dish so memorable.
- 3-4 lbs beef tenderloin, trimmed and tied
- Olive oil
- Garlic salt
- Fresh coarse ground black pepper
When selecting your ingredients, quality matters greatly. Choose a well-marbled tenderloin from a trusted butcher, and ask them to trim and tie it for you if you’re not comfortable doing it yourself. The tying guarantees even cooking throughout the roast.
For the olive oil, use a good-quality extra virgin variety that can withstand high heat while adding subtle flavor. Fresh coarse ground black pepper provides better texture and taste than pre-ground options, and the garlic salt serves double duty by seasoning and helping to form that desirable crust.
Don’t skimp on these simple ingredients—since there are so few, each one’s quality will be noticeable in the final dish.
How to make this Perfect Beef Tenderloin
Making this perfect beef tenderloin is invigoratingly straightforward, and the process itself is almost as simple as the ingredient list. Start by preheating your oven to 325°F, which is the ideal temperature for achieving that beautiful balance between a caramelized exterior and a tender, perfectly cooked interior.
While the oven heats up, take your 3-4 lbs beef tenderloin (already trimmed and tied) and generously smear the outside with olive oil—don’t be shy here, as the oil helps create that gorgeous golden crust we’re after. Once the tenderloin is well-coated, sprinkle it liberally with garlic salt and fresh coarse ground black pepper, making sure to cover all sides evenly. The garlic salt will penetrate the meat slightly while roasting, and the pepper will add a pleasant bite to complement the beef’s rich flavor.
Place your seasoned tenderloin on a broiler pan and slide it into the preheated oven. Now comes the vital part: timing. For rare beef, you’ll want to roast for 15 minutes per pound, while medium rare requires 20 minutes per pound. This means a 4-pound tenderloin would need 60 minutes for rare or 80 minutes for medium rare.
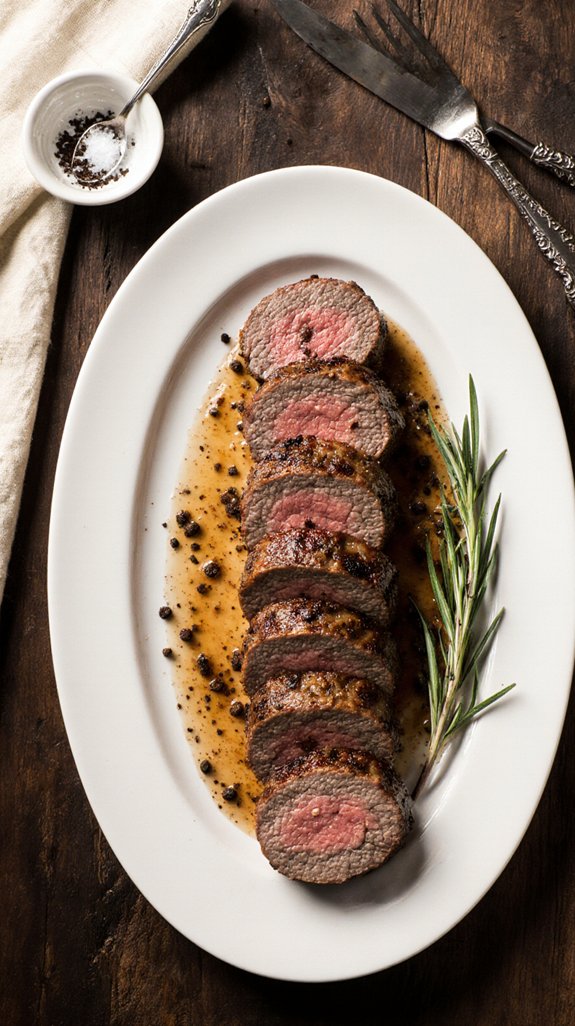
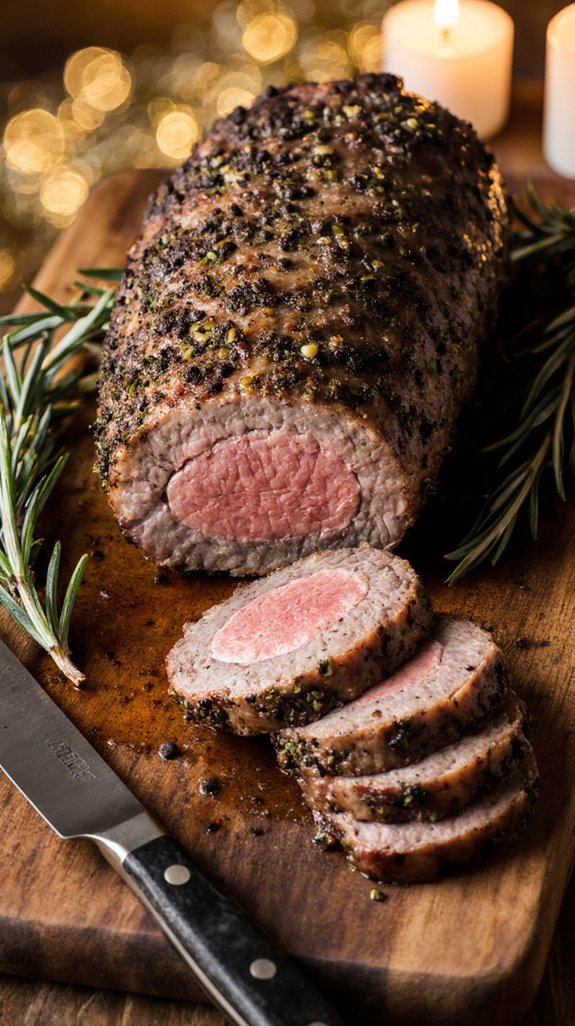
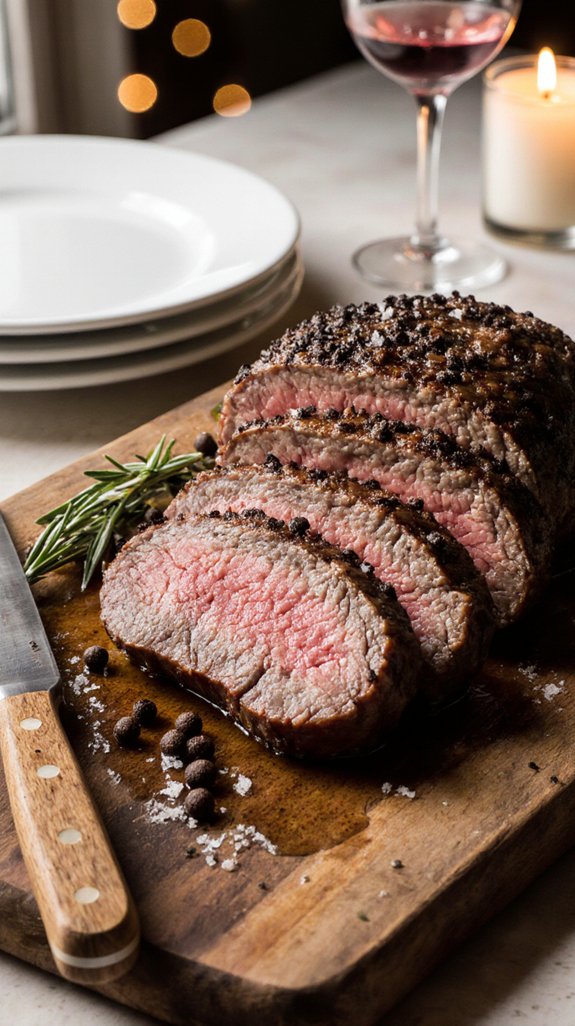
Keep in mind that these times are guidelines, and using a meat thermometer is always a smart move to guarantee you hit your desired doneness. Once the tenderloin comes out of the oven, resist the temptation to slice into it immediately. Instead, let it rest for 10-15 minutes before carving.
This resting period allows the juices to redistribute throughout the meat, guaranteeing every slice is moist and flavorful rather than dry. When you’re ready to serve, carve the tenderloin into thick slices and watch your guests’ eyes light up at the sight of that perfectly pink interior. For consistently excellent results every time you prepare this dish, consider investing in premium cooking appliances that maintain precise temperature control throughout the roasting process.
Shop Related Products
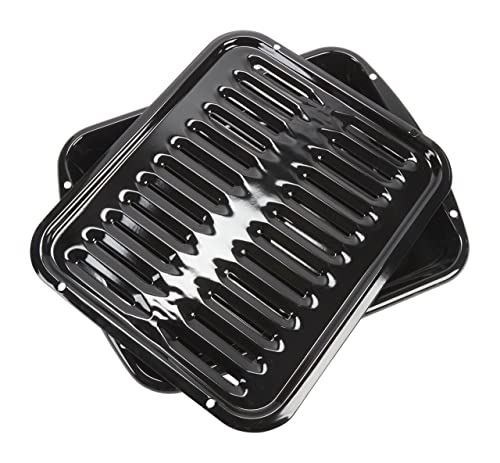
GENUINE OEM QUALITY: Whirlpool Genuine OEM broiler pan is designed for compatible ranges and ovens to help support proper fit, dependable performance, and the quality standards your appliance was built for

Two-piece broiler pan: set features a perforated top rack that maximizes heat circulation; ensuring even cooking and a crispy finish; while the bottom drip pan catches excess oil and juices; reducing smoke and preventing burning - perfect for grilling steaks; chicken; fish; and vegetables
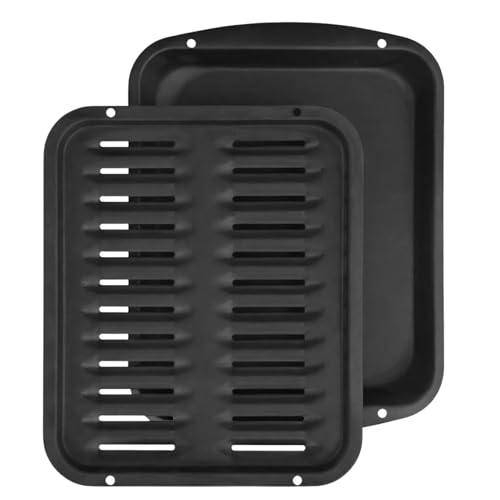
SOLIDLY BUILT: Our broiler pan for oven will withstand high temperatures and wont warp even under direct high heat from the broiler
Perfect Beef Tenderloin Substitutions and Variations
While beef tenderloin stands beautifully on its own with just olive oil, garlic salt, and pepper, you’ve got plenty of room to experiment with different flavors and ingredients that can transform this classic into something uniquely your own.
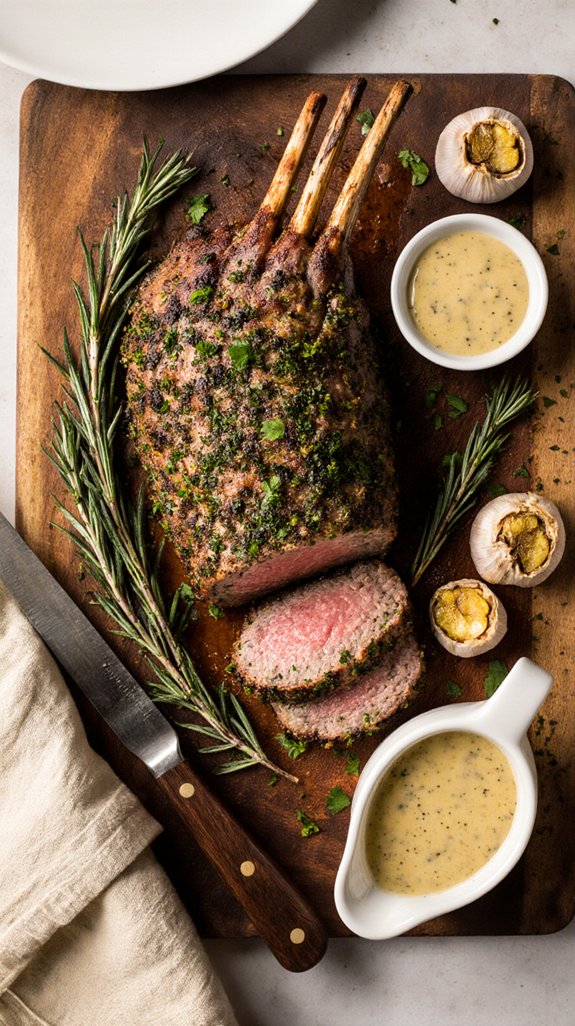
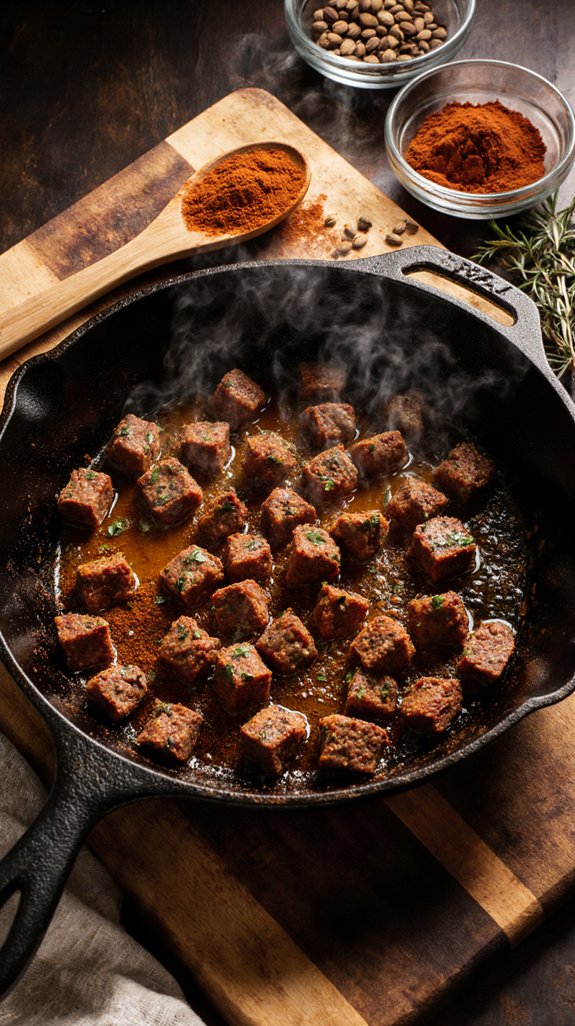
I love adding an herb crust made from fresh rosemary, thyme, and parsley mixed with garlic and breadcrumbs, which creates an incredible texture and aroma. You can also try different spice rubs featuring paprika, cumin, or even coffee grounds for a bolder profile.
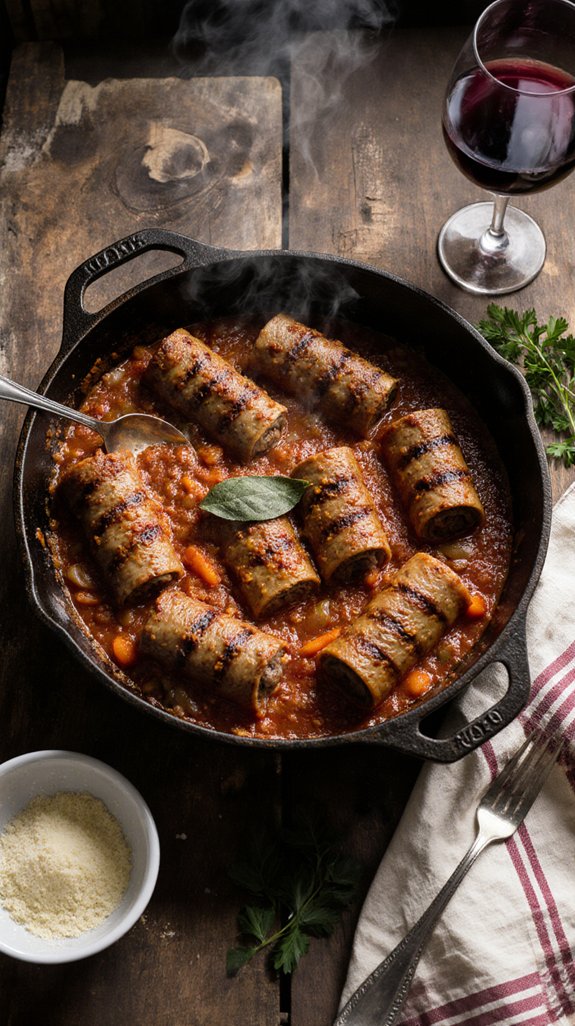
Don’t forget about sauce variations to serve alongside your tenderloin. A red wine reduction, creamy horseradish sauce, or chimichurri can elevate every bite.
The possibilities truly match your creativity and taste preferences.
Shop Related Products

CHEF’S KISS: Explore our Italian Seasoning Gift Box, a handpicked collection of 12 spices inspired by the vibrant flavors of Italy. Crafted with care by our small team, this set includes a delightful mix of traditional Italian herbs like basil, oregano, and thyme, alongside aromatic favorites such as rosemary, parsley, and sage. Sprinkle in a kick of heat with red chili and black pepper, while garlic and onion add depth to every dish. Elevate your cooking game with our carefully curated selection, perfect for adding a taste of Italy to your culinary adventures!

With Char Crust premium dry-rub seasonings, anyone can create restaurant quality steaks, burgers, chops, chicken and seafood at home in two easy steps - just coat and then grill, roast, bake, pan sear, smoke or air fry.

Seals In the Juices: Only Char Crust creates our signature seasoned crust that seals in natural juices and delivers chef-quality results in just one step. Juicy, flavorful, perfect every time.
What to serve with Perfect Beef Tenderloin
Now that you’ve got your perfectly seasoned tenderloin ready to roast, you’ll want to think about the sides that’ll complete your meal.
I always pair mine with creamy mashed potatoes or roasted garlic Brussels sprouts, which balance the rich beef beautifully. For wine pairings, I recommend a bold Cabernet Sauvignon or Merlot that complements the tenderloin’s robust flavor.
Classic side dishes like green beans almondine, scalloped potatoes, or a fresh Caesar salad work wonderfully too. Don’t forget a good horseradish sauce or garlic butter on the side for extra flavor.
The key is choosing sides that won’t overpower your star ingredient. Keep things simple, and you’ll have a restaurant-quality meal that’ll impress everyone at your table.
Final Thoughts
Roasting a beef tenderloin doesn’t have to be intimidating once you understand the simple techniques that make it foolproof.
I’ve found that the key lies in mastering basic cooking techniques like proper seasoning, accurate temperature control, and allowing adequate resting time. These straightforward steps transform a premium cut into an unforgettable centerpiece that’ll impress your guests every single time.
The beauty of this recipe is its versatility with flavor profiles. While I love the classic combination of garlic salt and black pepper, you can easily adapt the seasonings to match your preferences or complement your menu.
Whether you’re celebrating a holiday, hosting a dinner party, or simply treating yourself to something special, this tender, juicy roast delivers restaurant-quality results right from your own kitchen.
Frequently Asked Questions
How Do I Know When the Beef Tenderloin Is Done Without a Thermometer?
I’ll use the touch test to check doneness indicators. I press the meat’s center gently—it should feel soft and yielding for rare, slightly firmer for medium-rare. I also observe the juices running clear when pierced.
Can I Prepare the Beef Tenderloin Ahead of Time and Refrigerate It?
Yes, I can prepare the beef tenderloin ahead of time. I’ll rub it with olive oil and seasonings, then refrigerate it for up to 24 hours. This marinating option actually enhances flavor while providing convenient preparing ahead flexibility.
Should I Sear the Tenderloin Before Roasting in the Oven?
I don’t recommend searing for this recipe since it’s designed for straightforward roasting. However, searing benefits include enhanced flavor and crust. If you prefer searing techniques, quickly brown all sides in a hot skillet before roasting.
How Long Can Leftovers Be Stored in the Refrigerator?
I’d store leftover beef tenderloin in the refrigerator for 3-4 days maximum. For proper food safety and leftover storage, I’ll wrap it tightly in aluminum foil or place it in an airtight container to maintain freshness and prevent contamination.
What’s the Best Way to Slice Beef Tenderloin for Serving?
I’ll slice beef tenderloin against the grain in half-inch medallions using a sharp knife. For presentation tips, I arrange slices on a warm platter, slightly overlapping them. These slicing techniques guarantee tender, beautiful portions.