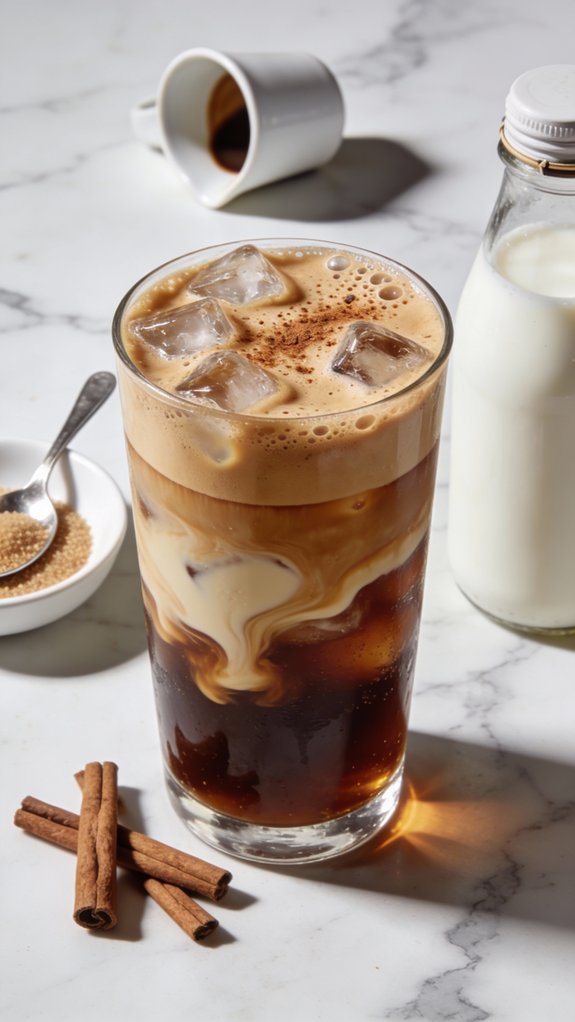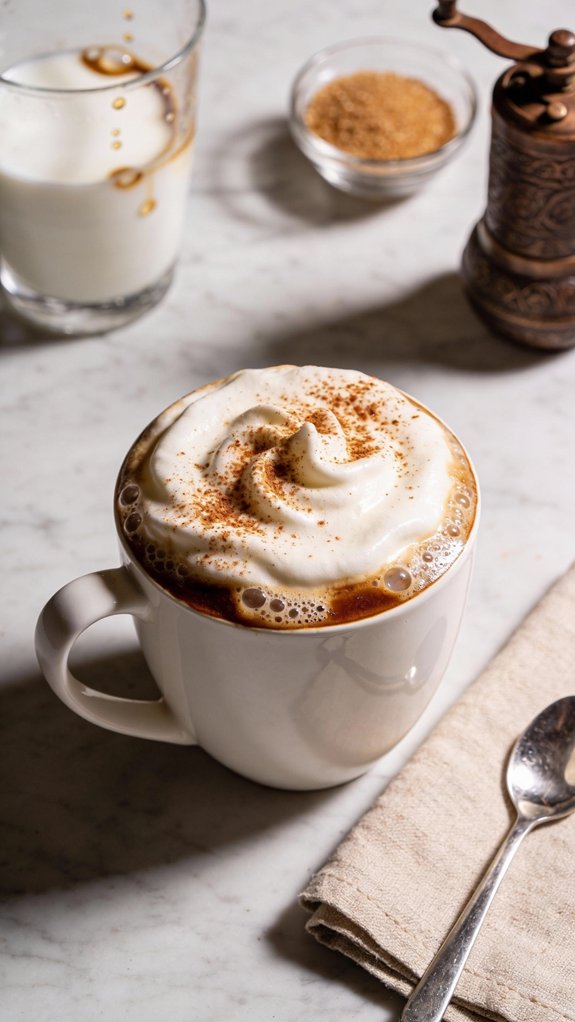
Last summer, my friend Maya showed up to our patio hangout with mason jars of iced coffee she’d whipped up in her kitchen, and I couldn’t believe something that smooth came from instant Nescafe. You’ve probably walked past those jars of instant coffee a hundred times, thinking they’re just for desperate mornings. But here’s the thing—with the right method, you can turn those dusty granules into something worth sipping slowly while the ice melts into sweet, creamy swirls.
History
While instant coffee might seem like a modern convenience, Nescafe actually pioneered the category back in 1938 when Nestlé introduced it to the world. The Swiss company developed it to help Brazil use their coffee surplus, creating a powder that dissolved instantly in water.
During World War II, American soldiers relied on instant coffee in their rations, which really popularized it back home. Iced coffee itself has been around since the 1800s, but combining it with instant coffee made cold drinks accessible to everyone.
You didn’t need fancy equipment or barista skills anymore. Just mix, pour over ice, and you’re done. This simplicity transformed how people enjoyed coffee during hot weather, making invigorating caffeinated drinks a daily possibility rather than an occasional treat.
Recipe
This invigorating Nescafe iced coffee delivers a smooth, bold coffee flavor with creamy sweetness that’s perfect for warm weather or anytime you need a cold caffeine boost.
The instant coffee dissolves quickly in water, creating a robust base that holds up beautifully against ice without becoming diluted or watery.
Best enjoyed during hot summer afternoons, as a midday pick-me-up, or as a quick breakfast beverage when you’re short on time.
This recipe comes together in under five minutes and offers the satisfying taste of your favorite iced coffee shop drink right at home.
Shop Related Products
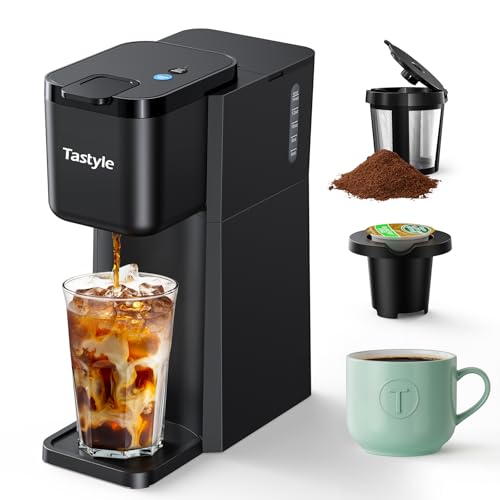
Space-saving & Lightweight: Mini and slim, perfect for home, travel, RV, office, dorm and hotel.

Heavy Duty Glass Pitcher: Crafted from high-quality, food-grade soda-lime glass with a thickness of 4.15mm, this heavy-duty pitcher feels solid and well-balanced in hand. Break-resistant and built to last, it preserves the taste of your drinks better than plastic. Perfect for cold brews, iced teas, juices, and more, this pitcher’s compact design fits easily in most fridge doors. Trusted by over 300,000 coffee enthusiasts, JunVpic Cold Brew Coffee Maker is the perfect addition to your kitchen.

【BOLD SETTING】Enjoy two flavor options with strength selection: standard or stronger brew for both iced and hot coffee.
Ingredients
- 2 tablespoons Nescafe instant coffee
- 2 tablespoons sugar
- 2 tablespoons hot water
- 1 cup cold milk
- Ice cubes
Shop Related Products

FRESHNESS-PRESERVING CONTAINER: The Prontocaffé mocha coffee dosage allows you to preserve the freshness and aroma of coffee away from light, oxygen and moisture and has the dual function of a coffee jar and coffee dispenser.

【2.5G PER PRESS COFFEE DISPENSER】 The pump mechanism dispenses approximately 2.5g of instant coffee with each press, helping you prepare a more consistent cup without repeatedly using a coffee scoop or coffee measuring cup. Simply press the lever to release coffee directly into your mug.

CNWSGEM Glass sealed storage jars are made of food-grade, high-quality borosilicate glass and are BPA-free and lead-free for safe storage of food. Its lid is made of environmentally friendly bamboo and food-grade silicone rings, and comes with a gold-plated hoop handle for easy use. We are also equipped with a bamboo spoon to scoop up food.
Instructions
- Add the Nescafe instant coffee, sugar, and hot water to a glass or shaker.
- Stir or shake vigorously for about 30 seconds until the mixture becomes frothy and all the granules are completely dissolved.
- Fill a tall glass with ice cubes.
- Pour the cold milk over the ice.
- Pour the coffee mixture over the milk and ice, stirring gently to combine.
Tips
Adjust the sweetness by reducing the sugar to 1 tablespoon or increasing it to 3 tablespoons depending on your preference.
Any type of milk works well in this recipe, including whole milk, skim milk, oat milk, almond milk, or coconut milk for dairy-free options.
For a stronger coffee flavor, increase the Nescafe to 3 tablespoons, or for a lighter version, reduce it to 1.5 tablespoons.
You can prepare the coffee-sugar mixture in advance and store it in the refrigerator for up to 3 days, then simply pour it over milk and ice when ready to serve.
Preparation Steps
Making this iced coffee is easier than you’d think, and I’ve probably prepared it a hundred times on rushed mornings.
You’ll start by combining the Nescafe, sugar, and hot water in a glass or shaker, then shake it hard for about 30 seconds until it turns frothy and smooth.
Once that’s ready, you’ll fill your glass with ice, pour in the cold milk, and top it off with your coffee mixture to create a drink that rivals anything from a coffee shop.
Step 1. Mix Coffee, Sugar, Water
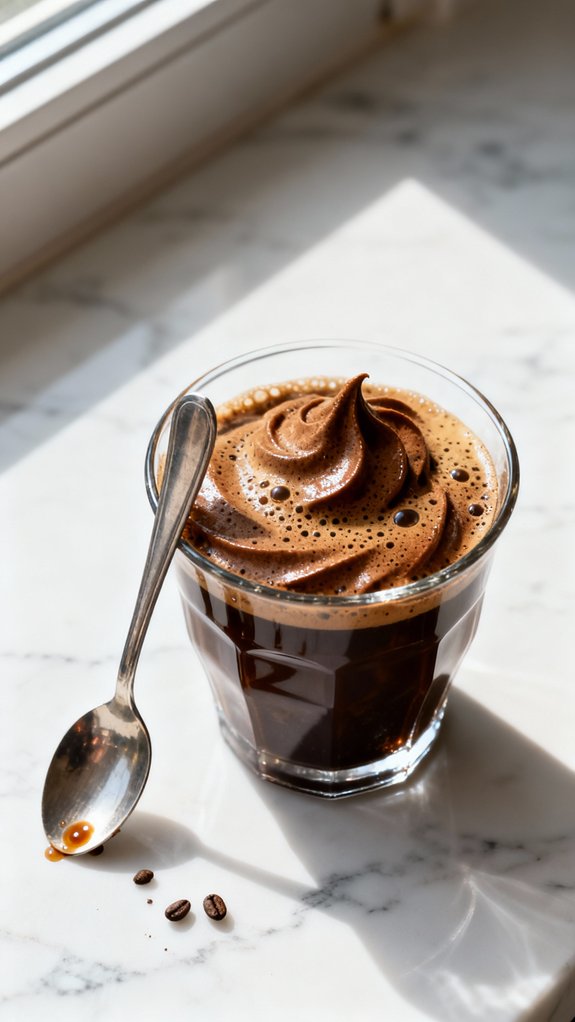
The foundation of great iced coffee starts in a small bowl or sturdy glass where three simple ingredients come together.
You’ll combine two tablespoons each of Nescafe instant coffee, sugar, and hot water. I usually grab whatever’s closest—a coffee mug works fine if you don’t have a proper mixing bowl.
The hot water needs to be actually hot, not lukewarm, because that’s what dissolves everything properly.
Now comes the important part: you’ve got to stir or shake this mixture vigorously for about thirty seconds. Your arm might get a little tired, but keep going until it turns frothy and light brown.
All those coffee granules should completely disappear, leaving you with a smooth, creamy mixture that smells absolutely amazing.
Step 2. Shake Until Frothy Mixture
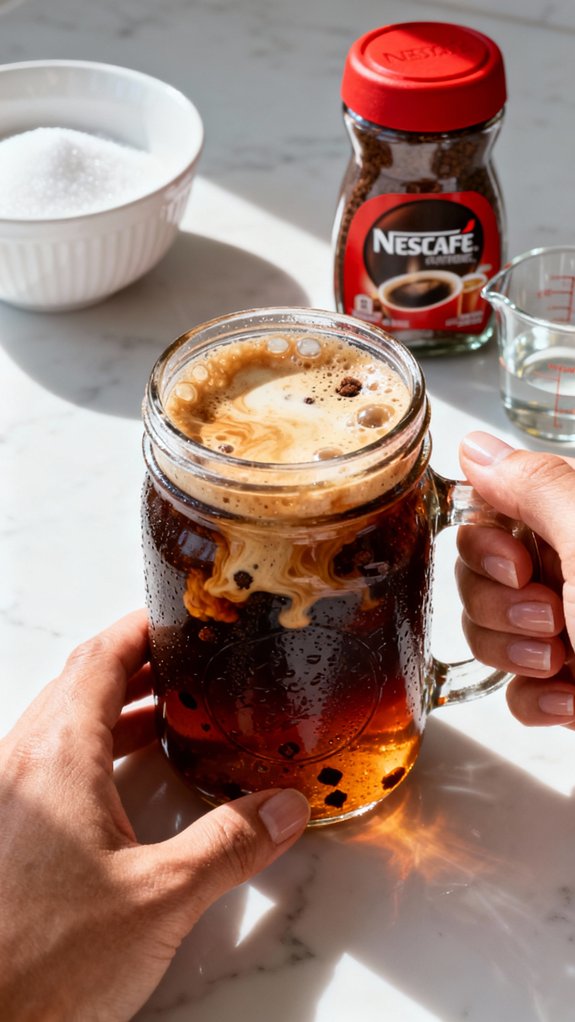
Grab your jar or container with the coffee mixture and get ready for what I call the “arm workout” part of making iced coffee.
You’ll shake this thing vigorously for about thirty seconds, which sounds quick but your arm will definitely feel it. I learned the hard way that a tight lid matters—trust me on that one.
Watch as the mixture transforms from grainy brown liquid into something magical: a thick, frothy, almost mousse-like consistency that’s lighter in color. The sugar and coffee granules completely dissolve, creating tiny bubbles throughout.
This froth is what makes homemade iced coffee taste professional instead of just like instant coffee poured over ice. The texture should coat the sides of your container.
Step 3. Fill Glass With Ice

About ten ice cubes will fill a standard tall glass to the brim, which is exactly what you want for this recipe.
You’ll need plenty of ice because it keeps your drink cold without making it watery too quickly. I always grab my tallest glass for iced coffee—something around 16 ounces works perfectly.
Don’t be shy with the ice. Pack it in there generously, letting the cubes pile up almost to the top. The cold milk you’ll pour next needs to weave between all those cubes to get properly chilled.
If you’re using one of those trendy mason jars, you’ll want about twelve cubes since they hold more liquid.
The ice creates the foundation for everything else.
Step 4. Pour Cold Milk Over Ice
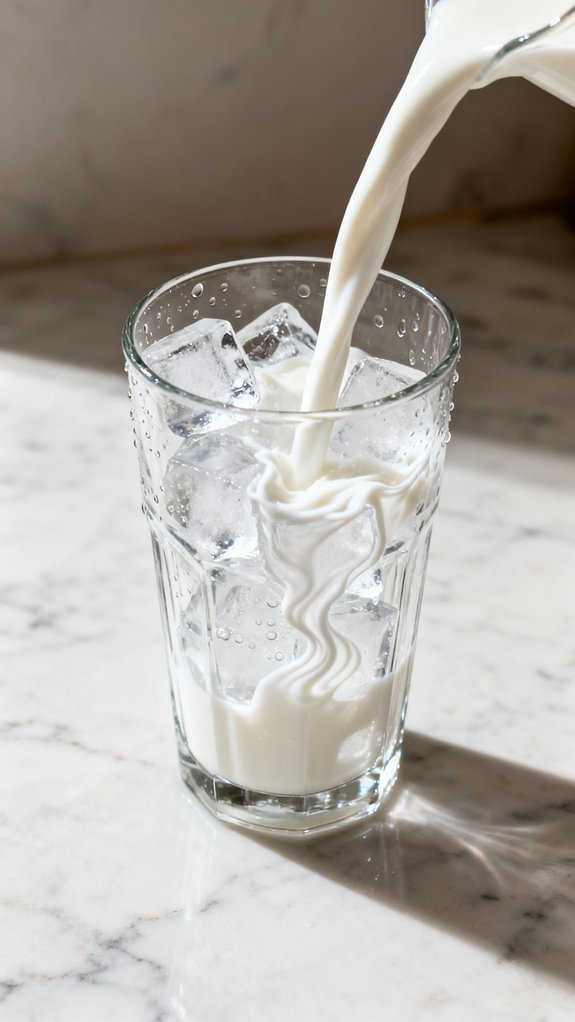
With your glass packed full of ice, you’re ready for the milk—and this part’s easier than you’d think.
Grab your measuring cup with one cup of cold milk, whatever kind you’ve got in the fridge. I usually use whole milk because it makes the drink creamier, but honestly, I’ve tried it with almond milk and oat milk too, and both worked fine.
Pour the milk slowly over the ice cubes, watching it cascade down and settle into the gaps between the frozen chunks. The cold milk hits the ice with a satisfying clink, immediately chilling itself even more.
You’ll notice the glass starts sweating on the outside almost right away, forming those little droplets that tell you it’s perfectly cold.
Step 5. Add Coffee to Milk
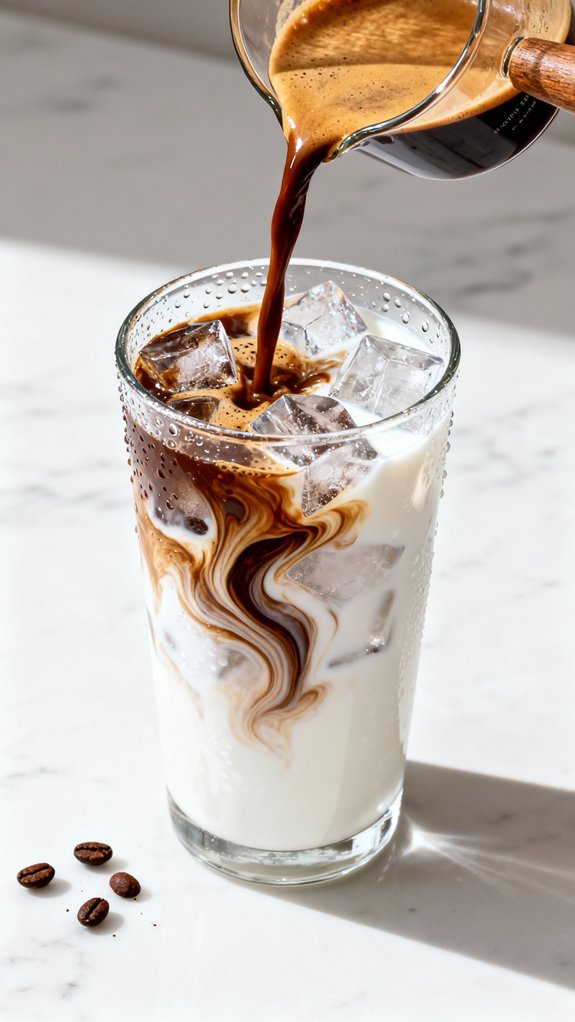
Now comes the part I always look forward to—watching the coffee mixture meet the milk.
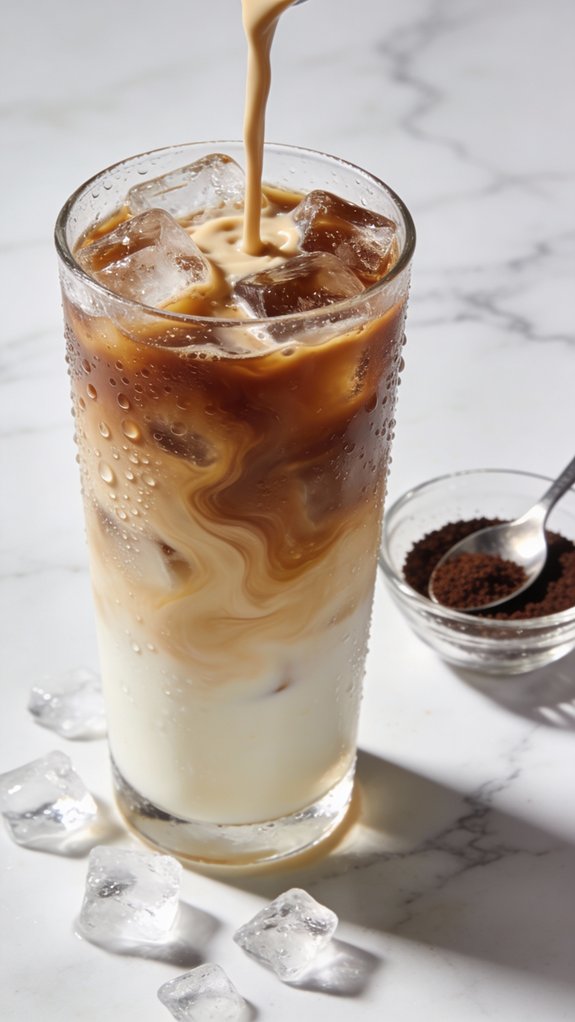
You’ll pour your frothy coffee blend slowly over the milk and ice, creating these beautiful caramel-colored ribbons that swirl downward. If you pour from a height, you’ll get better layering, which looks impressive in a clear glass.
I once made this for my neighbor, and she thought I’d gone to a coffee shop.
The coffee naturally wants to sink through the milk because it’s denser and slightly warmer. You can leave it layered for presentation, then stir right before drinking.
Or mix everything immediately if you’re in a hurry. Either way, you’ll end up with that perfect balance of bold coffee cutting through creamy sweetness.
Final Thoughts
Since I started making this Nescafe iced coffee at home, I’ve saved myself countless trips to the coffee shop and probably a small fortune in the process.
The best part is having it ready in my fridge when that afternoon heat hits and I need something cold and caffeinated.
I’ve experimented with different milk ratios and sugar levels until I found my perfect combination, and now I make a batch of the coffee mixture every Sunday night.
My sister actually asked me to teach her the recipe last week because she couldn’t believe how good it tasted.
It’s become my go-to drink for lazy weekend mornings on the porch and busy weekday afternoons when I’m working from home.
Frequently Asked Questions
Can I Make This Recipe Without Sugar or With a Sugar Substitute?
You can absolutely make this recipe without sugar or use a substitute like stevia, monk fruit, or your preferred sweetener. Simply replace the sugar amount with an equivalent sweetness level of your chosen alternative.
How Long Does Homemade Nescafe Iced Coffee Stay Fresh in the Refrigerator?
Like morning dew that disappears by noon, your prepared iced coffee stays fresh for just 24 hours refrigerated. You’ll notice the milk separates and coffee weakens after that, so it’s best enjoyed immediately after making it.
What Is the Caffeine Content in This Iced Coffee Recipe?
The recipe doesn’t specify exact caffeine content, but you’ll get approximately 60-120mg of caffeine depending on the Nescafe variety you use. Two tablespoons of instant coffee typically contains this moderate caffeine range.
Can I Use Decaffeinated Nescafe Instant Coffee Instead of Regular?
Yes, you can absolutely use decaffeinated Nescafé instead—think of it as choosing the scenic route rather than the highway; you’ll still reach your delicious iced coffee destination, just without the caffeinated speed boost along the way.
Does the Coffee Mixture Separate From the Milk After Sitting?
Yes, the coffee mixture will gradually separate from the milk as it sits. You’ll notice the coffee settling toward the bottom while lighter milk rises. Just give it a quick stir before drinking to remix everything.