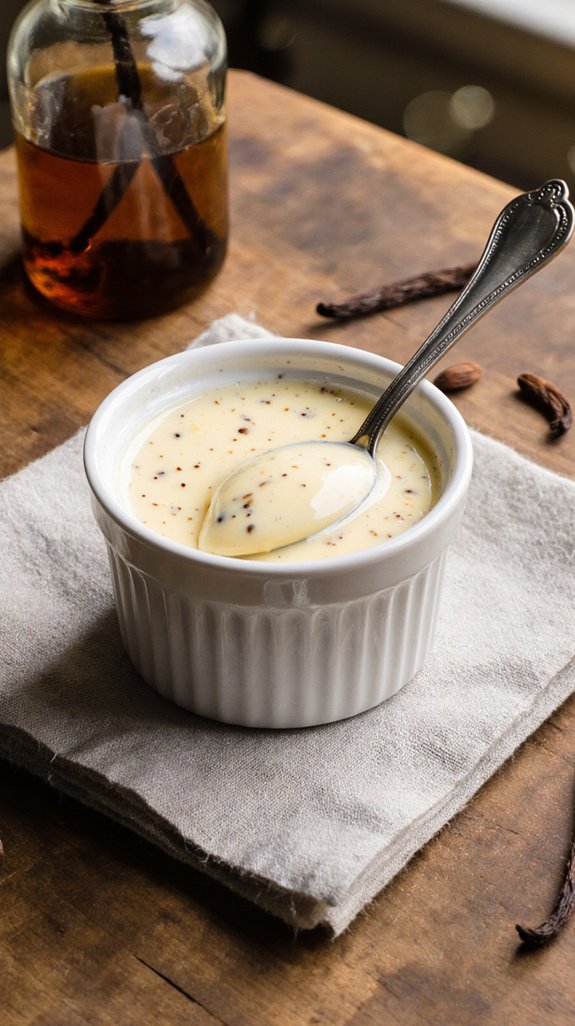
I’ve spent years perfecting custard on the stovetop, constantly whisking until my arm ached, only to end up with lumps or a scorched pan. Then I discovered the microwave method, and honestly, it changed everything. This technique delivers that same silky, luxurious texture in a fraction of the time, with minimal effort and zero burnt pots to scrub. If you’re skeptical about microwaved desserts, I’m about to show you why this custard will become your new go-to.
Why You`ll Love this Silky Microwave Custard
This creamy custard will transform your dessert game without chaining you to the stovetop for endless stirring.
I’ve found that making custard in the microwave saves me at least 20 minutes compared to traditional methods, and the creamy texture rivals anything you’d make on the stove.
You’ll appreciate how this quick dessert comes together with just six basic ingredients and three short microwave sessions.
There’s no constant whisking or worried watching for scorching at the bottom of your pan. The microwave method gives you perfect control, letting you check and stir between intervals to guarantee silky-smooth results every time.
Whether you’re filling pastries, layering trifles, or simply enjoying it warm from the bowl, this custard delivers impressive flavor with minimal effort.
What ingredients are in Silky Microwave Custard?
The beauty of this silky microwave custard lies in its simplicity – you only need six everyday ingredients that you likely already have in your kitchen.
These basic components work together to create a luxuriously smooth custard that’s perfect for filling éclairs, topping fruit tarts, or enjoying on its own.
- 26 g cake flour
- 60 g caster sugar
- 200 ml milk
- 25 g unsalted butter
- 2 large egg yolks (about 36g)
- 1/2 teaspoon vanilla essence
When gathering your ingredients, pay special attention to using cake flour rather than all-purpose flour, as it creates a finer, smoother texture in the finished custard.
The caster sugar dissolves more readily than granulated sugar, though you can pulse regular sugar in a food processor if needed.
Fresh egg yolks are essential for richness and proper thickening, so avoid using older eggs that mightn’t emulsify as well.
The vanilla essence adds warmth and depth, but you can substitute it with vanilla extract or even vanilla bean paste for a more pronounced flavor.
Make sure your butter is unsalted so you can control the overall taste of your custard.
How to make this Silky Microwave Custard
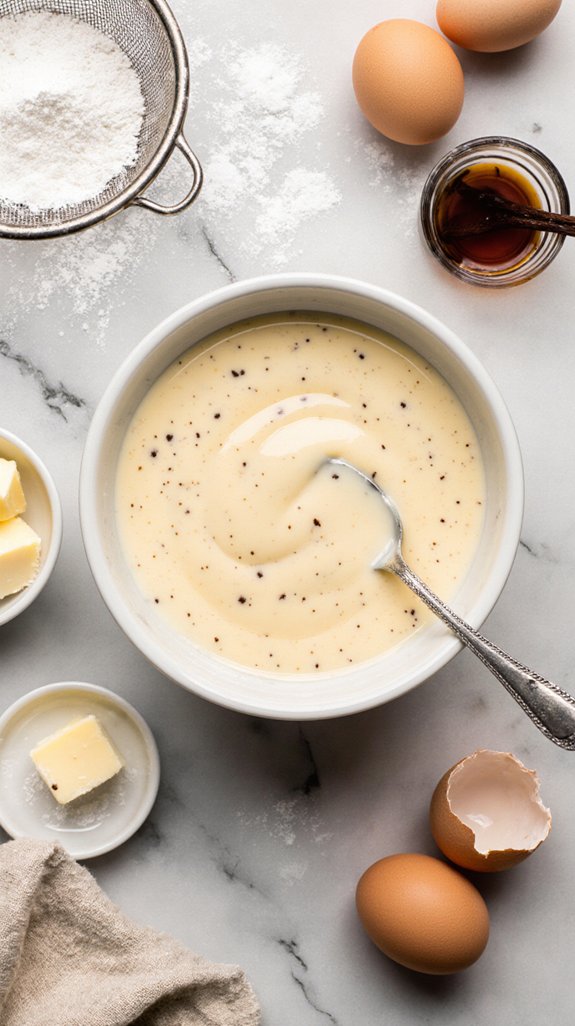
Making this silky microwave custard is invigoratingly straightforward, and the microwave does most of the heavy lifting for you. Start by sieving 26 g of cake flour into a microwave-safe bowl, then stir in 60 g of caster sugar until the dry ingredients are well combined.
While you’re mixing, heat 200 ml of milk in a saucepan until it’s nearly boiling – you’ll see small bubbles forming around the edges, but don’t let it come to a full boil. Pour this hot milk into your flour mixture while stirring constantly to prevent any lumps from forming. This continuous stirring is important because it helps the flour absorb the liquid smoothly and creates that silky texture we’re after.
Now comes the microwave magic. Pop the bowl into your 600W microwave for 1.5 minutes on high, then remove it and give everything a good stir. Return it to the microwave for another 1.5 minutes on high to continue thickening the mixture.
At this point, lightly beat your 2 egg yolks (about 36g) in a separate small bowl, then blend them thoroughly into the custard mixture. The residual heat will help temper the eggs without scrambling them. Microwave the custard for one final minute to set everything properly.
For the finishing touches, stir in 25 g of unsalted butter and 1/2 teaspoon of vanilla essence, mixing until the butter melts completely into the warm custard. The butter adds richness and creates an even smoother mouthfeel, while the vanilla brings warmth and depth to the flavor. Having the right premium kitchen gadgets on hand, such as quality microwave-safe bowls and precise measuring tools, makes preparing this custard even easier.
You’ll notice the custard has a lovely, pourable consistency at this stage, which will thicken further as it cools. If you prefer a thicker custard, simply let it chill in the refrigerator for an hour or two before using.
Shop Related Products

PROFESSIONAL-GRADE BOROSILICATE GLASS CONSTRUCTION: Crafted from premium borosilicate glass, these mixing bowls are 3x stronger and more durable than standard glass. Engineered to withstand extreme temperature changes from -4°F to 860°F without cracking or shattering—safe for direct transfer from freezer to oven. The lead-free, non-toxic material ensures worry-free cooking for you and your family.

A VARIETY OF SIZES: This nesting bowl set is fit for all your prep and storage needs, such as mixing batter, storing leftovers, tossing salad, or marinating. The set includes 6 plastic bowls with 6 transparent lids in multiple sizes: 0.32 QT, 0.74 QT, 1.37 QT, 2.22 QT, 3.69 QT and 5.8 QT.

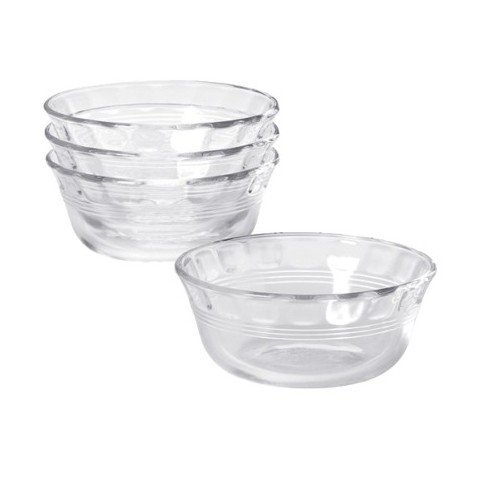
3-PIECE: Set includes 1-qt, 1.5-qt, and 2.5-qt round glass bowls. This is the perfect set for all manners of prepping, baking and home entertainment.
Silky Microwave Custard Substitutions and Variations
While this recipe works beautifully as written, you’ve got plenty of room to customize it based on what’s in your pantry or your flavor preferences.
If you’re looking for custard alternatives, I’ve successfully swapped whole milk for the regular milk to create a richer version. You can also use almond or oat milk, though the texture will be slightly thinner.
For flavor additions, try replacing vanilla with almond extract, or stir in a tablespoon of cocoa powder with the flour for chocolate custard. I love adding lemon zest during the final mixing step for a bright, citrusy twist.
You could even fold in some instant coffee granules for a mocha variation. Each modification brings something special to this versatile base recipe.
Shop Related Products

【Innovative Date Tracking】Featuring 31 small dots on the lid, each representing a day of the month, this ramekin allows you to easily track and manage the freshness of your stored items.
Baking Dish Material: Glass

Ideal Size for Baking & Serving: Each ramekin holds 6 oz (8.5 oz to the brim), measuring 4.1" wide and 2.1" tall — perfect for single-serve desserts like soufflés, crème brûlée, custard, lava cakes, or savory dishes like pot pies and baked eggs. Whether you’re hosting dinner or treating yourself, these ceramic ramekins are made for real kitchen moments
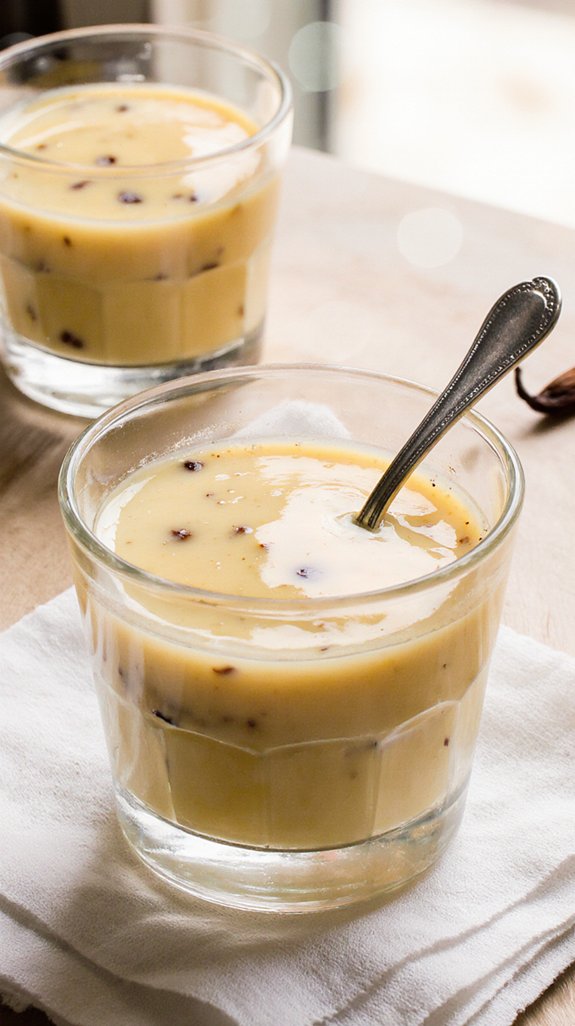
What to serve with Silky Microwave Custard
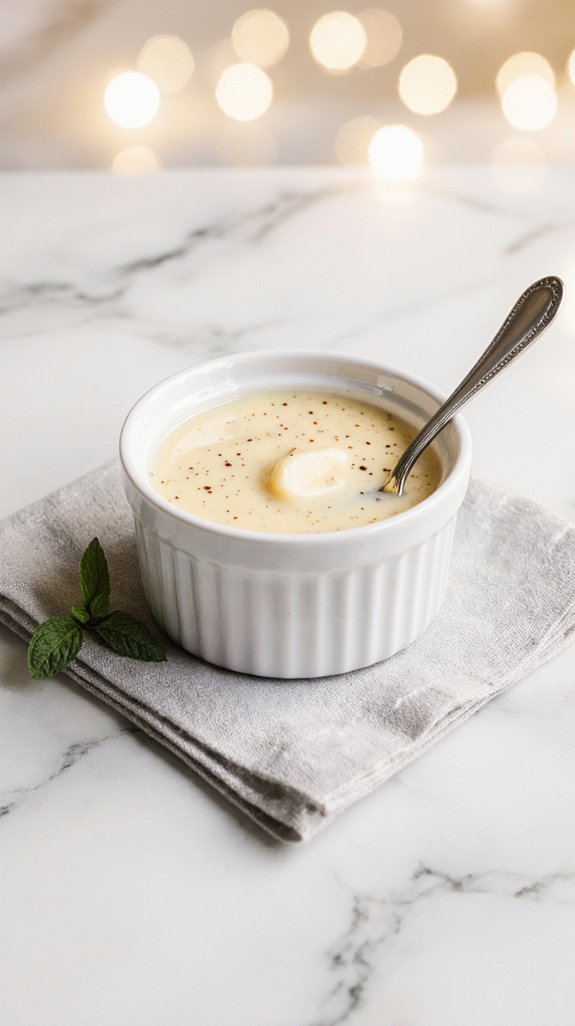
Pairing options for this silky custard are practically endless, and I’ve found it complements everything from simple fruit to elaborate desserts. Fresh berries work beautifully, as their tartness balances the custard’s sweetness perfectly.
I also love layering it with crumbled cookies or pound cake to create quick trifles. Among my favorite custard pairings are warm fruit crumbles and cobblers, where the cool, creamy texture contrasts wonderfully with hot, spiced fruit.
You can use it as one of your go-to dessert toppings for pies, tarts, or even plain sponge cake. It’s equally delicious served alongside chocolate brownies or drizzled over bread pudding.
The vanilla flavor makes it versatile enough to accompany both delicate pastries and bold, rich desserts without overpowering them.
Final Thoughts
This microwave custard has completely changed how I approach homemade desserts, and I’m confident it’ll do the same for you.
My final thoughts on this recipe are simple: it’s a game-changer for busy home cooks who still want impressive results. The recipe summary couldn’t be more straightforward—six ingredients, a microwave, and about ten minutes of your time.
I’ve made countless batches, and each one turns out silky and delicious. You don’t need special skills or fancy equipment to create something this good.
The microwave method eliminates the constant stirring and water bath complications of traditional custard. Whether you’re serving it with fruit, cake, or eating it straight from the bowl, you’ll love how easy and reliable this recipe is.
Frequently Asked Questions
Can I Make This Custard Without a Microwave?
Yes, I’ll help you adapt this recipe! You can make stovetop custard by continuously stirring the mixture in a double boiler, or prepare an oven baked custard by baking it in a water bath at 325°F.
How Long Does Homemade Custard Last in the Refrigerator?
I’ll answer based on proper custard storage practices: homemade custard lasts 2-3 days in the refrigerator. For ideal fridge lifespan, store it in an airtight container and keep refrigerated immediately after cooling to maintain freshness and safety.
Why Did My Custard Turn Lumpy or Curdled?
I’ll explain the common mistakes that cause lumpy custard. Overheating or adding hot milk too quickly creates curdling. I recommend fixing curdling by straining the mixture through a fine-mesh sieve and whisking vigorously.
Can I Freeze Leftover Custard for Later Use?
I don’t recommend freezing this custard because proper custard storage requires refrigeration for 2-3 days maximum. Freezing techniques aren’t suitable here since thawed custard separates and becomes grainy, losing its silky texture completely.
What Microwave Power Adjustments Are Needed for Different Wattages?
For different microwave wattages, I’ll adjust cooking times proportionally. If you’re using a higher-wattage microwave than 600W, I’ll reduce the intervals slightly. Lower wattages require longer cooking times to achieve the same results.