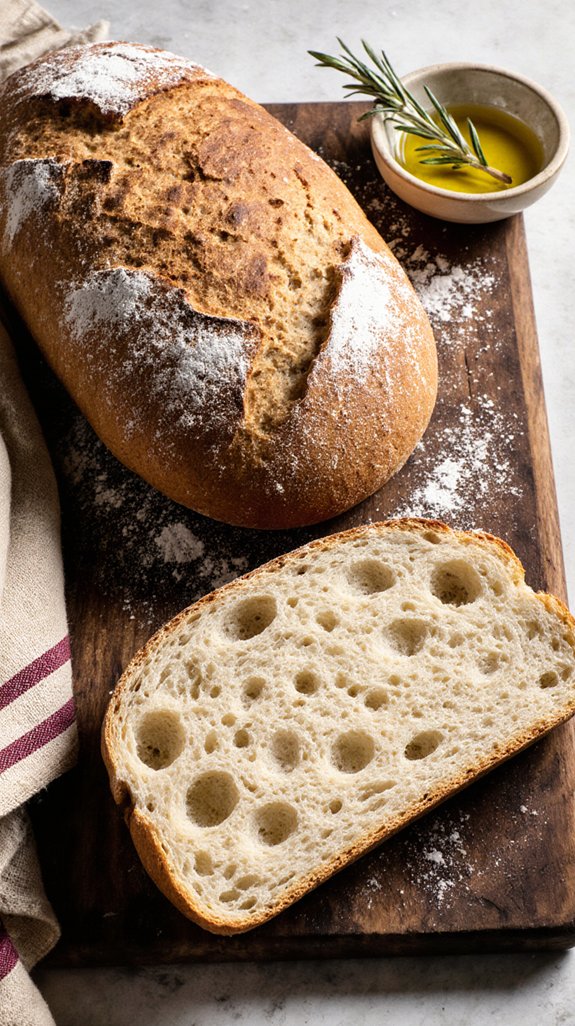
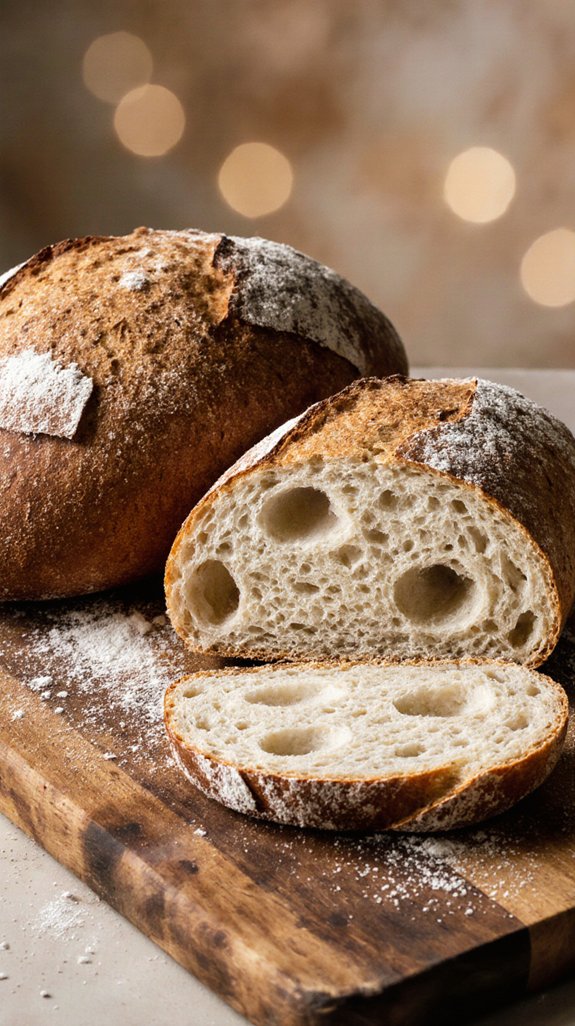
I’ve been chasing that perfect ciabatta for years—you know, the kind with a shatteringly crisp crust and those gorgeous, irregular holes inside. After countless attempts and flour-dusted countertops, I’ve cracked the code to making authentic Italian ciabatta right in your home kitchen. The secret isn’t some fancy ingredient or complicated technique, but rather understanding how this wet, sticky dough transforms into pure magic.
Why You`ll Love this Rustic Ciabatta Bread
The irresistible aroma of freshly baked bread fills your kitchen, and you’ll achieve bakery-quality results without any fancy equipment or professional training.
This ciabatta recipe connects you to Italian heritage through its simple ingredients and traditional methods. I love how the dough transforms into those signature air pockets and crispy crust that define authentic texture.
You won’t need a stand mixer or bread machine, just your hands and a bit of patience. The wet dough might feel unusual at first, but that’s exactly what creates the light, open crumb inside.
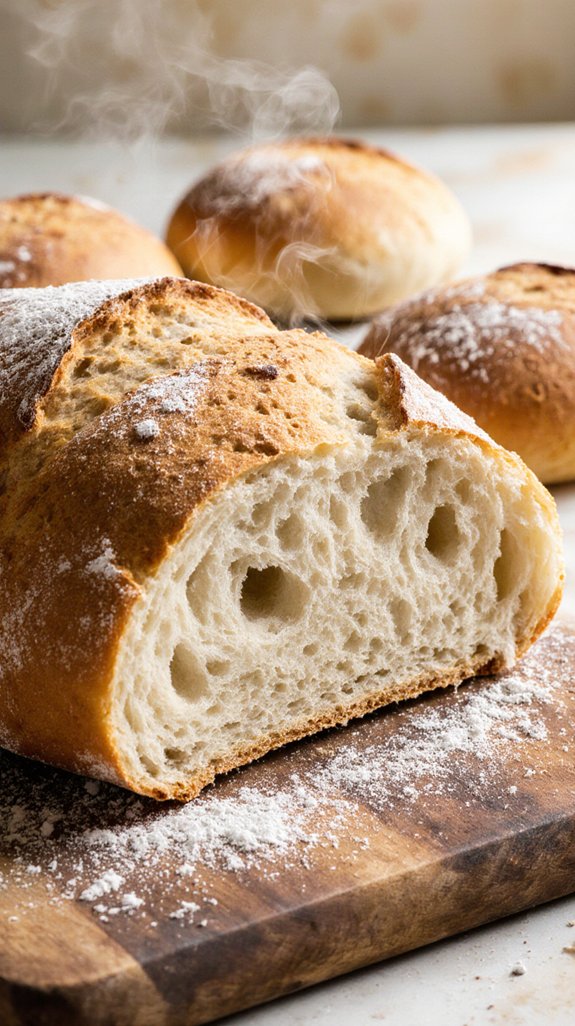
Each slice delivers that perfect contrast between the golden, crackling exterior and soft, hole-filled interior that makes ciabatta so special.
What ingredients are in Rustic Ciabatta Bread?
The beauty of ciabatta lies in its minimalist ingredient list that proves exceptional bread doesn’t require complexity. You’ll need just a handful of pantry staples to create authentic Italian loaves with that characteristic open crumb and crispy crust.
The quality of your ingredients matters more than quantity, as each component plays a vital role in developing the bread’s distinctive flavor and texture.
- All-purpose flour or bread flour
- Active dry yeast or instant yeast
- Warm water
- Salt
- Olive oil (optional, for added flavor)
The flour you choose will impact your final results, with bread flour producing a chewier texture due to its higher protein content, while all-purpose flour creates a slightly more tender crumb.
Water temperature is critical for activating the yeast properly—aim for around 105-110°F, warm enough to wake up the yeast but not so hot that it kills the organisms.
Don’t skip the salt, as it not only enhances flavor but also strengthens the gluten structure and controls yeast activity. Some bakers add a small amount of olive oil for richness, though traditional recipes often omit it entirely.
The wet, sticky dough this combination creates is intentional and essential for achieving those signature air pockets that make ciabatta unmistakable.
How to make this Rustic Ciabatta Bread
Making ciabatta bread is surprisingly straightforward once you understand the dough wants to be wet and sticky—that’s not a mistake, it’s the secret to those beautiful air pockets inside. Start by combining 4 cups of flour with 2 teaspoons of active dry yeast and 2 teaspoons of salt in a large mixing bowl. Pour in 2 cups of warm water (around 105-110°F), and if you’re using it, add 2 tablespoons of olive oil.
Mix everything together until you have a shaggy, extremely wet dough that looks almost like thick pancake batter. This high hydration is what gives ciabatta its signature open, airy crumb, so resist the urge to add more flour even though it feels wrong. Cover the bowl with plastic wrap or a damp towel and let it rise in a warm spot for about 1-2 hours until it doubles in size and becomes bubbly.
Once your dough has risen beautifully, generously flour your work surface—and I mean really coat it—because this dough is incredibly sticky. Gently turn the dough out onto the floured surface, being careful not to deflate all those precious air bubbles you’ve been developing.
Instead of traditional kneading, you’ll want to fold the dough gently a few times, then divide it into two portions and shape each into a rough rectangle about 10-12 inches long. Place these on a well-floured baking sheet or parchment paper, cover them lightly, and let them rest for another 30 minutes while you preheat your oven to 425°F.
When it’s time to bake, you can create steam in your oven by placing a pan of hot water on the bottom rack, which helps develop that crackling, golden crust. Bake the loaves for 20-25 minutes until they’re deeply golden and sound hollow when you tap the bottom, then let them cool on a wire rack before slicing into that rustic, hole-filled interior you’ve been working toward. Investing in premium cookware sets can make the entire baking process more enjoyable and help you achieve more consistent results with your homemade bread.
Shop Related Products

What You Get: 1 9-inch round banneton bread proofing basket , 1 10-inch oval proofing basket, 2 liners, a bread lame (with 5 blades) for precise control and beautiful patterns, a dough scraper and bowl scraper for dough manipulation, a dough whisk for thorough mixing, a cleaning brush for flour dusting, and a blade.
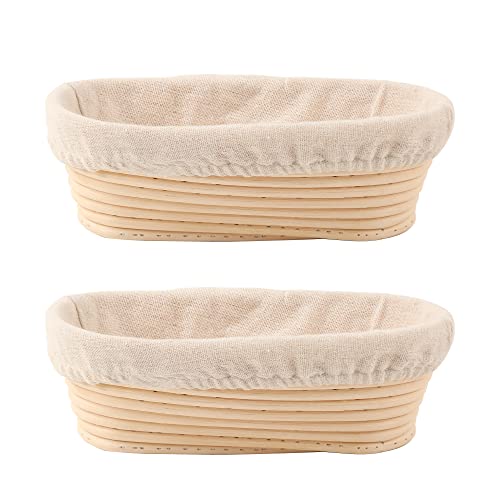
Best for making artisan bread,Both for home use or bread shop;

Perfect Home Proofing Baskets for Sourdough Bread Baking
Rustic Ciabatta Bread Substitutions and Variations
Want to customize your ciabatta to match what you have in your pantry or just shake things up a bit? I’ve got some simple swaps that’ll work beautifully.
If you don’t have bread flour, all-purpose flour works fine, though your loaf won’t be quite as chewy. For yeast alternatives, you can use instant yeast instead of active dry—just skip the proofing step.
I love experimenting with hydration levels too. Adding more water creates those signature large holes, while less gives you a tighter crumb.
Ready for flavor variations? Try folding in rosemary and sea salt, sun-dried tomatoes, or roasted garlic. Each addition transforms your ciabatta into something uniquely delicious while keeping that rustic Italian character intact.
Shop Related Products
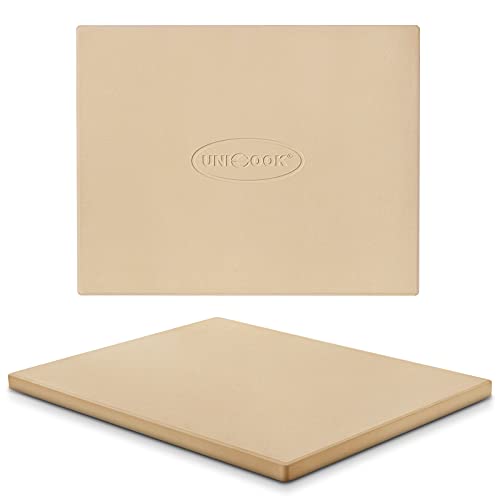
Rectangular Baking Stone: This baking stone measures 15" L x 12" W with 0.6" thickness and weighs about 6.8 lbs. The Unicook pizza stone is ideal for baking personal pizzas up to 11 inches in diameter. For 12-inch or larger pizzas, please check our larger models. For charcoal kettle grill, please check our round stone models. Important: Please ensure a minimum of 1-2 inches of clearance on ALL sides inside your oven or grill for proper fit and airflow

20 Inch Large Pizza Stone for Oven: 20" x 13.5", golden thickness 0.6"(15mm), weighs around 10.69 lbs, allows to bake 2-3 pizzas or bread loaves baguette at a time. This baking stone is a great addition to kitchen ovens. Make sure you have at least a 1-inch gap around the stone for a proper fit and good ventilation

Start making restaurant-quality pizzas, breads, pastries and even vegetables in the comfort of your own home with the Old Stone Pizza Stone and baking stone for oven and grills made from durable cordierite that can withstand heat up to 1450°F
What to serve with Rustic Ciabatta Bread
Now that you’ve mastered making this beautiful bread, let’s talk about all the delicious ways to enjoy it.
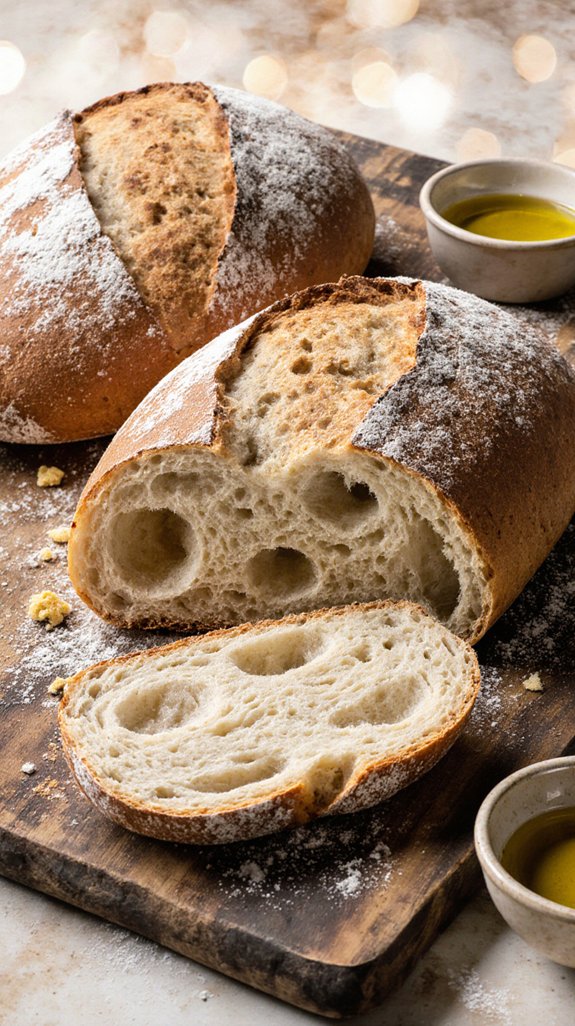
I love serving ciabatta with extra virgin olive oil and balsamic vinegar for dipping—it’s such a classic combination. This bread also makes incredible sandwiches, especially Italian-style ones with prosciutto, mozzarella, and fresh basil.
For ideal pairings, consider serving it alongside soups, stews, or pasta dishes to soak up those wonderful sauces.
My serving suggestions include toasting slices for bruschetta topped with tomatoes and garlic, or using it for panini pressed with your favorite fillings.
You can also cube it for homemade croutons or let it go stale for authentic Italian bread salad, known as panzanella.
The possibilities are truly endless.
Final Thoughts
Although baking ciabatta might seem intimidating at first, I hope this recipe has shown you that creating artisan-quality bread at home is absolutely achievable.
With the right baking tips and a bit of patience, you’ll master that signature airy crumb and crispy crust. Remember, the dough will be sticky, but resist adding extra flour. This wetness is what creates those beautiful holes inside.
For bread storage, keep your ciabatta in a paper bag at room temperature for up to two days, or slice and freeze it for longer keeping. The flavor and texture you’ve created rivals any bakery loaf.
I’m confident you’ll return to this recipe again and again, enjoying fresh homemade bread whenever the craving strikes.
Frequently Asked Questions
Can I Freeze Ciabatta Dough for Later Use?
Yes, I’ll show you proper freezing techniques for ciabatta dough. After the first rise, shape it, wrap tightly in plastic, and freeze for up to three months. Proper dough storage guarantees you’ll have fresh bread anytime.
How Long Does Homemade Ciabatta Bread Stay Fresh?
I’ll tell you that homemade ciabatta bread stays fresh for about two to three days at room temperature. I recommend learning how to store it properly in a paper bag or bread box for keeping bread at its best quality.
What Makes Ciabatta Different From Other Italian Breads?
I’ll explain that ciabatta’s unique texture comes from its high hydration levels, which create those signature large, irregular holes. The wet dough also gives it a crispy crust and chewy interior that sets it apart.
Why Is My Ciabatta Bread Too Dense or Flat?
I’ve found that dense or flat ciabatta typically results from insufficient dough hydration or weak yeast activity. You’ll need to verify your dough is properly wet and your yeast is fresh and active for best rise.
Can I Make Ciabatta Bread Without a Stand Mixer?
Yes, I’ll show you hand kneading techniques that work perfectly for ciabatta’s wet dough. You’ll need patience and proper dough hydration tips, but making authentic ciabatta without a stand mixer is absolutely possible.