I’ve probably made this coffee milkshake a thousand times since my roommate first taught me the recipe during finals week. You’d think blending coffee with ice cream would be complicated, but it’s actually one of those three-ingredient situations that somehow tastes better than the fancy café version. The trick isn’t what you’d expect, and it completely changed how I think about cold coffee drinks.
History
The coffee milkshake doesn’t have some grand origin story with a famous inventor or a specific date we can point to on the calendar.
It emerged naturally once milkshakes became popular in the early 1900s and coffee was already America’s favorite morning drink. Someone inevitably thought to combine them, probably at a diner somewhere in the mid-20th century when soda fountains were serving everything imaginable.
The drink gained real momentum during the 1950s and 60s when blenders became common household appliances and experimentation with flavors took off.
Unlike the McDonald’s Shamrock Shake or the Frappuccino, which have corporate origin stories, the coffee milkshake evolved organically across countless kitchens and restaurants, each person tweaking the basic formula.
Recipe
This coffee milkshake delivers the perfect balance of rich espresso flavor and creamy sweetness in a frosty, indulgent drink.
The combination of coffee, ice cream, and milk creates a thick, smooth texture that’s more substantial than a regular iced coffee but lighter than a heavy dessert. It’s an ideal treat for warm afternoons when you need both a caffeine boost and a cooling refreshment.
The flavor is boldly coffee-forward while maintaining the classic milkshake appeal that makes it feel like a special indulgence rather than just another coffee drink.
Whether you’re craving an afternoon pick-me-up or a dessert-like beverage to end your day, this coffee milkshake satisfies on multiple levels with minimal effort and maximum flavor.
Ingredients:
- 1 cup strong brewed coffee, chilled
- 2 cups vanilla ice cream
- ½ cup whole milk
- 2 tablespoons sugar
- 1 cup ice cubes
Preparation:
- Brew strong coffee and chill it completely in the refrigerator (or prepare it the night before).
- Add the chilled coffee, vanilla ice cream, milk, sugar, and ice cubes to a blender.
- Blend on high speed for 30-45 seconds until completely smooth with no ice chunks remaining.
- Pour into tall glasses and serve immediately while frozen and creamy.
For a stronger coffee flavor, use espresso instead of regular brewed coffee or add an extra tablespoon of instant coffee dissolved in the liquid.
Adjust the sugar based on your ice cream’s sweetness level and personal preference—start with less and add more if needed.
You can swap whole milk for almond milk, oat milk, or any preferred dairy alternative without altering the texture.
For an extra-thick consistency, reduce the milk to ¼ cup or add an additional scoop of ice cream.
Shop Related Products

30 oz Stainless Steel Malt Cup is the best mixing cup on the market. It is durable, and your family will enjoy making shakes and malts and other novelty drinks in it

Big Train Vanilla Bean Blended Crème : A sweet, creamy drink that you can mix up and sip in an instant. Drink hot, cold, or blended with ice for a frozen frappe treat that you can create right at home

Preparation Steps
Making this coffee milkshake is honestly one of the easiest things you’ll do all week, and I love that you can go from craving to sipping in under two minutes.
The key is having your coffee already chilled in the fridge—I usually brew extra in the morning and save it for afternoons when I need something cold and caffeinated.
Once everything hits the blender, it transforms into this thick, frosty drink that tastes like your favorite coffee shop creation but costs a fraction of the price.
Shop Related Products

CREAMY VELVETY FROTH IN SECONDS: Making coffee-shop-style recipes at home is as simple as it can be with this milk frother. The 13,000 RPM motor and 25 spiral rings on the frother let you whip up rich foam in no time. Level up your day with this frother for protein powder, warm or cold coffee, latte, cappuccino, hot chocolate, matcha, and powdered drinks.


Big Train Mocha Blended Ice Coffee: Serious chocolate flavor gets a caffeine boost with our frappe mix. Just add water! Drink hot, cold, or blended with ice for a frozen frappe treat that you can create right at home
Step 1. Gather and Chill Ingredients
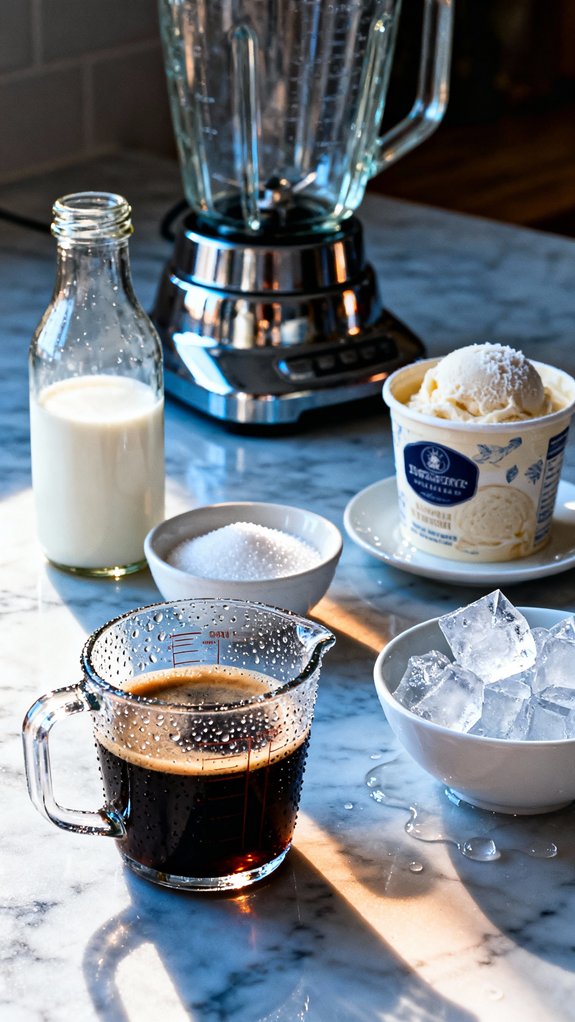
Before anything else hits the blender, I’ve learned that proper preparation makes the difference between a watery disappointment and that perfectly thick shake I’m actually craving.
I brew my coffee strong in the morning, then stick it in the fridge while I’m at work. By afternoon, it’s ice-cold and ready.
The ice cream should be slightly softened—not melted, just easier to scoop—so I pull it from the freezer about five minutes early.
I measure out the milk, sugar, and ice cubes, lining everything up on the counter like an assembly line. This whole gathering process takes maybe three minutes, but it means I’m not standing there with a half-blended shake wondering where I put the sugar.
Step 2. Blend All Ingredients Together
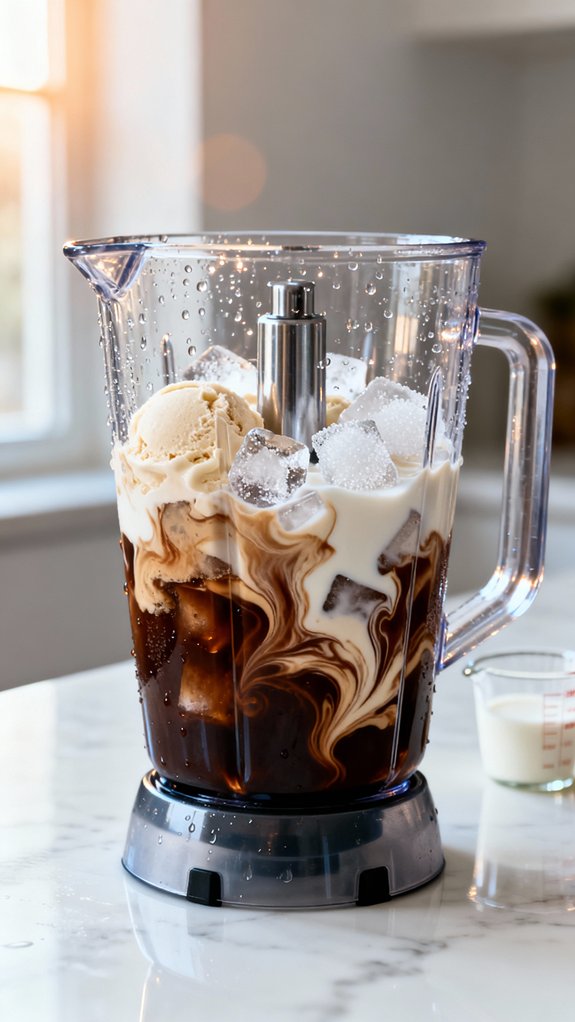
With everything lined up and ready, I dump the chilled coffee into the blender first—it goes on the bottom so the blades can grab it easily and start the whole mixing process.
Then I add the ice cream, milk, sugar, and ice cubes on top. I snap the lid on tight because nobody wants a coffee explosion all over the kitchen counter.
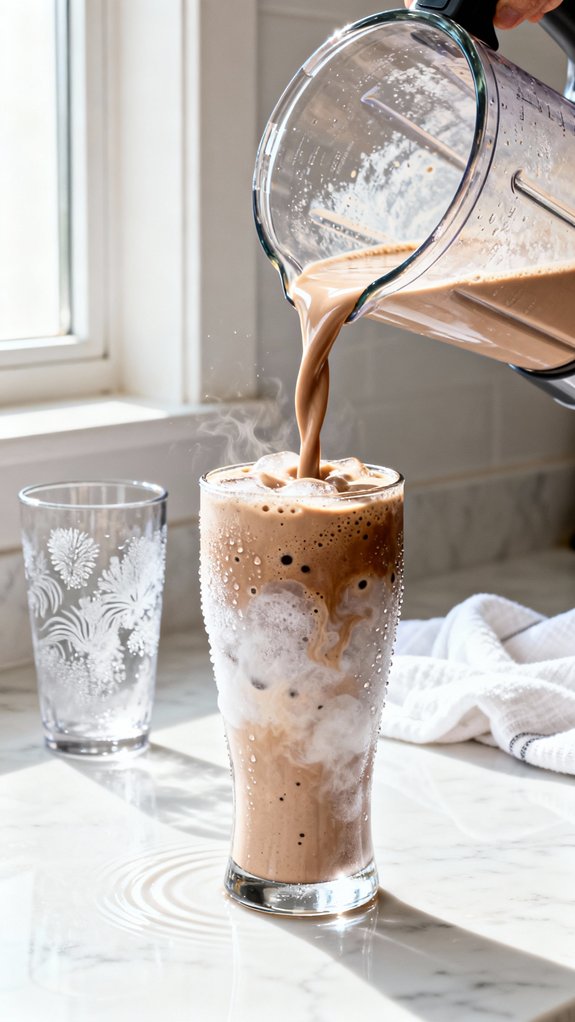
I hit the high-speed button and let it run for about thirty seconds, watching the whole thing transform from chunky to smooth. The sound changes from loud and crunchy to a steady whir when it’s ready.
I stop the blender when I don’t see any ice chunks left, just creamy, coffee-colored perfection swirling around inside.
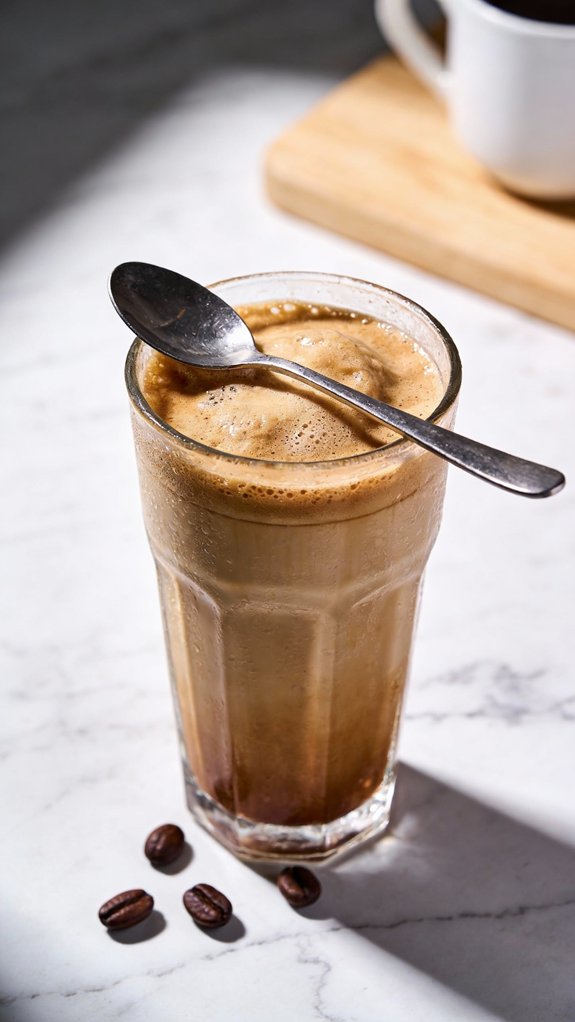
Step 3. Pour Into Chilled Glasses
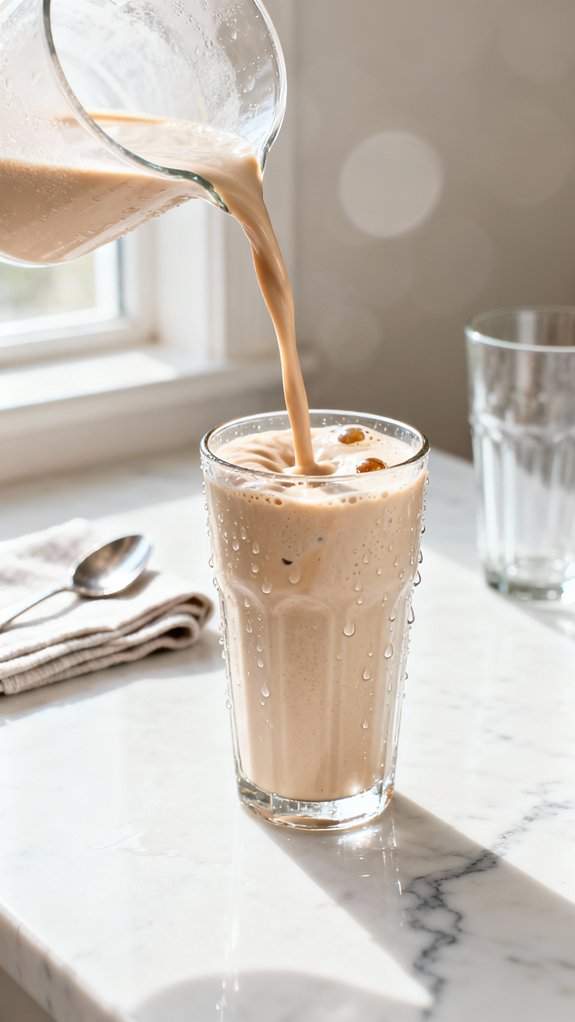
I grab two tall glasses from the freezer where I stuck them about ten minutes before I started blending—the cold glass keeps the milkshake from melting too fast once I pour it in.
I tilt the blender pitcher and pour slowly, watching the thick, caramel-colored mixture slide into each glass with that satisfying weight only a proper milkshake has. The frozen glass immediately forms a thin layer of condensation on the outside, which tells me it’s doing its job.
I divide it evenly between both glasses, filling them about three-quarters full to leave room at the top. Sometimes a few coffee-flavored bubbles appear on the surface, and I know I need to serve it right away before it starts separating or getting watery.
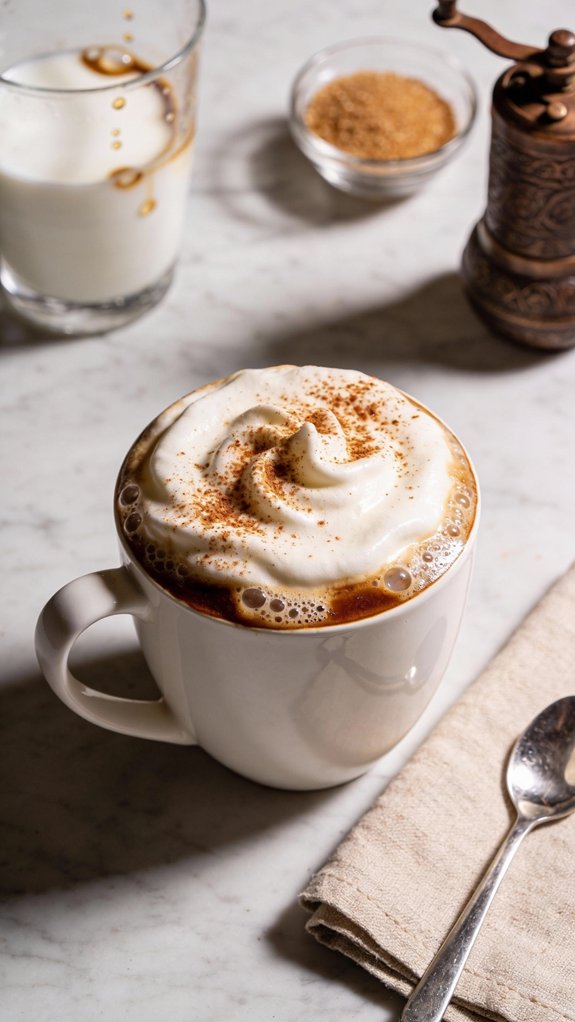
Step 4. Add Optional Toppings
Once the milkshake is in the glasses, I usually can’t resist making it look a little more special with some toppings, even though it tastes great plain.
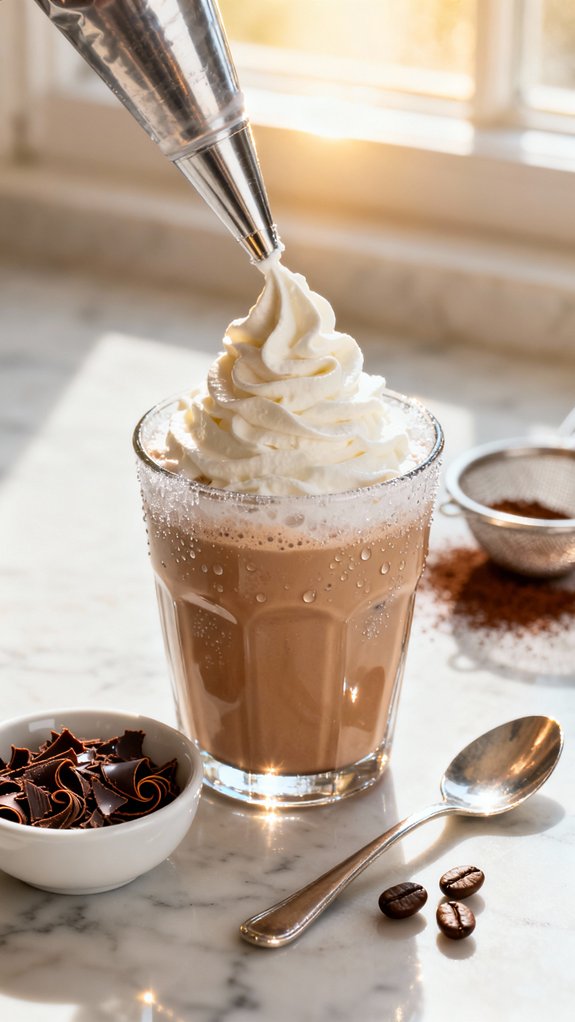
A generous swirl of whipped cream on top adds richness and makes the whole thing feel more like dessert. I’ll often drizzle some chocolate syrup or caramel sauce over the whipped cream, which creates nice streaks as it drips down the sides.
A sprinkle of cocoa powder or cinnamon gives it a café-style appearance that looks impressive when you’re serving guests. Sometimes I’ll crush a few coffee beans and scatter them on top for texture and extra coffee flavor.
You could also add chocolate shavings or a dusting of espresso powder if you want it fancy.
Step 5. Serve Immediately While Cold
The moment this milkshake comes out of the blender, the clock starts ticking because it won’t stay perfectly thick and frosty for long.
I learned this the hard way after leaving mine on the counter while I searched for the perfect straw—it turned into a sad, soupy mess in about ten minutes. You need to pour it straight into your glass and drink it right away.
The ice cream starts melting fast, especially on warm days, and once that happens, you lose that thick, creamy texture that makes it special.
If you’re making milkshakes for friends, have their glasses ready before you blend. Nobody wants a thin, watery version when they’re expecting something rich and frozen.
Final Thoughts
When you’re looking for something that hits the sweet spot between dessert and caffeine fix, this coffee milkshake really delivers without making you work for it.
I’ve made this on lazy Sunday afternoons when regular iced coffee feels too ordinary and actual dessert seems like too much commitment. The whole thing comes together in under two minutes if your coffee’s already cold, which means you can go from craving to sipping faster than most drive-thru runs.
It’s substantial enough to feel like a treat but not so heavy that you’ll regret it an hour later. The recipe’s forgiving too—I’ve adjusted the ratios plenty of times based on what’s in my fridge, and it still turns out reliably good every time.
Frequently Asked Questions
Can I Make This Coffee Milkshake Ahead of Time and Freeze It?
You can freeze it, but it won’t maintain the ideal creamy texture. It’ll become too solid and lose its smooth consistency. For best results, you’ll need to blend it again after thawing slightly.
What’s the Best Way to Brew Strong Coffee for This Recipe?
You’ll get *insanely* bold flavor using a French press with double the coffee grounds you’d normally use. Alternatively, brew espresso or dissolve two tablespoons of instant coffee in one cup of hot water, then chill completely.
Can I Use Decaf Coffee to Make a Caffeine-Free Version?
Yes, you can absolutely use decaf coffee instead of regular coffee. The milkshake will taste identical since the coffee flavor remains strong, but you’ll eliminate the caffeine boost while keeping all the delicious taste.
How Many Servings Does This Coffee Milkshake Recipe Make?
You’ll get about 2 generous servings from this recipe—perfect for sharing with someone who desperately needs to believe their milkshake counts as coffee. Or hoard both glasses yourself; we won’t judge your questionable life choices.
Can I Add Chocolate Syrup or Caramel to This Milkshake?
Yes, you can add chocolate syrup or caramel to enhance the flavor. Drizzle 2-3 tablespoons into the blender with the other ingredients, or swirl it into your glass before pouring for visual appeal.