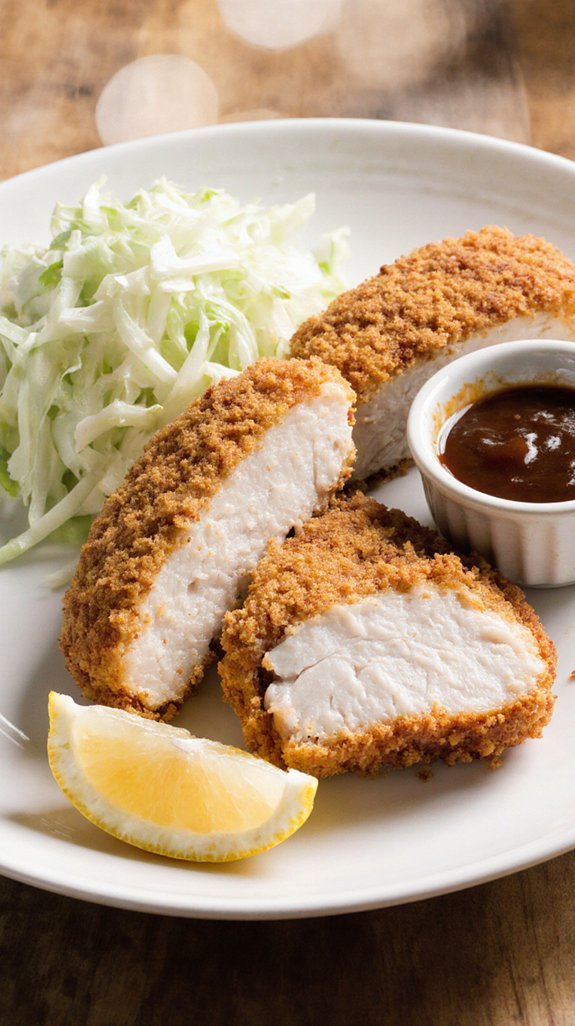
I’ve been making chicken katsu for years, and I can tell you there’s something incredibly satisfying about biting into that golden, crispy coating to reach perfectly tender chicken underneath. The secret isn’t complicated techniques or expensive ingredients—it’s all about understanding a few key steps that transform simple chicken breasts into something you’d happily pay restaurant prices for. Let me show you exactly how to nail this dish every single time.
Why You`ll Love this Crispy Chicken Katsu
Because this recipe delivers restaurant-quality results at home, you’ll find yourself making it on repeat.
I’m talking about perfectly tender chicken wrapped in an incredibly savory crunch that rivals anything you’d order at a Japanese restaurant. The breading stays crispy even after it cools, which means leftovers are just as satisfying.
What I love most is how approachable this dish is—you don’t need special equipment or hard-to-find ingredients. The panko creates that signature light, airy texture that makes katsu so addictive.
Plus, you can prep the breaded chicken ahead of time, making weeknight dinners a breeze. Once you nail this technique, you’ll have a go-to recipe that impresses everyone at your table without keeping you stuck in the kitchen for hours.
What ingredients are in Crispy Chicken Katsu?
The beauty of chicken katsu lies in its simplicity—you need just a handful of everyday ingredients to create this Japanese favorite. The chicken itself gets seasoned with basic pantry staples before being coated in a classic three-step breading process.
For the sauce, you’ll combine common condiments to create that signature sweet-tangy flavor that makes katsu so irresistible.
For the Chicken:
- 2 lbs boneless, skinless chicken thighs
- 1/2 teaspoon salt
- 1/2 teaspoon white pepper
- 1/2 teaspoon garlic powder
- 1 egg
- 1/2 cup milk
- Flour (for dusting)
- 1/2 lb panko breadcrumbs
- 1 quart canola oil (for frying)
For the Katsu Sauce:
- 1/4 cup ketchup
- 1/2 cup Worcestershire sauce
- 2 tablespoons soy sauce
- 2 dashes Tabasco sauce
- 1/4 teaspoon black pepper
The key ingredient that sets this dish apart is panko breadcrumbs—Japanese-style breadcrumbs that create a lighter, airier coating than regular breadcrumbs.
While chicken thighs are preferred for their tenderness and flavor, you can substitute chicken breasts if that’s what you have on hand. The canola oil should be neutral in flavor and have a high smoke point for frying.
If you can’t find white pepper, regular black pepper works fine, though white pepper provides a more traditional flavor profile. The homemade katsu sauce is optional since you can also serve this with store-bought tonkatsu sauce or sweet chili sauce.
How to make this Crispy Chicken Katsu
Making chicken katsu starts with preparing your chicken properly. Take your 2 lbs of boneless, skinless chicken thighs and trim away any excess fat, then filet them into uniform pieces about ½ inch thick—this guarantees even cooking throughout.
Season the chicken with ½ teaspoon each of salt, white pepper, and garlic powder, rubbing the spices in gently. Next, set up your breading station with three separate 9×13 pans: one with flour, one with your egg wash made from 1 egg whisked together with ½ cup milk, and one with ½ lb of panko breadcrumbs. Have a clean pan or sheet tray ready nearby to hold your breaded pieces.
Now comes the breading process, which follows a simple three-step method. Take each seasoned chicken piece and lightly dust it in the flour, shaking off any excess. Dip it into the egg wash, letting the extra drip off before placing it into the panko.
Here’s where technique matters—completely cover the top with more breadcrumbs and press down firmly so the panko really sticks to the chicken. Place each breaded piece on your clean tray, and if you’re stacking them, put wax paper between the layers to keep that coating intact.
When you’re ready to cook, heat 1 quart of canola oil in a heavy 10-inch pot to 325 degrees—using a thermometer here really helps maintain the right temperature. Fry the chicken in batches to avoid overcrowding, cooking each piece for about 5 minutes until it turns golden brown and crispy.
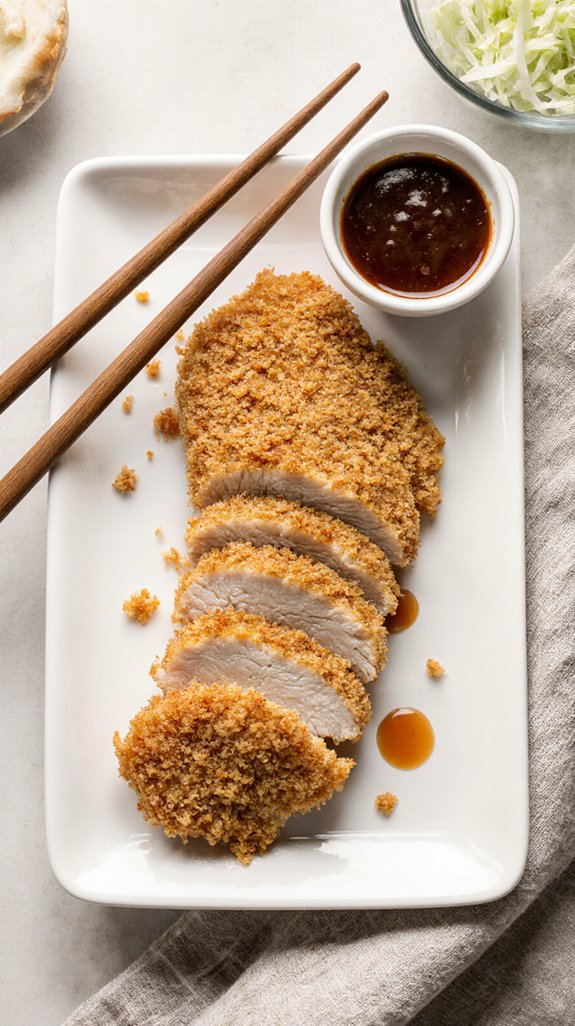
Always test your first piece to make sure it’s cooked through before continuing with the rest. Drain the finished pieces on paper towels or a wire rack, and once they’ve rested for a minute or two, slice them into strips.
Serve your crispy chicken katsu with the homemade sauce made from ¼ cup ketchup, ½ cup Worcestershire sauce, 2 tablespoons soy sauce, 2 dashes of Tabasco, and ¼ teaspoon pepper, or opt for sweet chili sauce if you prefer. Investing in premium cookware sets can make maintaining consistent oil temperature and achieving perfect results much easier.
Shop Related Products

GLUTEN-FREE: The Kikkoman Panko Style Coating contains crispy texture of panko without gluten, making it suitable for those with gluten sensitivities or dietary restrictions.

BREAD CRUMBS: Add a toasty, crispy, satisfying crunch to your culinary creations; Great for cooking, baking, frying, and using as a chicken breading or pork coating

GLUTEN FREE – 4C Gluten Free Crumbs are made with rice flour, the perfect way to enjoy your favorite foods again!
Crispy Chicken Katsu Substitutions and Variations
Versatility makes chicken katsu one of those recipes you can easily adapt based on what’s in your fridge or your personal preferences.
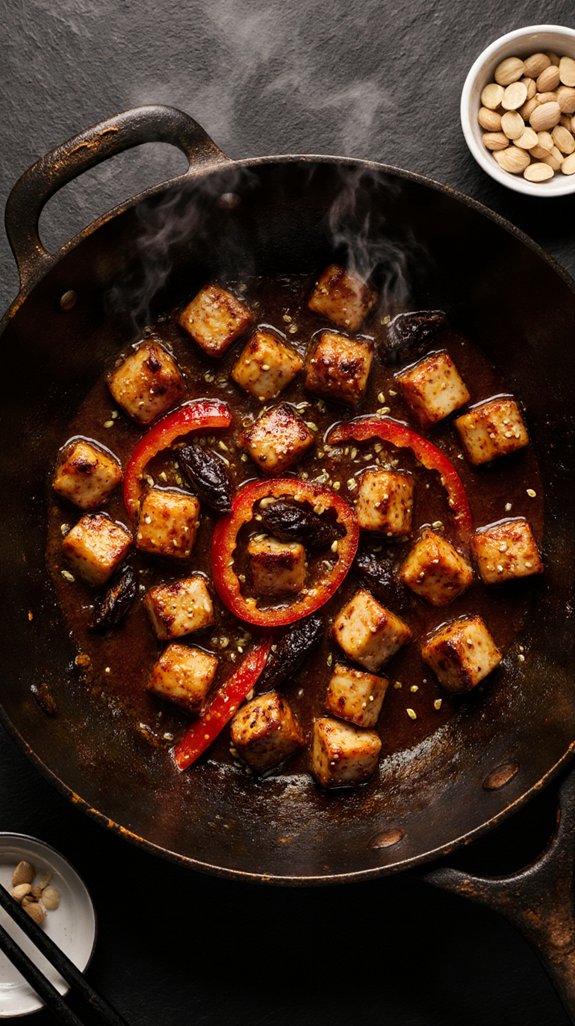
If you want to try alternative proteins, I’ve had great success using pork cutlets or even firm tofu for a vegetarian version.
For gluten free options, swap the panko for gluten-free breadcrumbs and use cornstarch instead of flour.
When I’m craving spicy variations, I add cayenne pepper to the breading or mix sriracha into the egg wash.
The dipping sauces really transform this dish too. Beyond traditional katsu sauce, I love serving it with spicy mayo, tonkatsu sauce, or even a tangy ponzu.
Each variation creates a completely different flavor experience while maintaining that irresistible crispy texture.
Shop Related Products
PROFESSIONAL QUALITY: Designed to withstand the rigors of a professional kitchen and perfect for everyday home use.
Hard anodized exterior for even heat distribution

Swiss Non-Stick Coating - Swiss ILAG nonstick granite coating, free of intentionally added PFOA. Smokeless, safe, and healthy—cook with 80% less oil for a healthier diet.
What to serve with Crispy Chicken Katsu
When I serve chicken katsu at home, I always think of it as the star that needs the right supporting cast to really shine.
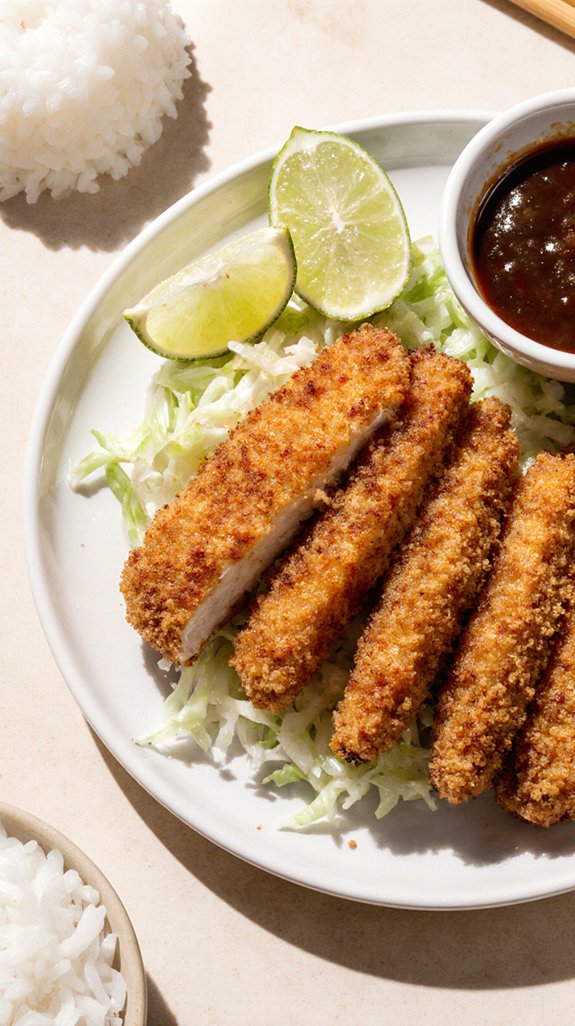
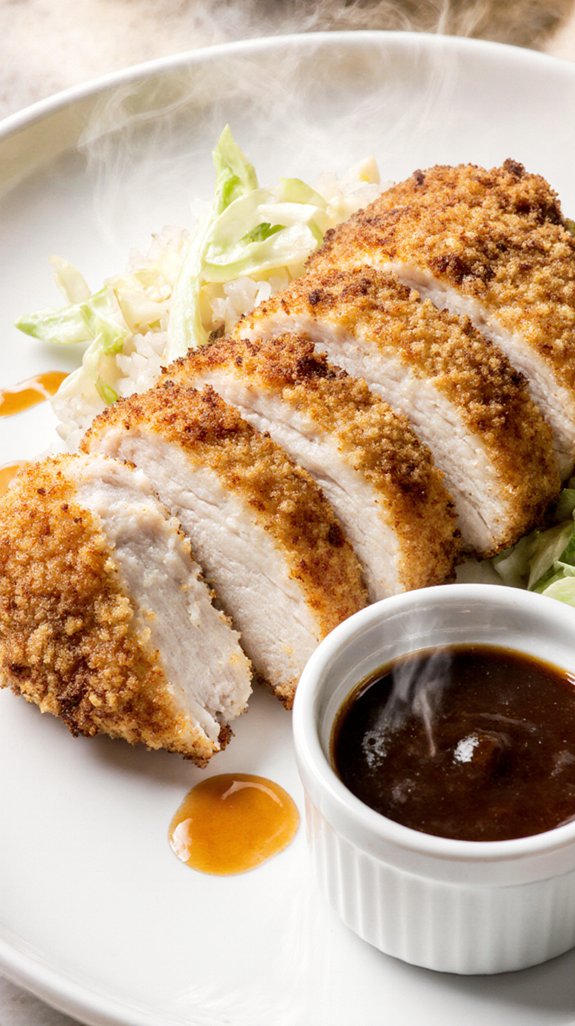
The perfect sides pairing starts with steamed white rice, which soaks up the savory katsu sauce beautifully. I also love adding a simple cabbage slaw dressed with rice vinegar for a crisp, invigorating contrast to the rich, fried chicken.
For dipping sauces, the traditional katsu sauce is my go-to, but I’ll often set out Japanese mayo mixed with a bit of sriracha for those who want extra heat.
Miso soup and pickled vegetables round out the meal perfectly, creating a balanced plate that feels both authentic and satisfying.
Final Thoughts
Crispy chicken katsu has earned its place as one of my favorite weeknight dinners because it delivers restaurant-quality results without requiring professional skills or hard-to-find ingredients.
I’ve shared my best cooking tips throughout this guide, from achieving that perfect golden crust to maintaining the right oil temperature.
The beauty of this dish lies in its versatility with flavor pairings—whether you drizzle it with traditional katsu sauce, serve it alongside tangy cabbage slaw, or pair it with steamed rice and miso soup.
Once you master the simple breading technique, you’ll find yourself making this dish regularly.
The satisfying crunch combined with tender, juicy chicken creates a meal that never gets old, and your family will request it again and again.
Frequently Asked Questions
Can I Make Chicken Katsu Ahead of Time and Reheat It?
Yes, I can make chicken katsu ahead of time and refrigerate it for up to two days. When I’m ready to serve, I’ll reheat it in a 350°F oven for about 10 minutes to restore crispiness.
How Do I Store Leftover Chicken Katsu Properly?
I’ll store your leftover chicken katsu in an airtight container in the fridge for up to three days. For freezing tips, I recommend wrapping individual pieces in foil, then placing them in freezer bags for proper storage techniques lasting three months.
What’s the Best Oil Temperature for Frying Chicken Katsu?
I’ll fry your chicken katsu at 325 degrees Fahrenheit. This oil temperature guarantees proper frying techniques, creating golden, crispy breading in about 5 minutes while cooking the chicken through without burning the panko coating.
Can I Bake Chicken Katsu Instead of Frying It?
Yes, I can bake chicken katsu as one of the baking alternatives to frying. I’ll get health benefits from using less oil while still achieving a crispy coating by spraying it with cooking spray.
How Long Does Chicken Katsu Stay Crispy After Cooking?
I’ll be honest—chicken katsu loses its crispy texture within 30-60 minutes after cooking. For serving suggestions, I recommend enjoying it immediately or reheating in an oven to restore crispiness rather than microwaving.