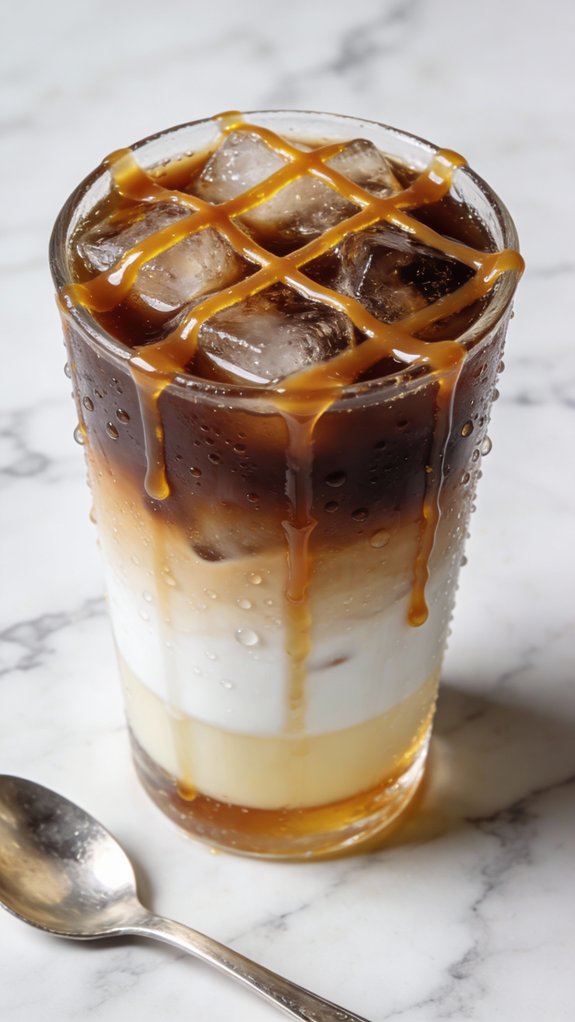
Like Starbucks brought coffee shop culture to every corner, you can master their signature iced caramel macchiato at home. I remember the first time I tried making one—it seemed complicated with all those layers, but honestly, it’s just ice, milk, espresso, and caramel in the right order. The trick isn’t some barista secret you’d expect, though what I learned about the vanilla syrup changed everything.
History
Although Starbucks popularized the iced caramel macchiato in the 1990s, the drink’s roots trace back to traditional Italian espresso culture where “macchiato” simply means “marked” or “stained.”
The original macchiato was just espresso marked with a dollop of foamed milk—a far cry from the sweetened, iced version we recognize today.
I remember learning that the American interpretation basically flipped the whole concept. Instead of espresso with a milk spot, we’ve got milk with espresso poured on top.
The caramel addition came later, transforming a simple Italian staple into something sweeter and more dessert-like.
By 1996, Starbucks officially added it to their menu, and the drink became a sensation.
Now you’ll find variations at nearly every coffee shop, though purists still debate whether it deserves the macchiato name at all.
Recipe
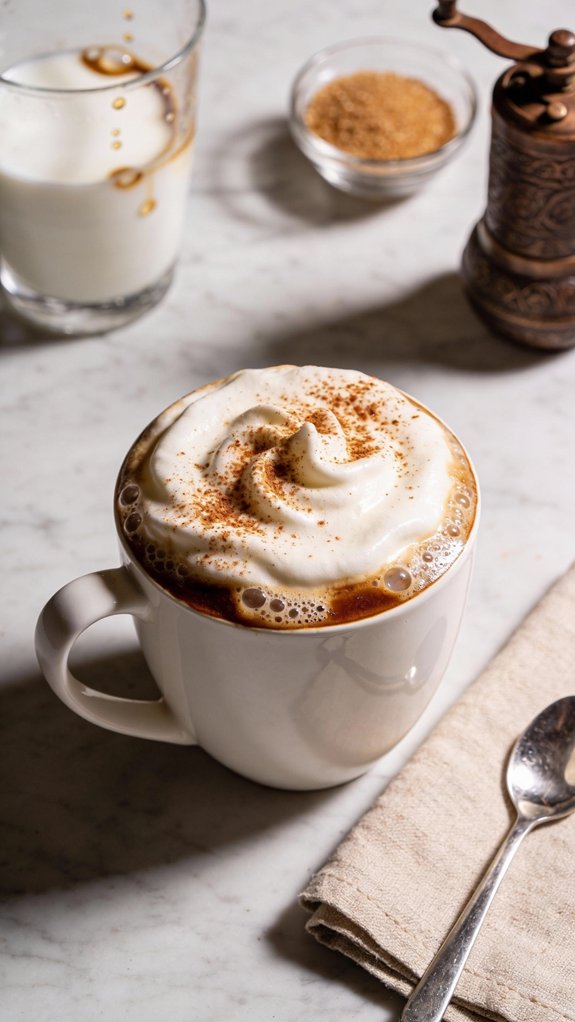
The iced caramel macchiato is a beloved coffeehouse classic that combines rich espresso with creamy milk and sweet caramel in perfectly layered harmony. This drink delivers a balanced sweetness with bold coffee flavor, making it an indulgent treat that doesn’t overwhelm the palate.
The signature caramel drizzle on top adds both visual appeal and an extra burst of flavor with each sip. This invigorating beverage is ideal for warm afternoons, morning pick-me-ups, or anytime you crave a sweet coffee treat.
The cold temperature and smooth texture make it particularly satisfying during summer months, though its comforting caramel notes work year-round. It’s equally suited for a leisurely weekend brunch or a quick weekday energy boost.
Ingredients
- 2 shots espresso (or 1/2 cup strong brewed coffee)
- 1 cup milk
- 2 tablespoons vanilla syrup
- Ice cubes
- 2 tablespoons caramel sauce
Shop Related Products

FLAVOR ENHANCEMENT: The espresso frozen ball reduces bitterness and delivers a smoother, more balanced taste by rapidly chilling the espresso to maintain its original flavor.

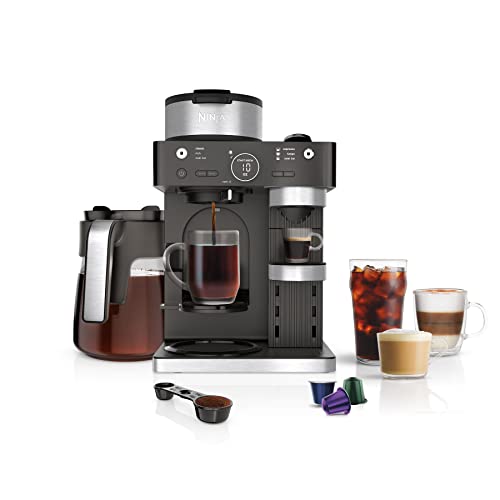
BARISTA PLUS TECHNOLOGY: The 19-bar pressure system delivers ultra-flavorful espresso with a silky-smooth crema by brewing at the optimal temperature and pressure.
Preparation
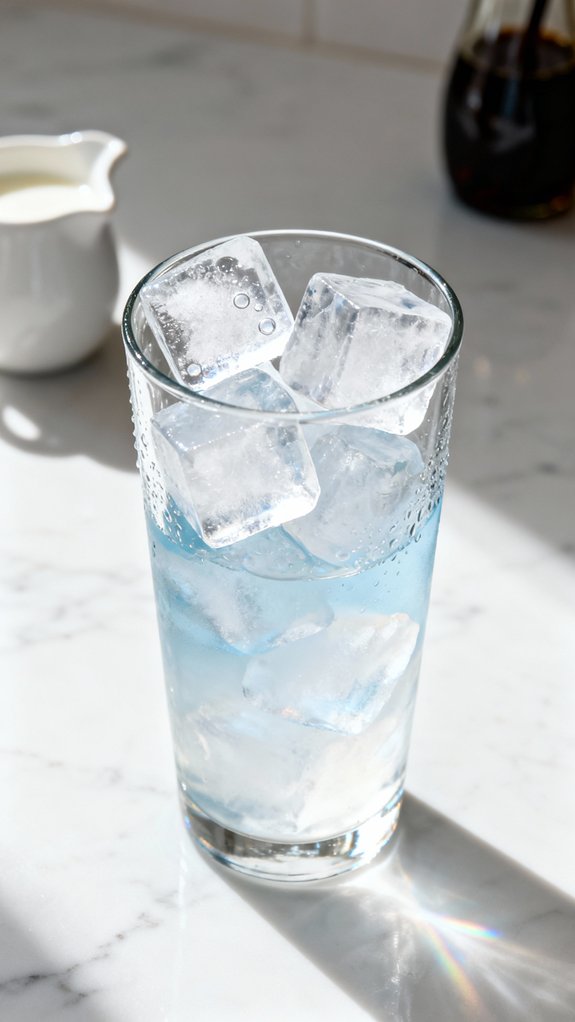
- Fill a tall glass with ice cubes to the top.
- Pour the vanilla syrup over the ice.
- Add the cold milk, leaving about an inch of space at the top.
- Brew your espresso shots and let them cool for 30 seconds.
- Slowly pour the espresso over the milk, allowing it to cascade through and create natural layers.
- Drizzle the caramel sauce generously over the top in a crosshatch pattern, allowing some to drip down the sides of the glass.
Shop Related Products

TOP QUALITY - The frother pitcher is made of #304 stainless steel with non-stick teflon coating, ust-proof, stain-proof and crash-proof, unbreakable for daily use. Dishwasher-safe & easy to clean with soapy water.

Perfect Combination Of Milk Frothing Pitcher And Latte Art Pen: The milk frother jug can be used in different ways: froth or steam milk for lattes; measure liquids; serve milk or cream. Featured with a latte art pen which can shape kinds of beautiful coffee pattern. Perfect for making frothing or steaming milk for espresso, cappuccino or hot chocolate. Be your own barista in home and office.

★Double spouts, convenient pouring handle
Tips
For a lighter version, substitute the whole milk with almond milk, oat milk, or skim milk—oat milk provides the creamiest texture among non-dairy options.
Adjust sweetness by reducing the vanilla syrup to 1 tablespoon or eliminating it entirely if your caramel sauce is particularly sweet. You can prepare cold brew coffee in advance and store it in the refrigerator for up to two weeks, making this drink even quicker to assemble.
For a sugar-free version, use sugar-free vanilla syrup and sugar-free caramel sauce without compromising the overall flavor experience.
Preparation Steps
Making this drink is easier than you’d think, and I’ve found the layering technique works best when you follow a specific order.
You’ll start by building your base with ice and sweetness, then carefully add each component so the espresso naturally settles through the milk in those beautiful layers everyone loves.
The whole process takes about five minutes, and once you’ve made it twice, you won’t even need to check the recipe anymore.
Step 1. Fill Glass With Ice
Before you do anything else, grab your tallest glass—I’m talking 16 ounces if you’ve got it. The height matters because you want room for all those gorgeous layers.
I learned this the hard way when I used a short glass and ended up with caramel dripping all over my counter. Fill it completely to the brim with ice cubes. Don’t be shy about this part. The more ice you pack in there, the colder your drink stays, and nobody wants a lukewarm macchiato fifteen minutes later.
I sometimes grab those extra-large ice cubes from my silicone tray because they melt slower, keeping everything perfectly chilled without watering down the coffee flavor too quickly.
Step 2. Add Vanilla Syrup
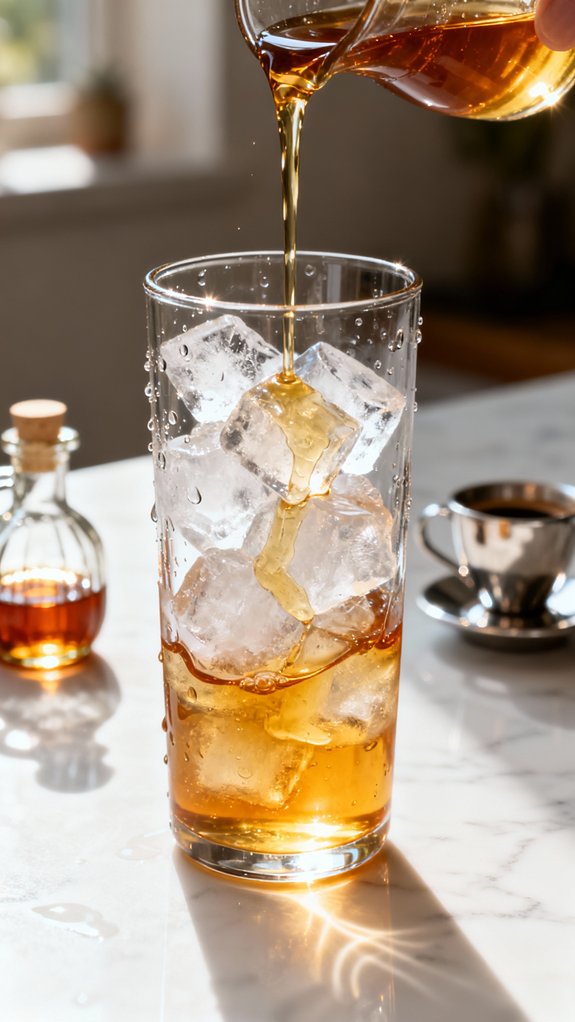
Now comes the vanilla syrup, and honestly, this step is easier than you’d think. Pour those two tablespoons directly over your ice cubes. The syrup will naturally sink to the bottom of the glass, settling beneath the ice where it belongs.
I remember the first time I made this—I worried about measuring precisely, but honestly, eyeballing it works fine once you’ve done it a few times. The vanilla adds that subtle sweetness that balances the espresso’s bitterness later on.
Don’t skip this layer, even if you’re tempted. It’s what distinguishes a macchiato from just regular iced coffee. The syrup creates a foundation of sweetness that’ll blend with everything else as you drink.
Step 3. Pour Cold Milk
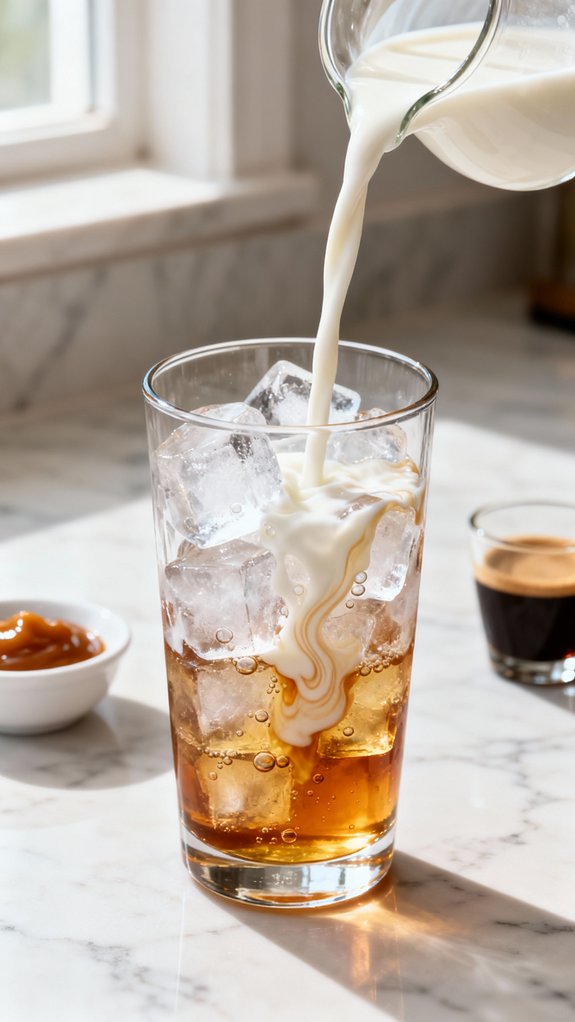
One cup of cold milk goes in next, poured slowly over the vanilla-coated ice until you’ve left about an inch of space at the top.
I learned the hard way not to fill it completely—you need room for the espresso that’s coming. The milk mixes with the vanilla syrup as it settles, creating this sweet, creamy base that’ll support those dark espresso layers.
Whole milk gives you the richest texture, but I’ve used oat milk plenty of times when I’m watching calories. Pour from a measuring cup if you want precision, or just eyeball it like I do.
The cold milk should reach about three-quarters up the glass, leaving that essential gap at the rim.
Step 4. Pour Espresso Over Milk

Pull your espresso shots and let them sit for about thirty seconds—this slight cooling prevents the hot espresso from melting all your ice immediately.
Now comes my favorite part: the pour. Tilt your glass slightly and pour the espresso slowly over the back of a spoon, letting it cascade gently onto the milk below.
You’ll see those gorgeous coffee layers form as the darker espresso settles through the lighter milk, creating that signature ombré effect from caramel-brown at the top to creamy white at the bottom.
Don’t worry if it doesn’t look perfect—the layers will mix as you drink anyway. The visual appeal is temporary but impressive, especially when you’re making one for guests who appreciate the little details.
Step 5. Drizzle Caramel on Top
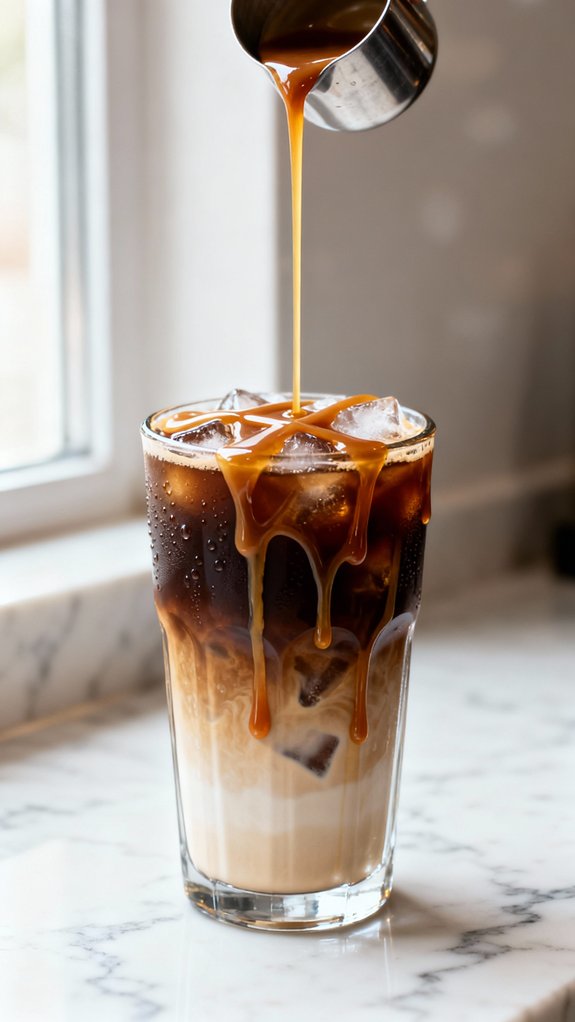
While the espresso layers are still settling, grab your caramel sauce and prepare for the finishing touch that gives this drink its name.
I usually warm the bottle in my hands for a few seconds so the caramel flows smoothly instead of plopping out in chunks.
Hold the bottle about six inches above the glass and drizzle back and forth in a zigzag pattern across the surface. Some will sink into the foam while the rest clings to the sides as it drips down, creating those Instagram-worthy streaks everyone loves.
Don’t be shy with it—two tablespoons might sound like a lot, but that caramel needs to compete with all that milk and ice. The crosshatch pattern looks fancy but honestly takes about five seconds.
Final Thoughts
Mastering this iced caramel macchiato means you’ll never need to make that coffee shop run when the craving hits.
I’ve saved probably hundreds of dollars since I started making these at home, and honestly, mine taste better because I control the sweetness level.
The recipe’s flexible enough that you can adjust it based on your mood—extra caramel on rough Mondays, less syrup when you want to taste more espresso.
It’s become my Saturday morning ritual while catching up on shows, and friends always ask for one when they visit.
The best part is watching those espresso layers form through the glass, creating that signature look that makes you feel like a real barista without the complicated training.
Frequently Asked Questions
Can I Make This Drink Ahead of Time?
You shouldn’t make this drink more than 30 minutes ahead, as the ice melts and dilutes the flavors. Instead, prep your espresso and store it refrigerated for up to two days, then assemble when you’re ready to enjoy.
How Many Calories Are in an Iced Caramel Macchiato?
The recipe doesn’t specify calorie information. However, a typical iced caramel macchiato contains approximately 250-300 calories depending on milk type and syrup amounts. You’ll reduce calories considerably by using skim or non-dairy milk alternatives.
What’s the Difference Between a Macchiato and a Latte?
A macchiato features espresso poured over milk, creating distinct layers, while a latte thoroughly mixes espresso with steamed milk for uniform consistency. You’ll taste stronger coffee in a macchiato since it’s less diluted than a latte.
Can I Use Instant Coffee Instead of Espresso?
Yes, you can use instant coffee instead of espresso. Dissolve 2 tablespoons of instant coffee in 1/4 cup hot water, let it cool, then pour it over your iced milk for similar results.
How Long Does Homemade Vanilla Syrup Last?
You’ll be thrilled to know homemade vanilla syrup lasts forever—well, almost! Store it in your fridge for up to a month in an airtight container, and it’ll stay perfectly fresh for all your caramel macchiatos.