Most people don’t realize that chocolate hazelnut spread wasn’t meant for breakfast—it started as a wartime substitute for scarce cocoa. I discovered this while perfecting my iced latte last summer, when the afternoon heat made hot coffee unbearable. You can transform that jar in your pantry into something way better than toast topping. The combination creates layers of flavor that remind me of sitting in Italian cafés, and honestly, it’s simpler than you’d think.
History
The chocolate hazelnut combination didn’t start in coffee shops—it began in European kitchens during World War II when Italian pastry makers stretched scarce cocoa supplies by blending them with abundant hazelnuts.
I remember learning this while visiting a café in Rome, where the barista explained how necessity became tradition. The resourceful blend caught on across Italy, eventually becoming the famous spread we recognize today.
When coffee culture expanded in the 1990s, creative baristas started adding this beloved flavor to lattes and other espresso drinks.
You’ll find the pairing works perfectly in iced coffee because both chocolate and hazelnut taste smooth and mellow when cold, creating that dessert-like quality without being overwhelming or too rich.
Recipe
The chocolate hazelnut iced latte combines rich espresso with the irresistible pairing of cocoa and roasted hazelnuts, creating a dessert-like coffee drink that’s perfectly balanced and invigorating.
This indulgent beverage delivers the sophisticated flavor of a café specialty while remaining simple enough to prepare at home in just minutes.
This iced latte is ideal for warm afternoons when you need an energizing pick-me-up, or as a sweet treat to replace your usual dessert.
The combination of chocolate and hazelnut evokes the taste of popular European spreads, making each sip feel like a special indulgence worth savoring slowly.
Ingredients:
- 2 shots espresso (or 1/2 cup strong brewed coffee)
- 1 cup milk
- 2 tablespoons chocolate hazelnut spread
- 1 tablespoon chocolate syrup
- Ice cubes
Preparation:
- Brew your espresso shots and immediately stir in the chocolate hazelnut spread while the coffee is still hot, mixing until completely dissolved and smooth.
- Fill a tall glass with ice cubes, then pour the chocolate hazelnut espresso mixture over the ice.
- Add the chocolate syrup to the milk and stir well, then pour the chocolate milk over the espresso and ice.
- Give everything a final stir to combine all the flavors, and enjoy immediately.
Tips:
For a dairy-free version, use oat milk or almond milk, which both complement the hazelnut flavor beautifully.
If you prefer less sweetness, reduce the chocolate syrup to 1-2 teaspoons or omit it entirely, as the hazelnut spread provides substantial sweetness on its own.
You can prepare the chocolate hazelnut espresso mixture in advance and store it in the refrigerator for up to three days, making morning preparation even faster.
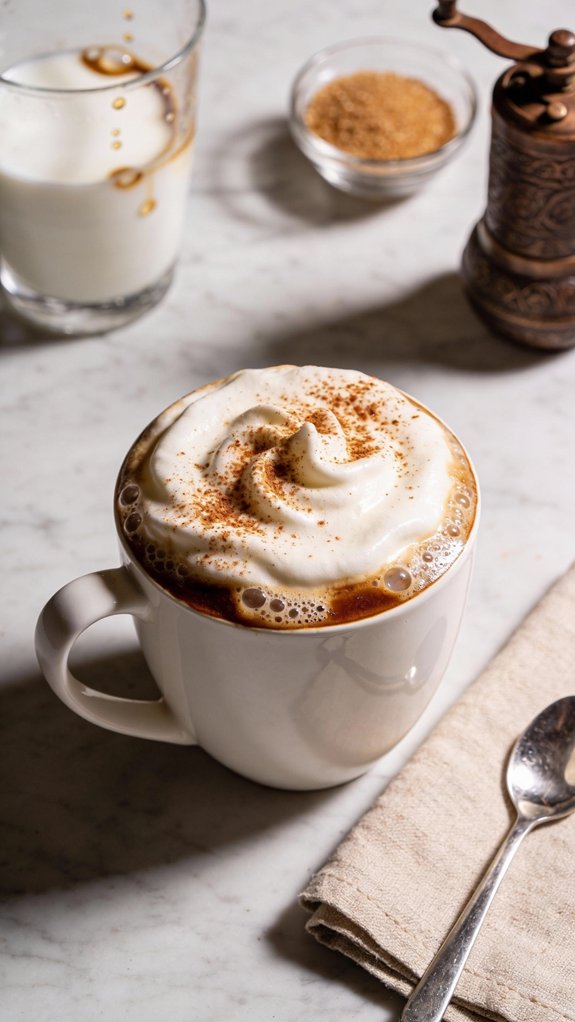
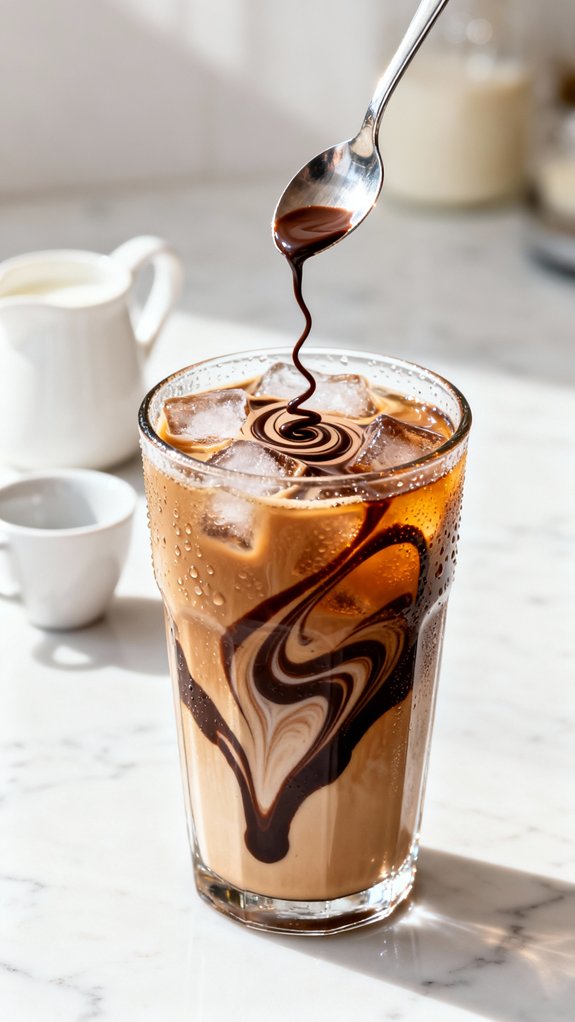
For an extra-decadent treat, top with whipped cream and a drizzle of additional chocolate syrup.
Shop Related Products

FLAVOR ENHANCEMENT: The espresso frozen ball reduces bitterness and delivers a smoother, more balanced taste by rapidly chilling the espresso to maintain its original flavor.
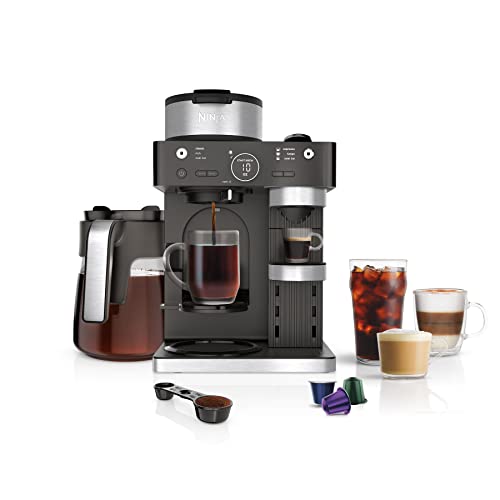
BARISTA PLUS TECHNOLOGY: The 19-bar pressure system delivers ultra-flavorful espresso with a silky-smooth crema by brewing at the optimal temperature and pressure.
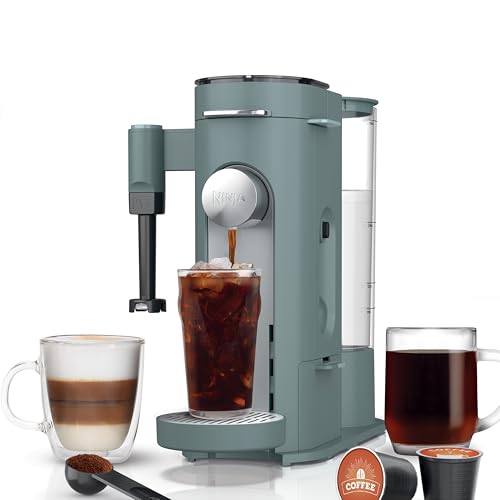
BREW WITH PODS OR GROUNDS: Brew a single-serve cup of coffee with grounds for ultimate flavor or with a coffee pod for ultimate convenience in one small footprint.
Preparation Steps
Making this iced latte is straightforward once you understand the key step: dissolving the hazelnut spread in hot espresso first.
I learned this the hard way after trying to stir thick, cold chocolate hazelnut spread into iced coffee, which left me with stubborn clumps that refused to blend no matter how vigorously I stirred.
The heat from freshly brewed espresso melts the spread instantly, creating a smooth, sweet base that distributes evenly throughout your drink when poured over ice.
Shop Related Products

Make Your Favorite Espresso Coffee At Home: The CASABREWS coffee machine with milk frother allows you to prepare all your favorite espresso-based coffees. You can enjoy a barista-brewed latte, cappuccino or macchiato at home. Stainless steel appearance, stylish and durable, ideal for any size kitchen. This compact espresso coffee maker is perfect for home or office use

✅PROFESSIONAL 20 BAR PRESSURE - Embrace barista-style brewing with Neretva espresso machine! With a 20-bar pressure system and a robust 1350W boiler, the espresso maker extracts premium coffee for lattes, cappuccinos, and more.

ENJOY CAFÉ-QUALITY ESPRESSO: Experience the bold, rich flavor of homemade espresso and skip long café lines with the CraftBrew Digital Espresso Maker! A strong 15-BAR pump and a built-in milk frother make it easy to brew cappuccinos and lattes right in your own kitchen.
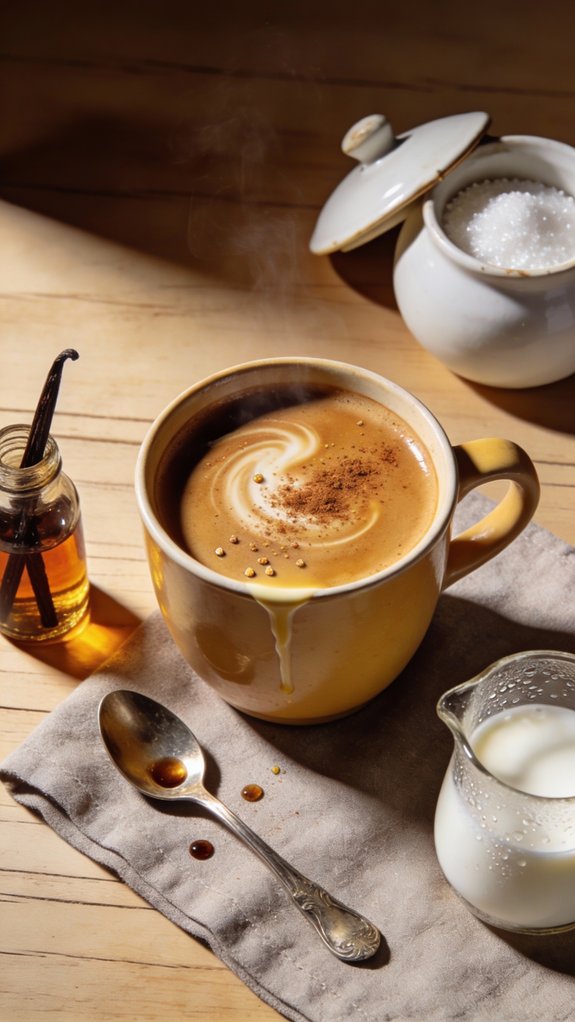
Step 1. Brew and Dissolve Spread
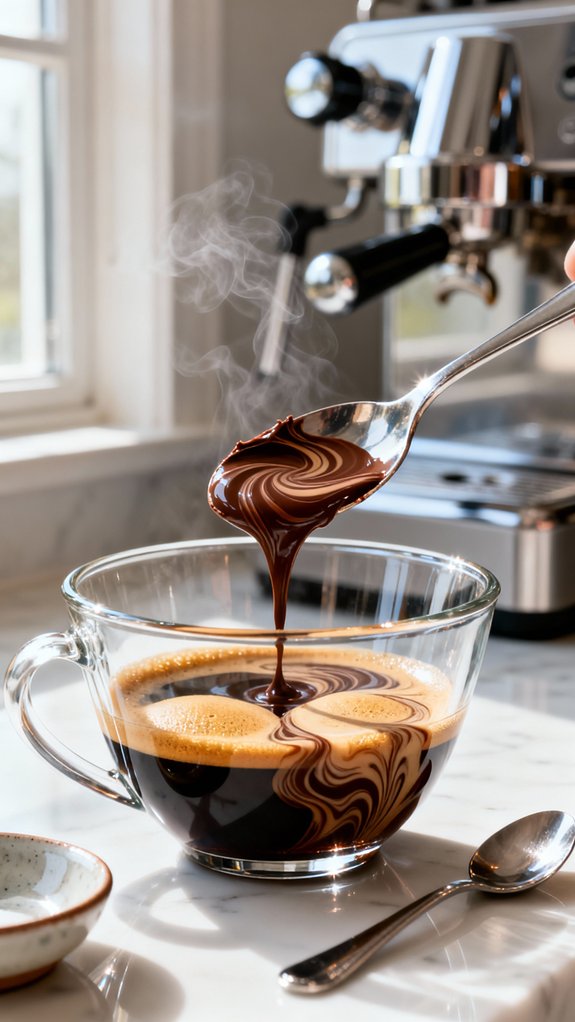
First things first—I brew two shots of espresso using my machine, though you can absolutely use half a cup of strong coffee if that’s what you’ve got.
The key here is making sure the coffee’s still piping hot when you add the chocolate hazelnut spread. I measure out two tablespoons and drop them straight into the espresso, then stir vigorously with a spoon.
The heat does most of the work, melting that thick spread into a smooth, glossy mixture that smells incredible—like a chocolate shop mixed with a coffee bar.
You’ll know it’s ready when there aren’t any streaks or clumps left, just silky brown coffee. This takes maybe thirty seconds of stirring.
Step 2. Fill Glass With Ice
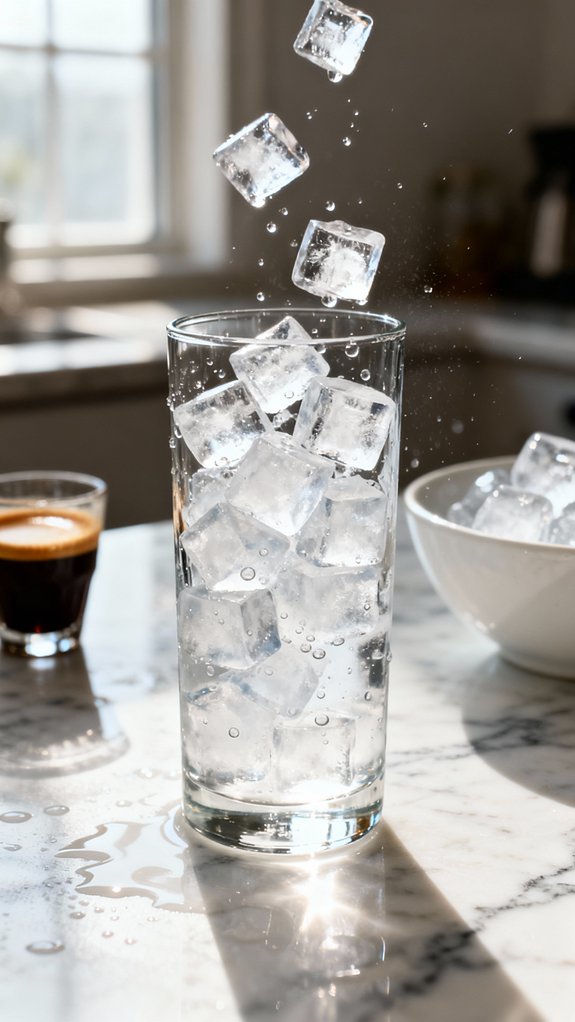
With your espresso mixture ready and smelling amazing, grab a tall glass—I usually go for a pint glass or something similar that holds about sixteen ounces.
Fill it almost to the top with ice cubes. I’ve learned that more ice is better here because the hot espresso will melt some of it right away, and you don’t want to end up with a lukewarm, watery drink halfway through.
The ice should come up to about an inch from the rim. If you’re using one of those glasses with a thick bottom, you might need even more ice to get the right coffee-to-ice ratio.
Once your glass is properly loaded, you’re ready for the next step.
Step 3. Add Chocolate Syrup to Milk
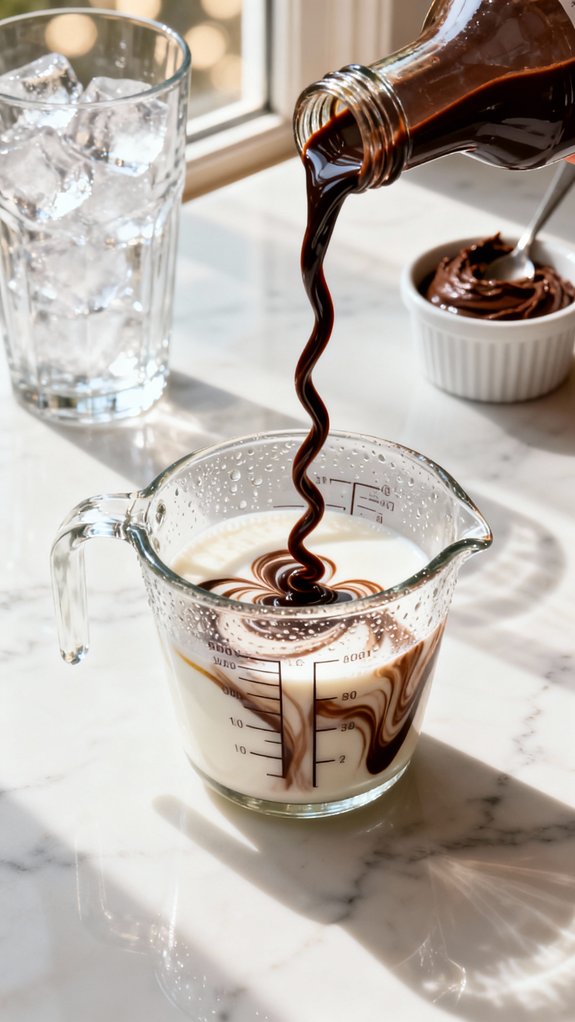
The chocolate syrup transforms regular milk into something that tastes almost like chocolate milk from my childhood lunchbox, but with a more grown-up edge since it’s going into coffee.
You’ll want to stir it thoroughly so there aren’t any syrup streaks clinging to the bottom of your container. I usually use a small whisk for this step, though a spoon works fine if you’re patient.
The goal is complete integration before it hits the ice and espresso. When properly mixed, the milk takes on a light cocoa color that promises sweetness without overwhelming the hazelnut notes already waiting in your glass.
This sweetened milk acts as the bridge between the strong espresso and your taste buds, softening the coffee’s intensity.
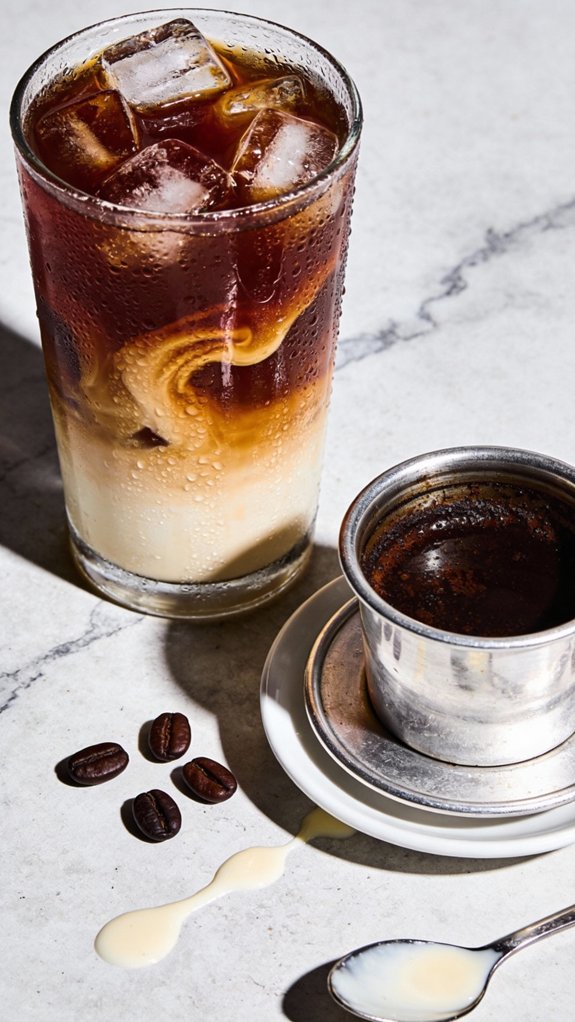
Step 4. Pour Milk Over Espresso
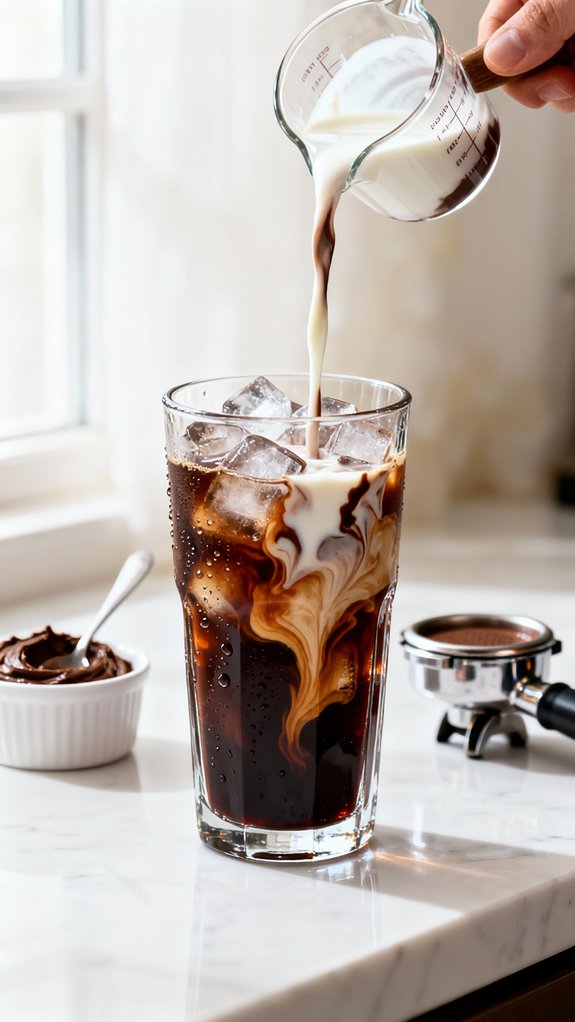
Now comes my favorite part—watching the chocolate milk cascade down through the ice and mingle with that waiting espresso below.
Pour slowly and you’ll see these gorgeous swirls forming in the glass, dark espresso meeting lighter chocolate milk. It’s like those fancy layered drinks you see at coffee shops, except you’re making it yourself.
I usually pour from about six inches above the glass so I can really watch the layers mix. The ice helps create this beautiful marbled effect as everything settles together.
Give it one final stir with a long spoon, reaching all the way to the bottom, and you’ll blend those flavors into the perfect balance of chocolate, hazelnut, and coffee.
Step 5. Stir and Serve Immediately
Once everything’s combined, you’ll want to grab that drink and take your first sip right away—iced lattes really hit different when they’re freshly made.
Give it one final stir from bottom to top to make sure all that chocolate hazelnut goodness gets evenly distributed throughout. The ice starts melting pretty quickly, which actually helps blend everything together, but you don’t want to wait too long or it’ll get watered down.
I learned this the hard way after letting one sit while I answered emails. The first few sips should taste rich and balanced, with the espresso cutting through the sweetness just enough.
If you topped yours with whipped cream, don’t mix it in completely—those distinct layers make each sip more interesting.
Final Thoughts
When you’re craving something sweet but still want that caffeine boost, this chocolate hazelnut iced latte hits differently than your standard coffee drinks.
I’ve made this on lazy Sunday mornings when regular coffee feels too plain, and it never disappoints. The hazelnut spread melts into the hot espresso like magic, creating this smooth base that tastes almost like liquid Nutella but not quite as intense.
You’ll spend maybe five minutes making it, which beats waiting in a drive-through line any day. Once you nail the basic recipe, you can adjust the sweetness to match your preferences. I usually cut back on the chocolate syrup after the first try.
It’s become my go-to afternoon treat.
Frequently Asked Questions
Can I Make This Drink Without an Espresso Machine?
Yes, you can use strong brewed coffee instead. The recipe specifically mentions this alternative—just brew 1/2 cup of strong coffee to replace the two espresso shots, and you’ll get similar results.
How Many Calories Are in a Chocolate Hazelnut Iced Latte?
This deliciously sinful drink packs approximately 250-300 calories when made with whole milk and the full recipe ingredients. You’ll reduce that count considerably by using low-fat milk or skipping the chocolate syrup topping.
What Brand of Chocolate Hazelnut Spread Works Best for This Recipe?
The recipe doesn’t specify a particular brand, so you can use any chocolate hazelnut spread you prefer. Nutella’s the most popular option, but store brands or artisan alternatives work equally well for this drink.
Can I Use Instant Coffee Instead of Brewed Espresso?
You’ll save about 5 minutes using instant coffee instead of espresso! Dissolve 2 tablespoons of instant coffee in 1/2 cup hot water, then follow the recipe as written for equally delicious results.
How Long Does This Drink Stay Fresh in the Refrigerator?
This drink’s best consumed immediately after preparation. Once mixed, you can store it refrigerated for 2-3 hours maximum, but the ice will dilute it and the flavors won’t taste as vibrant or fresh.