You’ve probably walked past those fancy coffee shops and spotted mint chocolate drinks on the menu, wondering if they’re worth the five-dollar price tag. Last summer, I figured out how to make my own version at home, and honestly, it’s become my go-to afternoon pick-me-up. The combination of cool mint and rich chocolate over ice hits differently when you know exactly what’s going in your cup, and your wallet will thank you for it.
History
The mint chocolate iced mocha doesn’t have some grand origin story with a famous inventor or a legendary café where it all began.
It’s more like what happens when coffeehouse culture meets the classic mint-chocolate combo that’s been popular in candies and desserts for decades.
You’ve probably noticed that peppermint mochas became a winter holiday thing at major coffee chains in the late 1990s.
The iced version naturally followed as people wanted that same flavor combination during warmer months.
Home coffee enthusiasts started experimenting, swapping hot for cold and tweaking recipes to their liking.
Now it’s just another drink you can make whenever you’re craving that revitalizing mint-chocolate taste with your caffeine fix.
Recipe
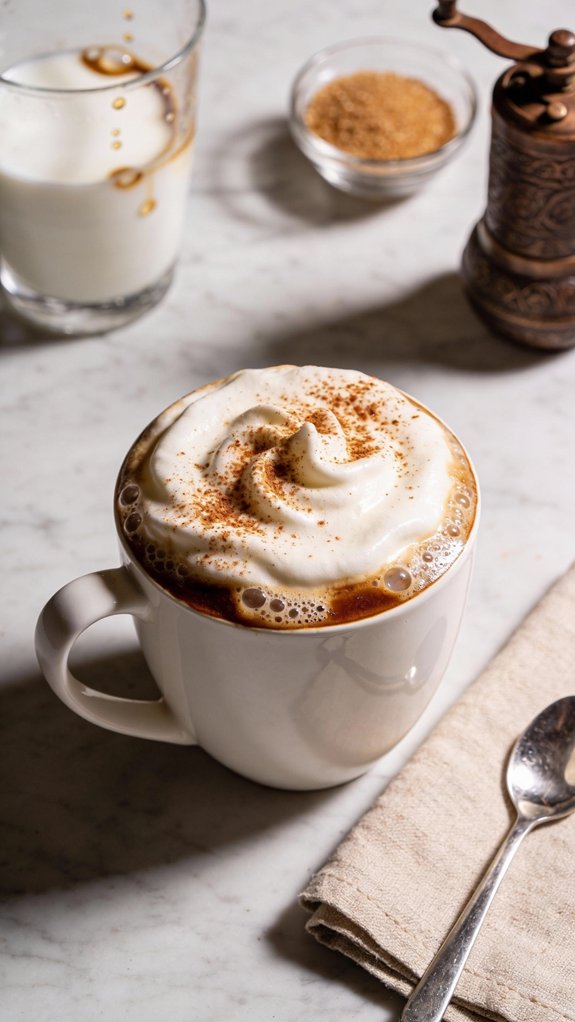
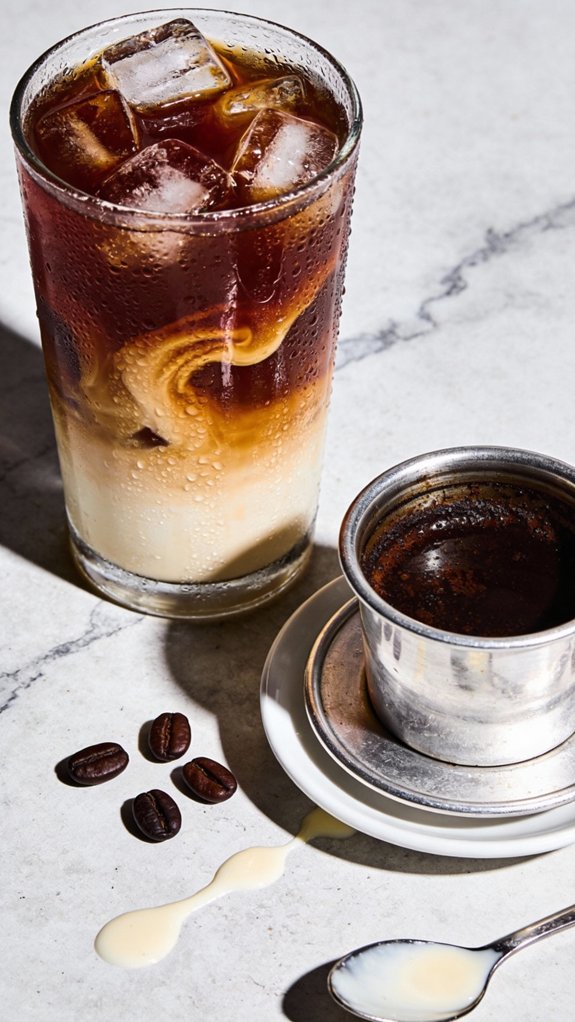
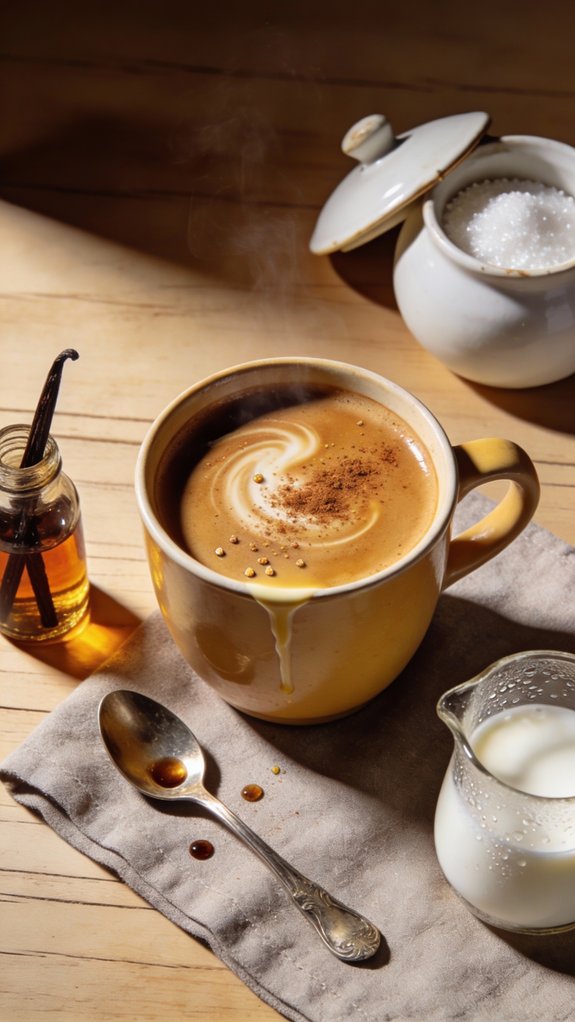
The Mint Chocolate Iced Mocha combines the richness of chocolate with the rejuvenating coolness of mint in a perfectly chilled coffee beverage. This indulgent drink delivers bold espresso flavor balanced by creamy sweetness and a crisp minty finish that awakens the palate.
The chocolate adds depth and richness while the mint provides a clean, invigorating contrast that makes every sip feel both decadent and revitalizing. This iced mocha is ideal for warm afternoons when you need an energizing pick-me-up or as a dessert-like treat that satisfies your sweet tooth while delivering a caffeine boost.
The combination of flavors makes it particularly popular during spring and summer months, though mint chocolate enthusiasts enjoy it year-round as a specialty coffeehouse-style beverage made right at home.
Ingredients
- 2 shots espresso (or 1/2 cup strong brewed coffee)
- 2 tablespoons chocolate syrup
- 1/2 teaspoon peppermint extract
- 1 cup milk
- Ice cubes
Shop Related Products

Steam Brewing: Powerful steam-brewing process brews dark, rich espresso, great for making Cuban coffee

Set: you will receive 1 pcs espresso steaming pitchers, 2 pcs glass espresso cups with handles, and 1 latte art pen; The espresso steaming pitchers has clear markings and can be use for frothing milk, measuring liquids, or as a coffee serving pitcher; The latte art pen helps you create beautiful coffee designs; Our coffee bar set is suitable for home, office, and coffee shops; It's versatile, easy to use, and perfect for beginners

Compact 3 oz size (2" x 2") – ideal for cream, milk, or similar uses; note that this is a smaller creamer.
Preparation
- Brew the espresso and let it cool for a few minutes, or prepare strong coffee and allow it to reach room temperature.
- In a tall glass, combine the chocolate syrup and peppermint extract.
- Add the espresso and stir well to guarantee the chocolate is fully dissolved and mixed with the mint.
- Fill the glass with ice cubes.
- Pour the milk over the top.
- Stir everything together until the drink is well combined and chilled throughout.
Shop Related Products

FLAVOR ENHANCEMENT: The espresso frozen ball reduces bitterness and delivers a smoother, more balanced taste by rapidly chilling the espresso to maintain its original flavor.

BARISTA PLUS TECHNOLOGY: The 19-bar pressure system delivers ultra-flavorful espresso with a silky-smooth crema by brewing at the optimal temperature and pressure.
Tips
Adjust the peppermint extract to your taste preference, starting with 1/4 teaspoon if you prefer a subtle mint flavor or increasing to 3/4 teaspoon for a more pronounced minty kick.
Any type of milk works well in this recipe, including whole milk for maximum creaminess, oat milk for a dairy-free option, or almond milk for a lighter version.
For a less sweet drink, reduce the chocolate syrup to 1 tablespoon or use unsweetened cocoa powder mixed with a touch of honey instead.
Make the espresso ahead of time and store it in the refrigerator so it’s ready to use, or freeze leftover coffee into ice cubes to prevent dilution as they melt.
Preparation Steps
Making this mint chocolate iced mocha is easier than you’d think, and I’ve streamlined the process so you can have your drink ready in just a few minutes.
You’ll start by brewing your espresso and letting it cool slightly while you gather your other ingredients, then combine everything in layers that come together with a simple stir.
The key is working in the right order—chocolate and mint first, then coffee, ice, and finally milk—so each flavor distributes evenly throughout the glass.
Step 1. Brew and Cool Espresso
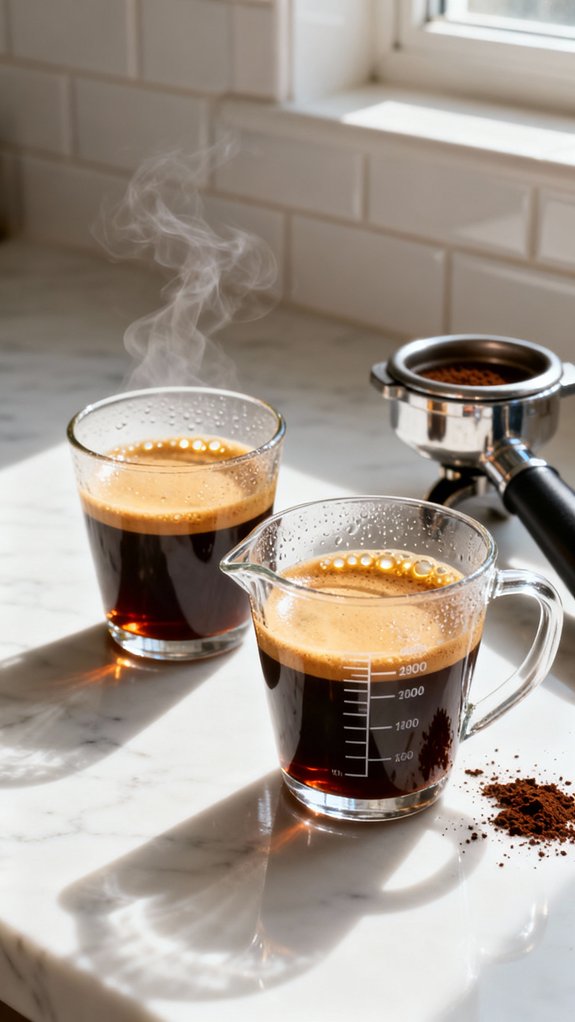
Before you can build your mint chocolate iced mocha, you’ll need to start with freshly brewed espresso that’s had time to cool down.
Pull two shots of espresso using your machine, or brew about half a cup of strong coffee if that’s what you’ve got. The hot espresso needs to cool for at least five minutes before you add it to your drink, otherwise it’ll melt all your ice too quickly and you’ll end up with a watery mess.
I usually set my espresso aside while I gather the chocolate syrup and peppermint extract. If you’re planning ahead, brew it earlier and stick it in the fridge. Room temperature espresso works perfectly fine for this recipe.
Step 2. Combine Chocolate and Mint

Once your espresso has cooled down, grab a tall glass and add the two tablespoons of chocolate syrup first.
Then measure out half a teaspoon of peppermint extract and pour it right on top of that chocolate.
Now here’s where it gets good—pour in your espresso shots and watch everything start to swirl together.
Grab a spoon and stir really well. You want that chocolate completely dissolved, not sitting in a puddle at the bottom.
I learned this the hard way when my first attempt left me with plain coffee on top and a sugar bomb at the end.
Mix until the chocolate and mint blend into the espresso, creating this rich, dark mixture that smells incredible.
Step 3. Add Ice to Glass
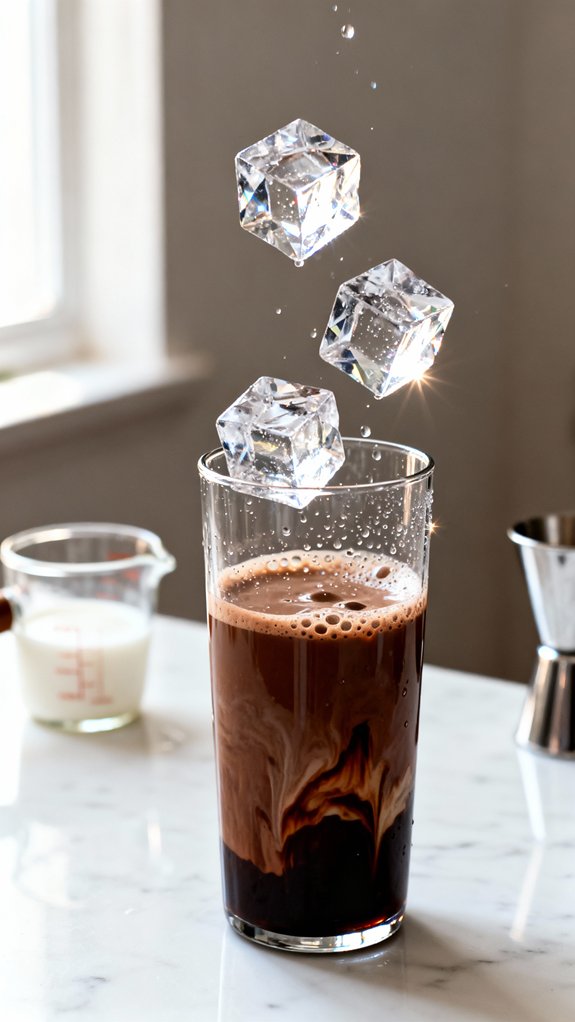
Now you’ve got this beautifully mixed chocolate-mint espresso base sitting there, and it’s time to fill up that glass with ice.
Don’t be shy about this part. You want to pack that glass pretty full with ice cubes, leaving maybe an inch from the rim. The more ice you add, the colder your drink stays as you sip it on a warm afternoon.
I usually grab a handful of cubes and drop them in until they reach near the top. The ice is what transforms this from a regular coffee drink into something genuinely invigorating.
You’ll hear that satisfying crackling sound as the cubes hit the warm espresso mixture, and the temperature immediately starts dropping, creating that perfect iced beverage you’re after.
Step 4. Pour Milk Over Ice

The milk goes in next, and this is where the magic really happens. Pour it slowly over the ice-filled glass, watching as it swirls through the dark coffee and creates those pretty marbled streaks.
I always use cold milk straight from the fridge because it keeps everything properly chilled. The milk should reach about an inch from the rim, leaving just enough space for stirring.
You’ll notice the drink layers naturally at first, with darker tones at the bottom and lighter cream tones at the top, almost like a fancy coffeehouse drink.
Don’t worry about making it perfect—once you stir it together, all those beautiful layers blend into one smooth, minty-chocolate beverage that’s completely worth the wait.
Step 5. Stir Until Well Blended
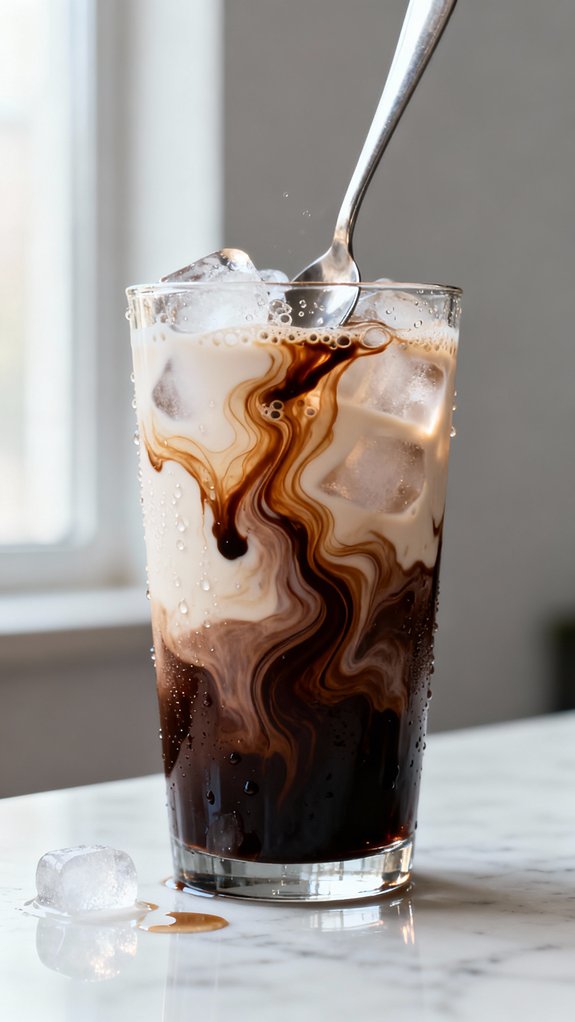
After pouring in the milk, I grab a long spoon—something that reaches all the way to the bottom of the glass—and start stirring everything together in smooth, circular motions.
I make sure to scrape along the bottom where the chocolate syrup likes to settle, bringing up those darker swirls and watching them blend into the lighter coffee above. The whole thing starts looking marbled at first, then gradually turns into this uniform, creamy tan color.
I keep stirring for about fifteen seconds until I can’t see any separation between the milk, coffee, and chocolate layers. The ice cubes clink against the sides as I stir, and the drink gets colder with each rotation, which tells me it’s ready.
Final Thoughts
When I’m craving something that feels special without the coffee shop price tag, this mint chocolate iced mocha delivers every time. The combination hits that perfect spot between invigorating and indulgent, especially on warm afternoons when regular coffee feels too heavy.
I’ve made this for friends who initially seemed skeptical about the mint-chocolate-coffee trio, but they always end up asking for the recipe. The beauty of making it at home is controlling exactly how minty or chocolatey you want it.
Some days I go heavy on the peppermint for that crisp, almost cooling sensation. Other times I dial it back and let the chocolate take center stage. Either way, you’re getting a drink that tastes expensive but costs maybe a dollar to make.
Frequently Asked Questions
Can I Make This Drink With Decaf Espresso or Coffee?
Yes, you can absolutely use decaf espresso or decaf coffee in this recipe. The flavor won’t change—you’ll still enjoy the delicious mint chocolate combination without the caffeine boost.
How Long Does the Prepared Iced Mocha Stay Fresh in the Refrigerator?
You can store the prepared iced mocha in the refrigerator for up to 24 hours, though it’s best enjoyed within 12 hours. Keep it covered, and stir well before drinking since ingredients may separate.
What Can I Use Instead of Peppermint Extract for Mint Flavor?
You can substitute fresh mint leaves (muddle 8-10 in the glass), mint syrup, or crème de menthe for peppermint extract. Fresh leaves provide natural flavor, while mint syrup offers convenient sweetness and intensity control.
Does This Recipe Work With Cold Brew Coffee Instead of Espresso?
Yes, you can use cold brew instead of espresso. Since cold brew’s milder than espresso, you’ll want to use about 3/4 cup to maintain the coffee flavor’s strength in your iced mocha.
Can I Add Whipped Cream or Other Toppings to This Drink?
You can absolutely add whipped cream on top, along with chocolate shavings, crushed peppermint candies, or a drizzle of extra chocolate syrup. These toppings enhance the drink’s presentation and add delicious textural contrast.