You’d never guess that maple syrup and sea salt together can actually make your taste buds perceive sweetness more intensely than sugar alone. I stumbled onto this trick last summer when I accidentally grabbed the wrong container while making cold brew, and honestly, it changed everything about my morning coffee routine. The combination sounds weird at first, but there’s something about that sweet-salty balance that keeps you coming back for another sip, wondering why nobody told you about this sooner.
History
The maple sea salt cold brew doesn’t have some grand origin story in a fancy café or a moment when a celebrity chef declared it trendy.
It’s more like something that evolved naturally when people started experimenting with their morning coffee. Cold brew itself became popular in the early 2000s, mostly because it was less bitter and easier on sensitive stomachs than regular iced coffee.
The maple and sea salt combination probably came from home brewers who got bored with plain cold brew and started raiding their pantries for interesting additions.
Maple syrup was already sitting there for pancakes, and sea salt had become a thing people sprinkled on everything from chocolate to caramel, so mixing them into coffee made sense.
Recipe
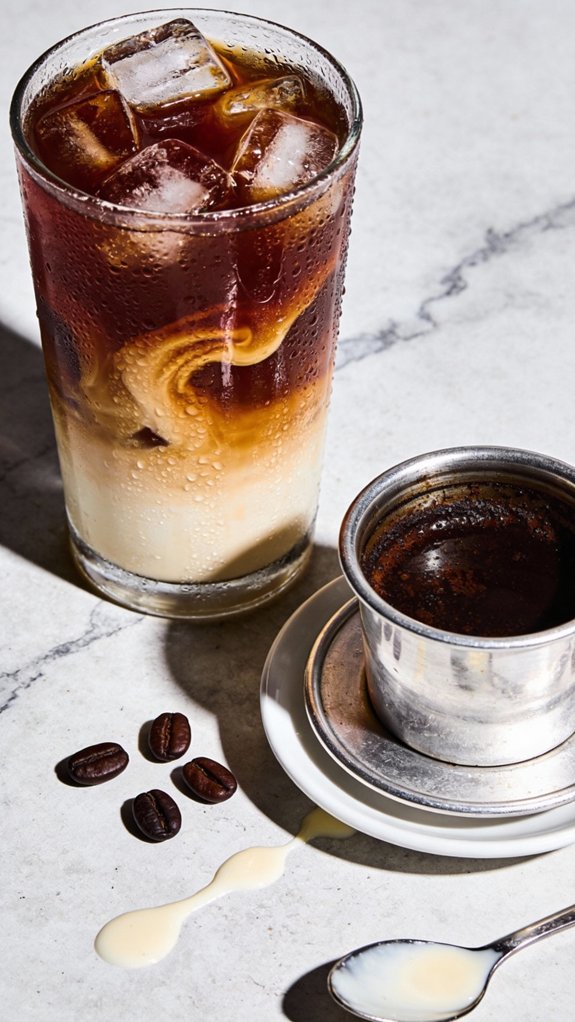
This cold brew coffee gets elevated with the natural sweetness of pure maple syrup and a delicate sprinkle of flaky sea salt. The maple adds rich, caramel-like notes that complement the smooth, low-acid character of cold brew, while the sea salt enhances the coffee’s inherent flavors and provides a sophisticated savory-sweet balance. The result is a refined iced coffee that tastes like liquid gold.
Perfect for warm afternoons or as a special morning treat, this drink offers sustained energy without the harsh bitterness of traditional iced coffee. The natural sugars in maple syrup provide a gentler sweetness than processed sugar, and the cold brew method creates a concentrate that stays strong even as the ice melts.
Ingredients
- 4-6 ounces cold brew coffee concentrate
- 1-2 tablespoons pure maple syrup
- ⅛ teaspoon sea salt (flaky or fine)
- Ice
- ½ cup milk or cream
Shop Related Products

【⚠️ Important Usage Warning】: Do not pour boiling water directly into the container; the maximum safe operating temperature is 60°C (140°F). Avoid drastic sudden temperature shifts to stop cracking damage.

Durable Cold Brew Pitcher: Crafted from thick, high-quality, food-grade soda-lime glass, this cold brew coffee maker is built for long-lasting durability. Unlike plastic, it’s BPA-free, lead-free, and free from harmful chemicals, ensuring your drinks stay fresh and free of unpleasant odors. With its sturdy construction, this pitcher is perfect for daily use. Trusted by over 150,000 coffee lovers, the Mason jar design makes it ideal for storing and pouring cold brew coffee, iced tea, and more

EASY TO USE & CLEAN - Brew smooth cold brew coffee in just a few steps. No complicated setup needed, just Add grounds, pour water, and steep. This cold brew coffee maker is designed for everyday use, with dishwasher-safe parts for quick cleanup. (DO NOT ADD WARM OR BOILING WATER)
Preparation
- Fill a tall glass with ice.
- Pour the cold brew concentrate over the ice.
- Add the maple syrup and stir well to combine.
- Pour in the milk or cream, stirring gently for a gradient effect or thoroughly for uniform color.
- Sprinkle the sea salt on top.
- Serve immediately.
Shop Related Products

Heavy Duty Glass Pitcher: Crafted from high-quality, food-grade soda-lime glass with a thickness of 4.15mm, this heavy-duty pitcher feels solid and well-balanced in hand. Break-resistant and built to last, it preserves the taste of your drinks better than plastic. Perfect for cold brews, iced teas, juices, and more, this pitcher’s compact design fits easily in most fridge doors. Trusted by over 300,000 coffee enthusiasts, JunVpic Cold Brew Coffee Maker is the perfect addition to your kitchen.

4 BREW STYLES: Select from Classic, Rich, Over Ice, and Cold Brew for coffee any way you like it.

EASY TO USE & CLEAN - Brew smooth cold brew coffee in just a few steps. No complicated setup needed, just Add grounds, pour water, and steep. This cold brew coffee maker is designed for everyday use, with dishwasher-safe parts for quick cleanup. (DO NOT ADD WARM OR BOILING WATER)
Tips
Adjust the maple syrup quantity based on the grade you’re using—Grade A Dark has a stronger flavor than Golden, so you may need less.
For milk options, oat milk provides extra creaminess that pairs beautifully with maple, while whole milk keeps it classic and rich; dairy-free alternatives like almond or coconut work well too.
If the drink is too sweet, reduce the maple syrup to 1 tablespoon or add an extra ounce of cold brew.
You can pre-mix the cold brew and maple syrup in a jar and refrigerate for up to a week, then simply pour over ice and add milk and salt when ready to serve.
Preparation Steps
Making this drink is straightforward, and I’ve found the order of steps really matters for getting that perfect balance of flavors.
You’ll start with ice and cold brew as your foundation, then build sweetness and creaminess layer by layer.
The sea salt goes on last, right before you take that first sip, so it hits your tongue with little bursts of flavor against the sweet maple.
Step 1. Fill Glass With Ice
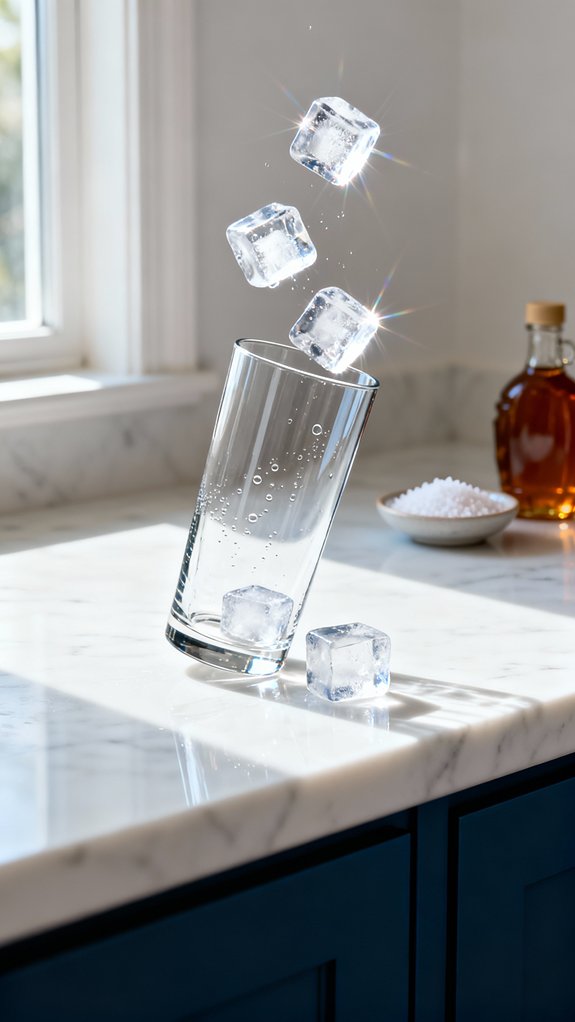
Starting with a tall glass is my go-to move here, and I’ve learned through many watery disappointments that the size matters more than you’d think.
You’ll want something that holds at least 12 ounces, maybe 16 if you’re really thirsty. I grab mine from the cabinet and fill it about three-quarters full with ice cubes. The glass should feel cold in your hand almost immediately.
Don’t skimp on the ice—that’s where I went wrong the first time, using just a few cubes and ending up with lukewarm coffee five minutes later. Pack those cubes in there snugly, leaving enough room at the top for the liquid you’ll add next.
The ice creates little pockets that’ll catch the maple syrup beautifully.
Step 2. Add Cold Brew Concentrate
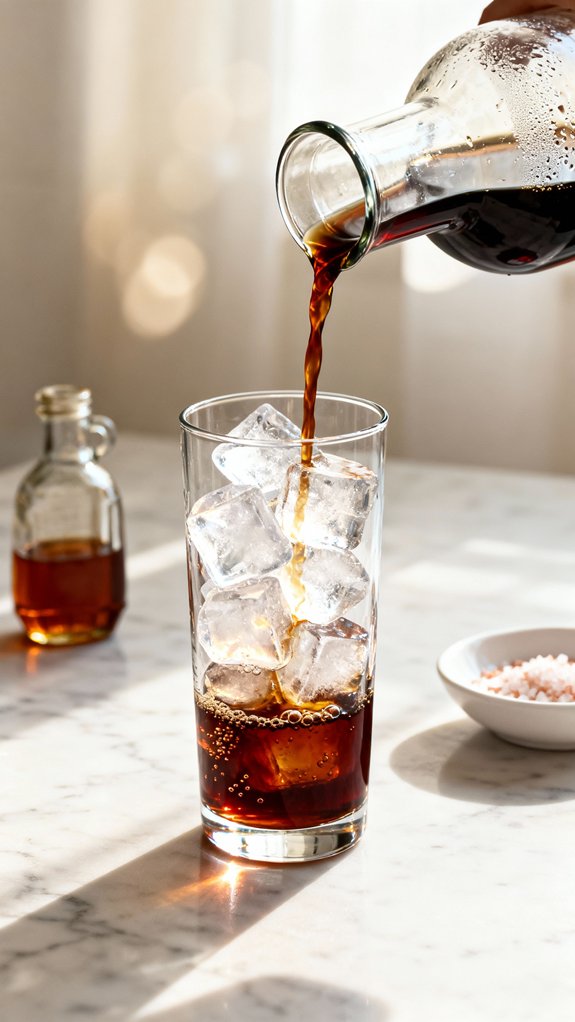
Grab your cold brew concentrate from the fridge, and you’ll notice how dark it looks—almost like motor oil but in a good way, I promise.
Pour four to six ounces over your ice, depending on how strong you want it. I usually go with five ounces because I like that bold coffee flavor without it knocking me sideways.
The concentrate will cascade through the ice cubes, making this satisfying crackling sound as the cold liquid hits the frozen water. It’ll settle at the bottom of your glass, creating this deep brown layer that’s waiting for the maple syrup and milk.
If you’re new to cold brew, start with four ounces—you can always add more next time.
Step 3. Stir in Maple Syrup
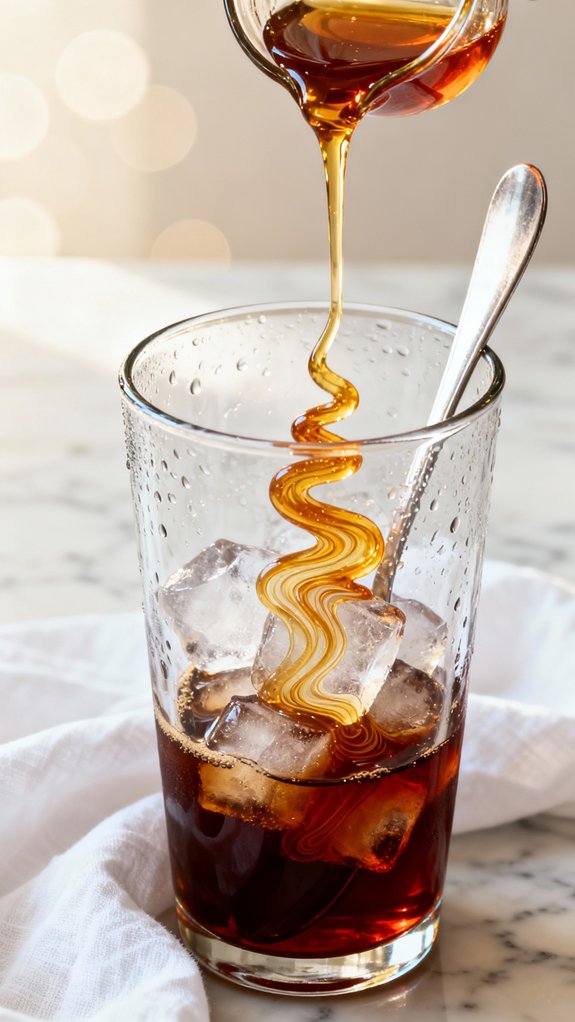
Once you’ve got the cold brew sitting there in your glass, drizzle one to two tablespoons of maple syrup directly onto the ice.
I usually start with one tablespoon and taste it before adding more, since different maple syrup grades have their own intensity levels.
The syrup will sink straight to the bottom at first, creating this amber pool beneath the dark coffee, which honestly looks pretty cool.
Grab a long spoon and stir everything together thoroughly, making sure the maple syrup doesn’t just hang out at the bottom.
You’ll want to stir for about fifteen to twenty seconds, scraping along the base of the glass to incorporate all that sweetness.
The mixture should look uniform and slightly lighter in color once you’re done.
Step 4. Pour in Milk or Cream
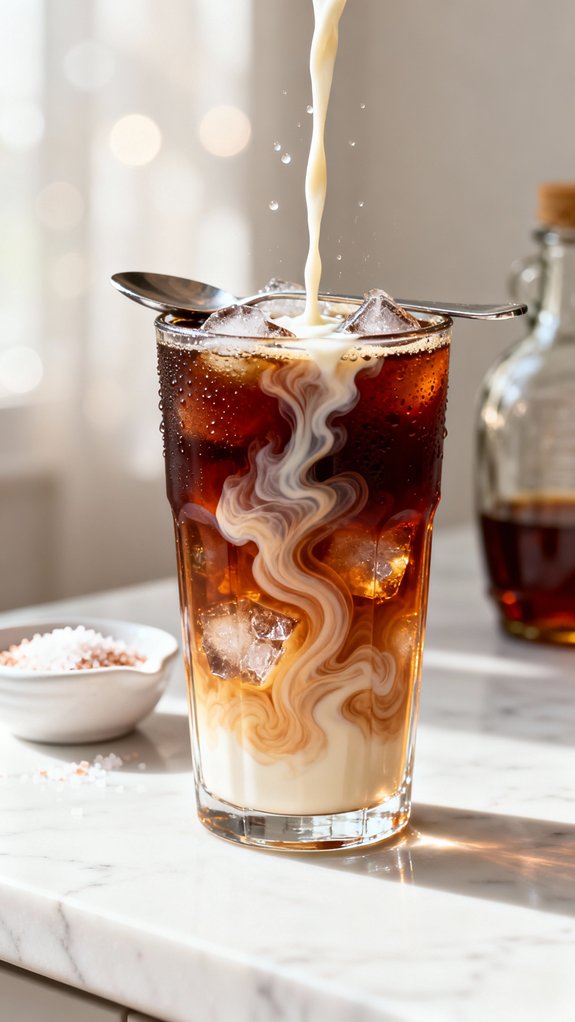
The milk or cream is what transforms this from just sweetened coffee into something that actually feels indulgent and smooth. Pour in about half a cup, adjusting based on how strong you want the coffee flavor to come through.
I usually add it slowly and watch it swirl through the dark coffee and maple mixture, creating these beautiful caramel-colored ribbons before everything blends together. You can stir gently to keep that layered look a bit longer, or mix it thoroughly if you prefer consistency in every sip.
Whole milk gives you classic richness, oat milk adds extra creaminess that’s almost dessert-like, and lighter options like almond milk keep things invigorating without losing that smooth texture you’re after.
Step 5. Sprinkle Sea Salt On Top
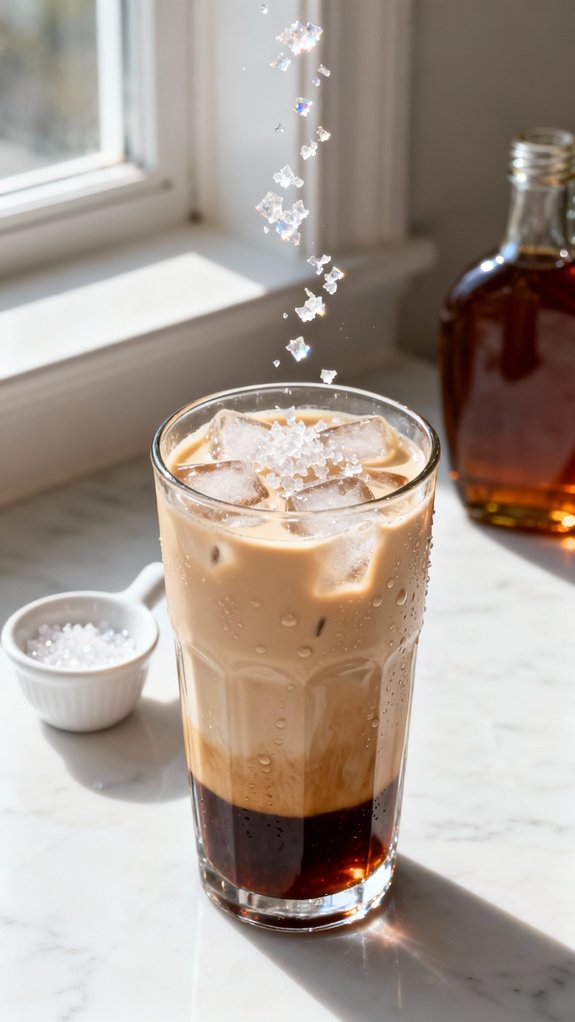
Right before you take that first sip, you’ll add what seems like the smallest ingredient but makes the biggest difference.
Grab your flaky sea salt and pinch just about ⅛ teaspoon between your fingers. Sprinkle it directly over the top of your drink, letting the crystals fall where they may. Some will dissolve immediately into the cream, while others float on the surface.
This isn’t a mistake—it’s exactly what you want. Those floating salt crystals create little pockets of savory brightness as you drink.
I learned this trick from a café in Portland, where the barista explained that salt doesn’t just season the coffee; it amplifies the maple’s sweetness and brings out subtle chocolate notes in the cold brew you might’ve missed otherwise.
Final Thoughts
When I first tried this maple sea salt cold brew on my back porch last summer, I honestly didn’t expect much—just another trendy coffee thing, you know?
But that first sip changed my mind pretty quick. The maple wasn’t fake-sweet like syrup on pancakes, and the salt didn’t make it taste like seawater. It just worked.
Now I make it every weekend, sometimes twice if I’m being honest. My neighbor asked for the recipe after she tried mine, which felt pretty good.
The best part is how simple it is—no fancy equipment, no complicated steps, just good coffee with ingredients I already had in my kitchen.
Give it a shot sometime.
Frequently Asked Questions
Can I Use Regular Table Salt Instead of Sea Salt?
You *can* use table salt, but here’s the irony: you’ll lose the delicate flavor bursts that make this drink special. Table salt dissolves instantly and tastes harsher, while flaky sea salt provides gentle, sophisticated pops of salinity.
How Long Does Homemade Cold Brew Concentrate Last in the Refrigerator?
Your homemade cold brew concentrate will last 10-14 days in the refrigerator when stored in an airtight container. You’ll notice the flavor starts declining after two weeks, so it’s best to make smaller batches more frequently.
What’s the Caffeine Content Compared to Regular Hot Brewed Coffee?
Cold brew typically contains 200mg of caffeine per 8 ounces—roughly double the 95mg in regular hot coffee. You’re getting a stronger kick because the extended steeping time extracts more caffeine from the grounds.
Can I Make This Recipe Without Any Milk or Cream?
Yes, you can absolutely skip the milk or cream. Just pour your cold brew concentrate over ice, stir in the maple syrup, and top with sea salt for a delicious dairy-free version.
Does the Type of Coffee Bean Affect the Final Flavor?
Yes, the coffee bean type considerably affects flavor. Light roasts’ll highlight maple’s sweetness with fruity notes, while dark roasts create deeper, chocolate-like flavors. You’ll want to choose beans that complement the maple-salt combination you’re creating.