A latte is like a warm hug in a cup, the kind that makes Monday mornings feel less brutal. I’ll never forget watching my barista friend transform simple espresso and milk into café-quality drinks right in her tiny kitchen, no fancy machine required. She taught me that you don’t need expensive equipment or years of training to craft something that rivals your favorite coffee shop’s signature pour.
History
While the word “latte” might sound fancy and Italian, I’ve learned that coffee and milk have been hanging out together for centuries across different cultures.
Europeans were mixing coffee with milk back in the 1600s, though they called it different names.
The modern latte as it’s commonly understood really took off in America during the 1980s, when espresso culture exploded in Seattle coffee shops.
Baristas started creating the specific ratio we recognize today: one part espresso to three parts steamed milk, topped with a thin layer of microfoam.
What started as a way to make espresso less intense for American palates became its own beloved drink.
Now you’ll find lattes everywhere, from corner cafés to fancy restaurants.
Recipe
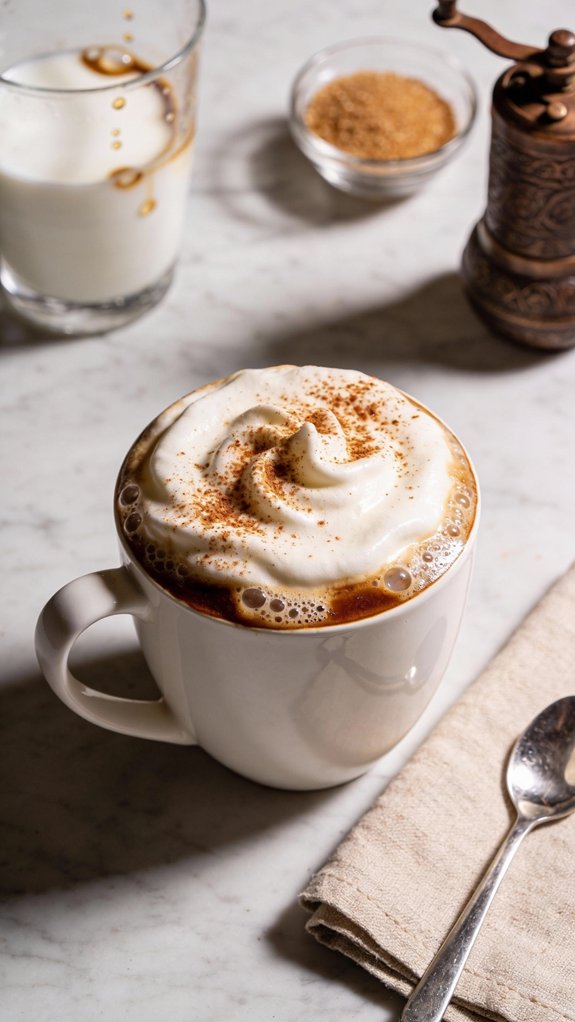
A latte is the perfect coffee drink when you want something smooth and comforting without the intensity of straight espresso. The combination of rich espresso and velvety steamed milk creates a balanced beverage that’s both satisfying and approachable. The microfoam on top adds a luxurious texture that makes each sip feel special.
This versatile drink works beautifully any time of day—as a gentle morning wake-up call, an afternoon energy boost, or even alongside dessert. While you can customize it with various flavors, a classic latte stands wonderfully on its own, letting the quality of the espresso and the creaminess of the milk shine through.
Ingredients
- 2 shots espresso (2 ounces)
- 8 ounces whole milk
- 1 tablespoon granulated sugar (optional)
- 1/4 teaspoon vanilla extract (optional)
- Pinch of cinnamon for garnish (optional)
Preparation Steps
- Brew 2 shots of espresso directly into a large mug or heat-safe glass.
- Heat the milk in a saucepan over medium heat or with a steam wand until it reaches about 150°F.
- Aerate the milk while heating to create microfoam for a creamy texture.
- If using sugar and vanilla, stir them into the hot espresso until the sugar dissolves.
- Pour the steamed milk over the espresso, holding back the foam with a spoon.
- Top with the remaining foam.
- Dust lightly with cinnamon if desired.
Tips and Variations
For a dairy-free version, oat milk froths most similarly to whole milk, though almond milk also works. Adjust sweetness to your preference—skip the sugar entirely for a traditional latte, or substitute with honey or maple syrup.
You can use 2% milk for a lighter drink or add a splash of heavy cream for extra richness. The vanilla is completely optional and can be omitted for a more authentic taste or increased for a bolder flavor.
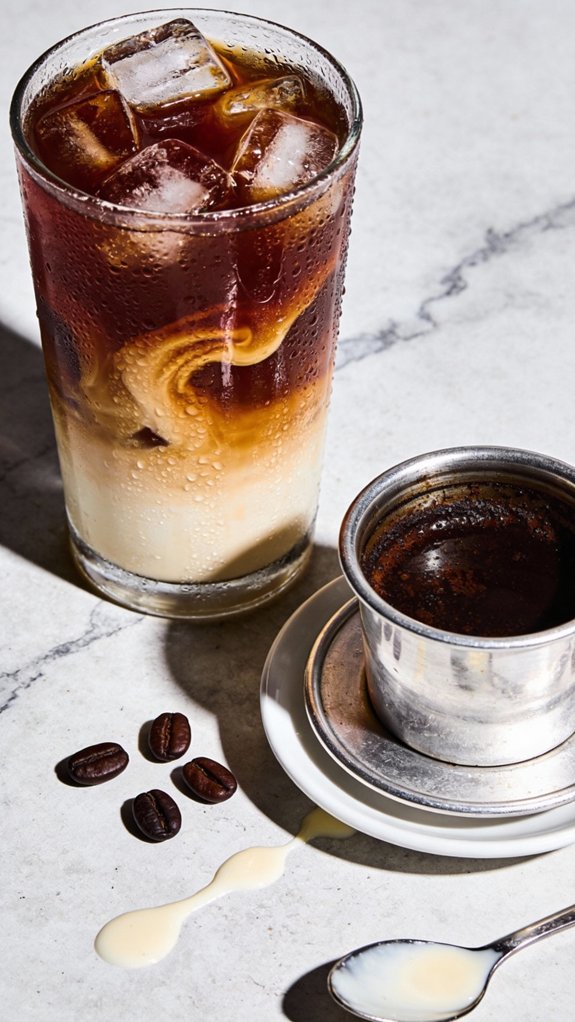
While lattes are best enjoyed fresh and hot, you can brew espresso ahead and refrigerate it for up to 24 hours if you want to make iced lattes later.
Preparation Steps
Making a perfect latte isn’t complicated once you’ve got your ingredients ready and your espresso machine warmed up.
The whole process takes about five minutes from start to finish, and I’ve found that working in a steady rhythm—brewing the espresso while simultaneously heating the milk—makes everything come together smoothly.
You’ll want to move quickly through each step so your espresso stays hot and your milk maintains that silky, microfoam texture that makes a latte feel luxurious.
Shop Related Products
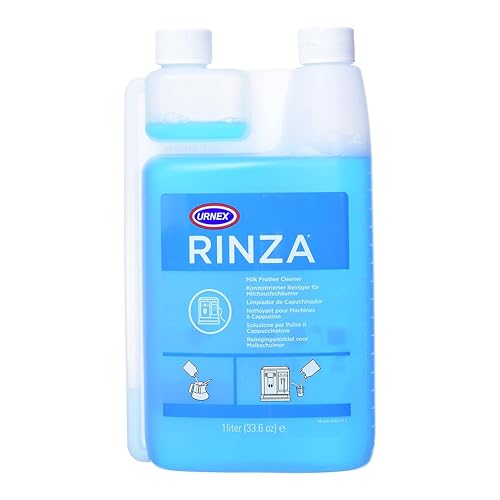
Milk frother cleaner breaks down milk protein buildup.

Fast Extraction, Smooth & Work-Ready: The optimized 3.5-bar pressure system extracts gently to reduce bitterness, delivering a noticeably smooth, mild brew for those who prefer a delicate coffee profile. Combined with rapid 800W preheating, this espresso machine is ready to brew almost instantly—making your morning routine refreshly efficient before you head to work

Perfect Combination Of Milk Frothing Pitcher And Latte Art Pen: The milk frother jug can be used in different ways: froth or steam milk for lattes; measure liquids; serve milk or cream. Featured with a latte art pen which can shape kinds of beautiful coffee pattern. Perfect for making frothing or steaming milk for espresso, cappuccino or hot chocolate. Be your own barista in home and office.
Step 1. Brew Espresso Into Mug
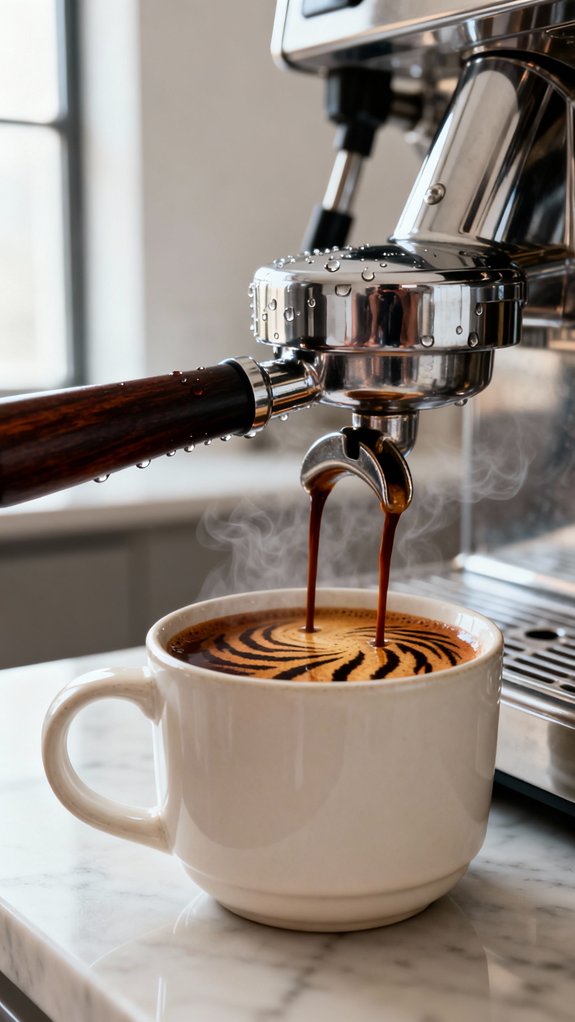
The espresso machine hisses and gurgles as I position my favorite mug directly beneath the portafilter, the one with enough room for all that steamed milk I’ll add later.
I press the button and watch two shots of dark espresso stream into the mug, filling the kitchen with that rich coffee aroma that reminds me of Sunday mornings.
The whole process takes about thirty seconds, maybe less if your machine runs hot. While it brews, I grab my sugar and vanilla extract from the cabinet.
The espresso should look thick and slightly syrupy with a thin layer of crema on top, that golden-brown foam that tells you it’s a good pull.
Now it’s ready for sweetening.
Step 2. Heat and Froth Milk
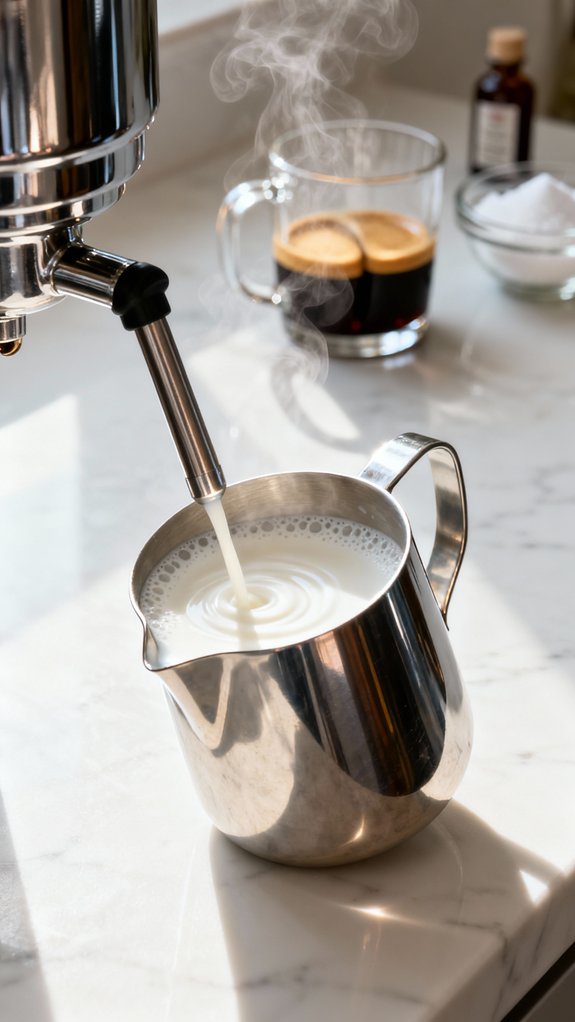
Steam wands can seem intimidating at first, but I promise they’re simpler than they look once you get the hang of it.
You’ll want to heat your milk to about 150°F, which feels hot but not scalding when you touch the pitcher.
I like starting with the wand just below the milk’s surface, creating that satisfying hissing sound as it pulls in air and forms those tiny bubbles we’re after.
Keep the pitcher at an angle and move it slightly to create a whirlpool effect.
Once you see the milk expanding and getting that glossy, paint-like texture, you’ve nailed it.
The whole process takes maybe thirty seconds, and you’ll end up with velvety microfoam that’s perfect for pouring.
Step 3. Add Sugar and Vanilla
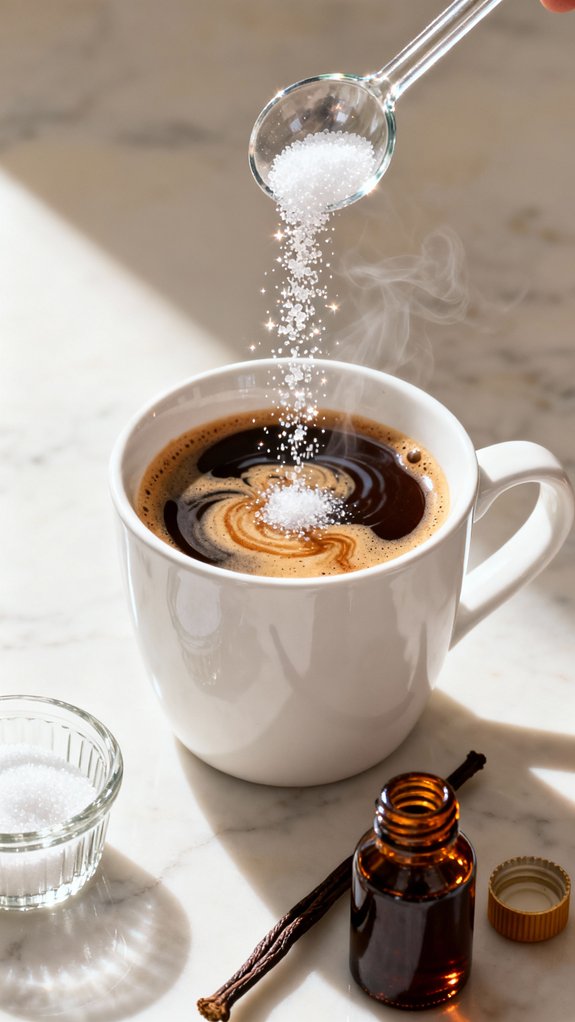
Once you’ve got your espresso ready in the mug, I drop in the sugar while it’s still piping hot because that’s when it dissolves fastest. A tablespoon is standard, but honestly, I’ll use less if I’m drinking it in the morning and more if I need an afternoon treat.
The vanilla extract comes next, just a quarter teaspoon to add a subtle sweetness without overpowering the coffee. I stir everything together with a spoon until I can’t see any sugar crystals at the bottom anymore.
The whole process takes maybe fifteen seconds. You’ll notice the espresso gets slightly lighter in color as you mix, and the vanilla adds this gentle aroma that makes the whole drink smell bakery-sweet.
Step 4. Pour Milk Over Espresso
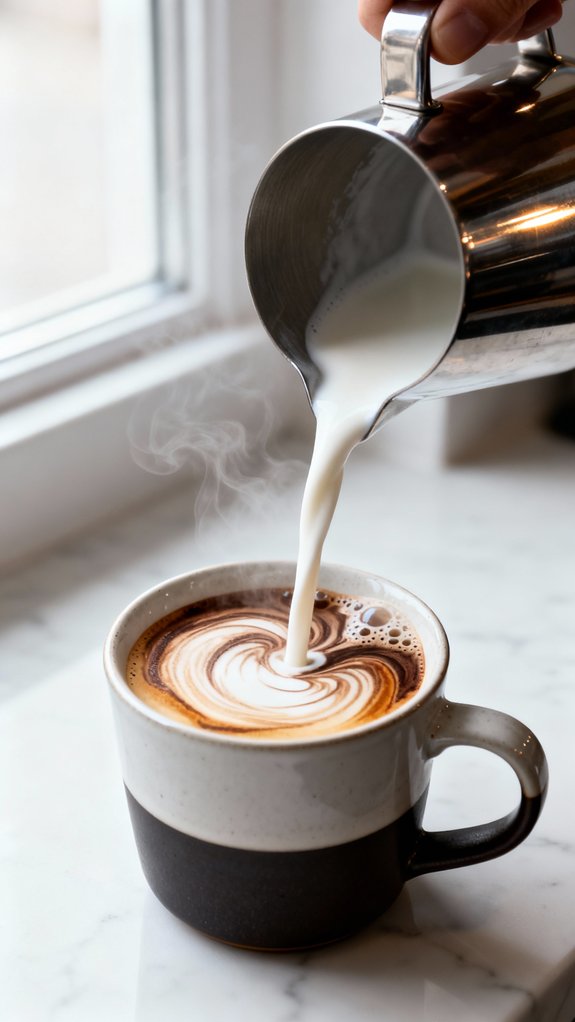
With your espresso now sweetened and fragrant, it’s time to bring in the milk that transforms this into an actual latte.
Grab your pitcher of steamed milk and start pouring it steadily over the espresso, aiming for the center of your mug. The two liquids will start blending together, creating those beautiful swirls of tan and brown that make me think of lazy Sunday mornings.
Use a spoon to hold back most of the foam at first—you’re building layers here, not dumping everything in at once. The milk should flow smoothly, mixing with the espresso naturally as it fills your cup.
Once you’ve poured about three-quarters of the milk, let that creamy foam cascade on top to finish things off.
Step 5. Dust With Cinnamon Topping
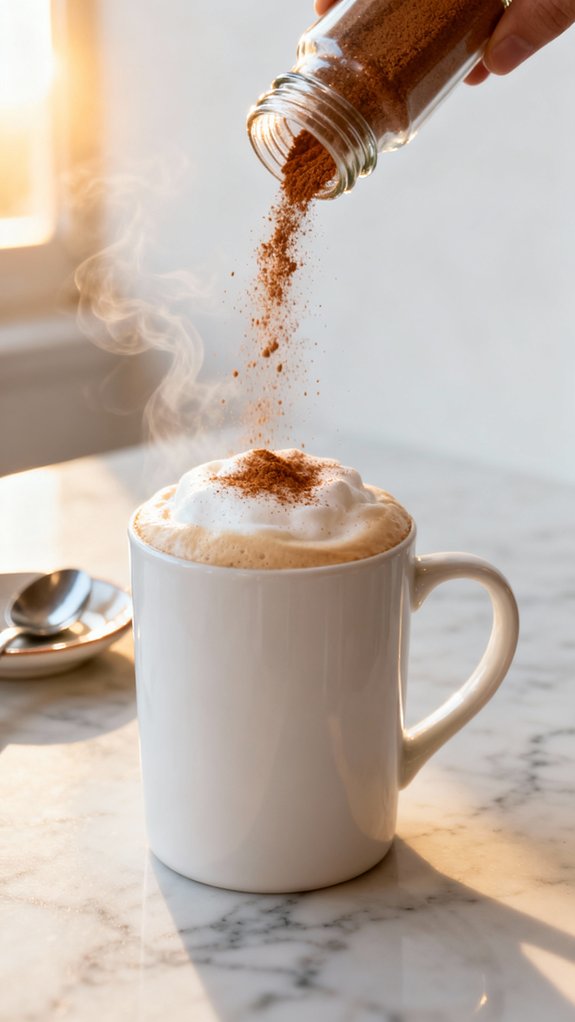
A light shake of cinnamon over your latte is what turns a perfectly good drink into something that makes you pause before that first sip.
Hold your cinnamon shaker about six inches above the foam and give it just one or two gentle taps. You’re not frosting a cake here. The goal is tiny specks that’ll catch the light and add subtle warmth without overwhelming the coffee.
I usually dust mine right before I sit down because the cinnamon looks best on fresh foam, those little brown flecks sitting pretty on white microfoam. If you wait too long, the foam settles and loses that Instagram-worthy appearance.
Some people skip this step entirely, but I think it’s worth the extra second.
Final Thoughts
I’ve been making lattes at home for years now, and I can honestly say it’s one of those skills that transformed my mornings in a way I didn’t expect.
There’s something satisfying about skipping the coffee shop line and creating exactly what you want in your own kitchen. The first few attempts mightn’t look Instagram-perfect, but the taste will still beat most chain店 drinks.
After a while, you’ll develop your own preferences—maybe you like extra foam, or you’ll discover that a touch of cinnamon makes everything better.
The money you save adds up quickly too. Within a month of daily lattes, you’ve basically paid for any equipment you bought.
It’s a small luxury that feels special every single time.
Frequently Asked Questions
Can I Make a Latte Without an Espresso Machine?
Yes, you can use strong brewed coffee from a French press, Moka pot, or AeroPress as an espresso substitute. You’ll need to brew it extra concentrated, then froth your milk using a whisk or jar.
What’s the Difference Between a Latte and a Cappuccino?
The main difference is the milk ratio and foam. You’ll use more steamed milk and less foam in a latte, while a cappuccino has equal parts espresso, steamed milk, and thick foam, making it stronger-tasting.
How Many Calories Are in a Typical Latte?
A typical latte contains about 190 calories, though your drink’s calorie count depends on milk choice and size. Notably, switching from whole milk to nonfat milk can cut nearly 80 calories while you’ll still enjoy creamy foam.
Can I Make Latte Art at Home?
Yes, you can create latte art at home with practice. You’ll need properly steamed milk with microfoam and steady pouring technique. Start with simple designs like hearts, then progress to more complex patterns as your skills improve.
How Long Does Brewed Espresso Stay Fresh?
Brewed espresso stays fresh for about 10 minutes before its flavor deteriorates considerably. You’ll notice it becomes bitter and loses complexity. For best results, you should use it immediately or refrigerate it for iced drinks within 24 hours.