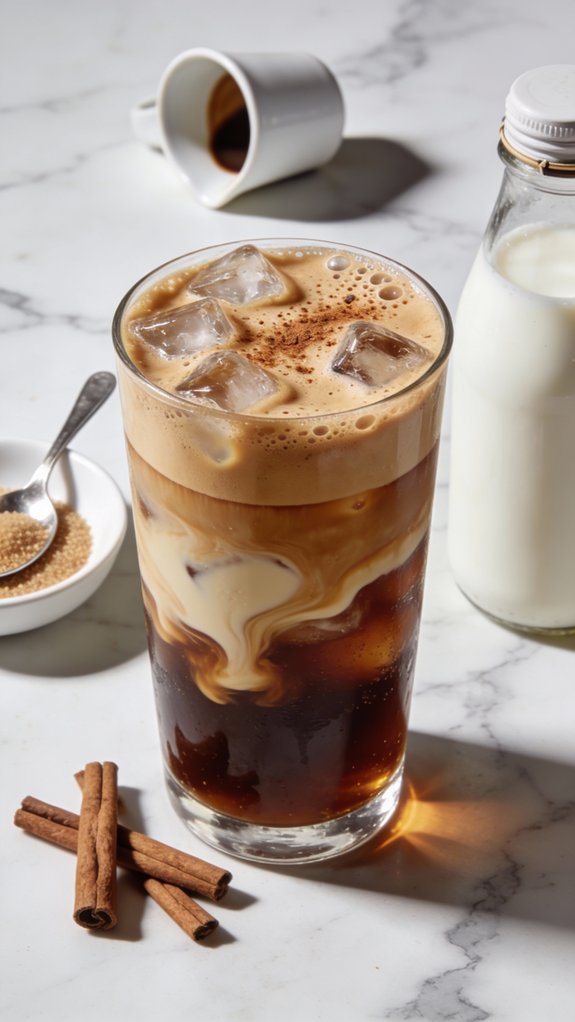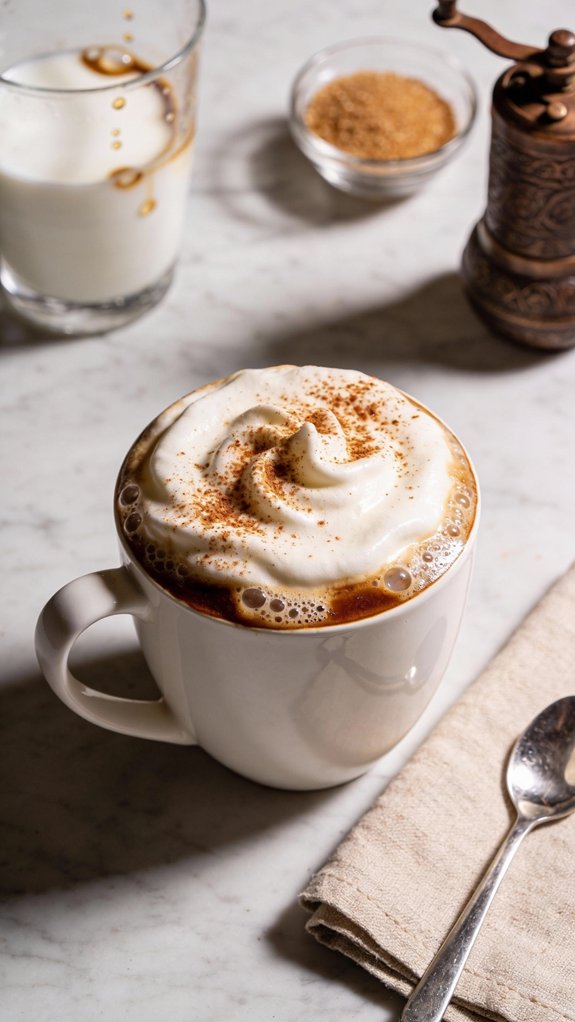
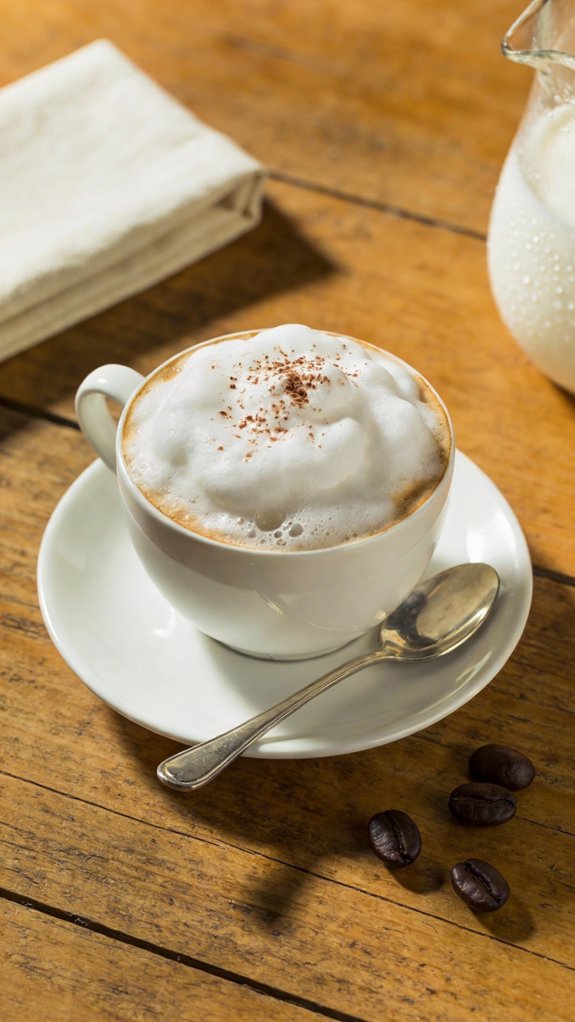
While fancy coffee shops charge you five bucks for what’s basically espresso and milk, I’ve been making cappuccinos at home that rival any barista’s work. You’d be surprised how simple it really is. The first time I nailed that perfect microfoam, watching it cascade over the dark espresso in smooth layers, I knew I’d never waste money at a café again. Here’s what you need to know.
History
While I can’t pinpoint the exact morning someone first poured foamed milk over espresso and called it a cappuccino, the drink’s roots stretch back to early 20th century Italy.
The name actually comes from Capuchin monks, whose brown robes matched the color of espresso mixed with milk.
I’ve read that the drink really took off in the 1950s when espresso machines improved enough to create that signature microfoam we love today.
Before that, you’d just get regular steamed milk dumped into your coffee, which isn’t quite the same experience.
The Italians perfected the ratio—equal parts espresso, steamed milk, and foam—creating the balanced breakfast drink that spread worldwide through coffee culture.
Recipe
The cappuccino is a classic Italian coffee drink that perfectly balances bold espresso with creamy, velvety milk foam. Its distinctive layers create a harmonious blend of rich coffee flavor tempered by the smooth sweetness of steamed milk, making each sip both invigorating and comforting.
The thick foam cap acts as an insulator, keeping the drink warm while adding a luxurious texture that sets it apart from other milk-based espresso beverages. This beloved coffee drink is traditionally enjoyed in the morning hours, particularly as a breakfast companion in Italy, though it has become an all-day favorite worldwide.
The equal proportions of espresso, steamed milk, and foam create a well-rounded drink that’s strong enough to awaken your senses yet mild enough to savor slowly. Whether you’re starting your day or taking an afternoon break, a properly made cappuccino delivers satisfaction in every cup.
Ingredients:
- 2 shots espresso (2 ounces)
- 2 ounces whole milk
- 2 ounces milk foam
- 1/4 teaspoon granulated sugar (optional)
- Cocoa powder or cinnamon for dusting (optional)
Instructions:
- Preheat a 6-ounce cappuccino cup by filling it with hot water, then emptying it just before use.
- Brew two shots of espresso directly into the preheated cup.
- Stir in the sugar if desired while the espresso is still hot.
- Pour cold whole milk into a metal pitcher, filling it no more than halfway.
- Steam the milk using an espresso machine’s steam wand, keeping the wand just below the surface to create microfoam, until the milk reaches 150-155°F.
- Tap the pitcher gently on the counter and swirl to remove any large bubbles.
- Pour the steamed milk over the espresso, using a spoon to hold back the foam initially.
- Spoon the remaining foam on top to create a thick cap.
- Lightly dust the foam with cocoa powder or cinnamon if desired.
Tips:
For a dairy-free version, oat milk or barista-blend almond milk froths exceptionally well and creates stable foam comparable to whole milk.
If you prefer a sweeter drink, increase the sugar to taste or add flavored syrups like vanilla or caramel before pouring the milk. Those without an espresso machine can use a French press or handheld milk frother to create foam, though the texture will be slightly different.
To reduce cleanup time, rinse your steam wand and milk pitcher immediately after use to prevent milk residue from hardening.
Preparation Steps
Making a proper cappuccino isn’t complicated, but the order of your steps matters if you want that perfect balance of espresso and foam.
I’ve learned that warming your cup first keeps everything at the right temperature, while timing your milk steaming with your espresso brewing saves precious seconds.
Once you’ve got your shots pulled and your milk frothed to silky perfection, it’s just a matter of combining them with a steady hand and a bit of confidence.
Shop Related Products

Full Capcity to Rim 10.5 oz for Latte Art Use ( Around 9 oz if use for normal drink )

Vintage Design -- Make your coffee feel different!

☕ Generous 11oz Capacity - Designed for ample servings - comfortably holds full-size lattes and coffees. No more refills! (We skipped small 10oz cups to ensure you get proper value.)
Step 1. Preheat Your Cappuccino Cup
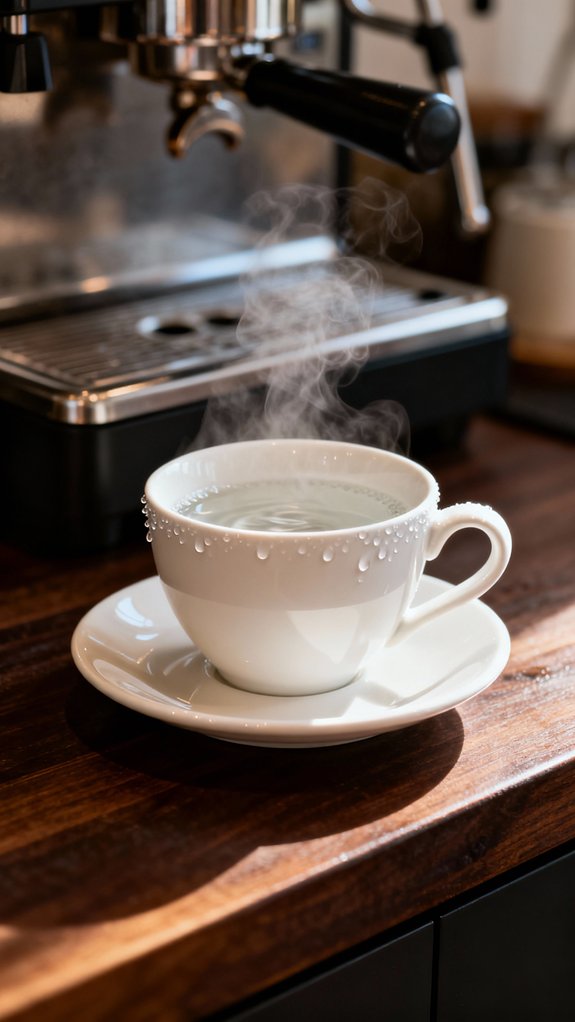
Before you pull that first espresso shot, you’ll want to warm up your cappuccino cup. I learned this trick after too many lukewarm cappuccinos ruined my mornings.
Simply fill your cup with hot water from the tap and let it sit while you grind your beans and prepare everything else. The warm ceramic holds heat much better than a cold cup, which can drop your drink’s temperature by ten or fifteen degrees the moment you pour.
Right before you’re ready to brew, dump out the water and give the cup a quick shake to remove any droplets. That preheated cup keeps your cappuccino at the perfect sipping temperature from first taste to last drop, exactly how those Italian cafés serve it every time.
Step 2. Brew Double Espresso Shot

With your cup now properly heated, it’s time to pull those two espresso shots that form the heart of your cappuccino.
I usually grind my beans fresh right before brewing, aiming for a fine, sand-like texture that’ll extract properly.
Lock the portafilter into your machine and start the extraction. You’re looking for about two ounces of espresso, which should take around 25-30 seconds to pull.
The stream should look thick and syrupy, with a rich golden-brown crema forming on top. If it’s rushing out too fast, your grind’s too coarse. Too slow means you’ve ground too fine.
Once those shots are in your preheated cup, add your sugar now if you’re using it, stirring quickly while the espresso’s still hot.
Step 3. Steam Milk to Temperature
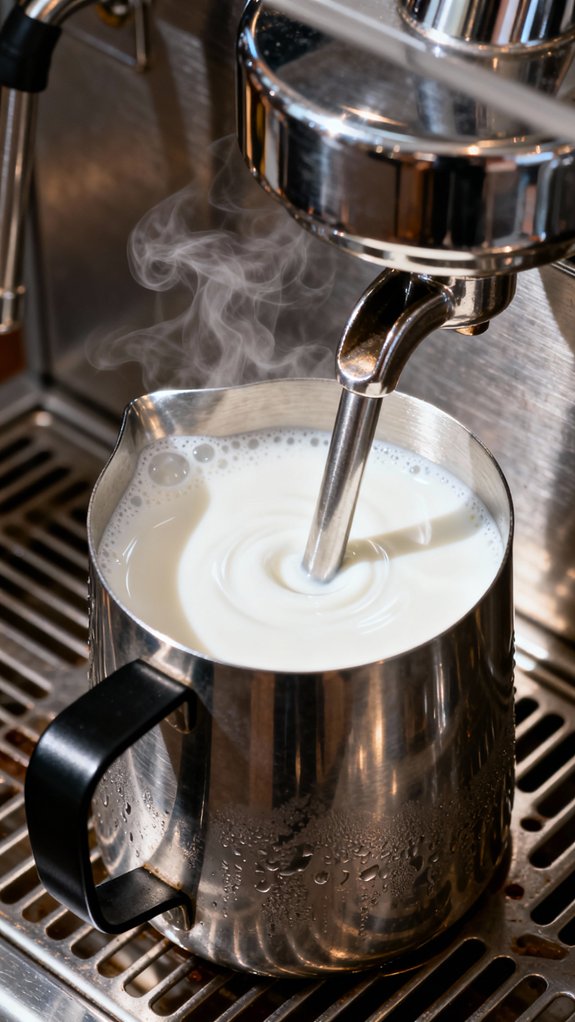
The milk frothing part always felt a bit intimidating when I first started making cappuccinos, but honestly it’s just about paying attention to temperature and sound.
You’ll want to position your steam wand just below the milk’s surface in your pitcher, creating this gentle hissing noise that means you’re incorporating air properly.
Keep an eye on things until the pitcher feels uncomfortably hot to touch, which happens right around 150-155°F.
I used to overthink it and scald the milk constantly, making it taste a bit burnt and flat.
Now I just touch the pitcher’s side every few seconds, and when I can barely hold my hand there for two seconds, it’s perfect.
The milk should look glossy and have this velvety texture throughout.
Step 4. Pour Milk Over Espresso
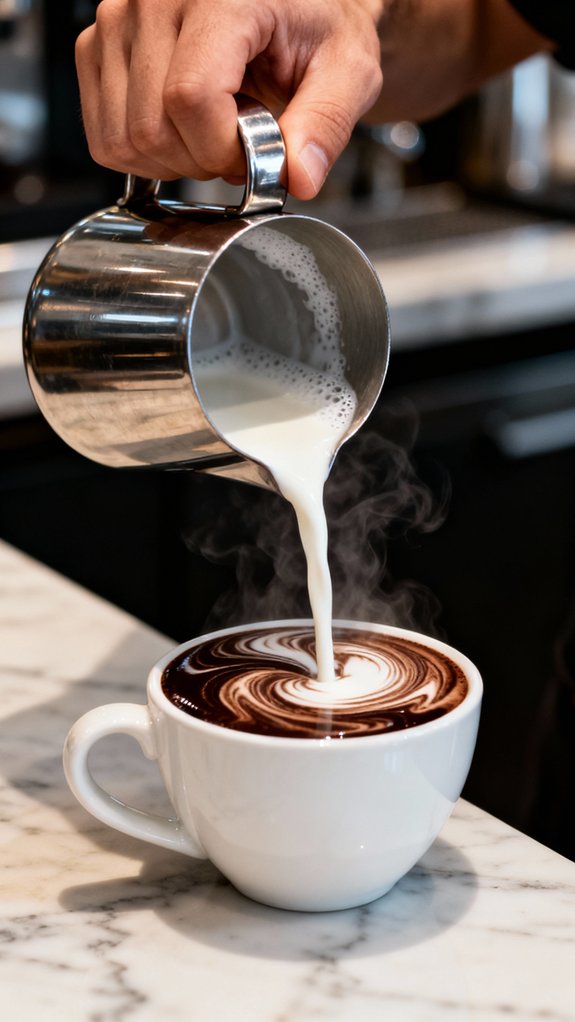
Once your milk reaches that perfect temperature, you’ve got maybe thirty seconds before it starts to separate, so I learned pretty quickly to work fast here.
I tilt my cup slightly and pour the steamed milk right into the center of the espresso. The goal is to let the liquid milk flow in first while holding back that foam with a spoon. You’ll see the two mixing together, creating this beautiful light-brown color.
When about two ounces of the liquid milk has gone in, I set down my pitcher and use a spoon to scoop out the remaining foam. I pile it on top until there’s a nice thick cap covering the entire surface.
Step 5. Add Foam Cap Top
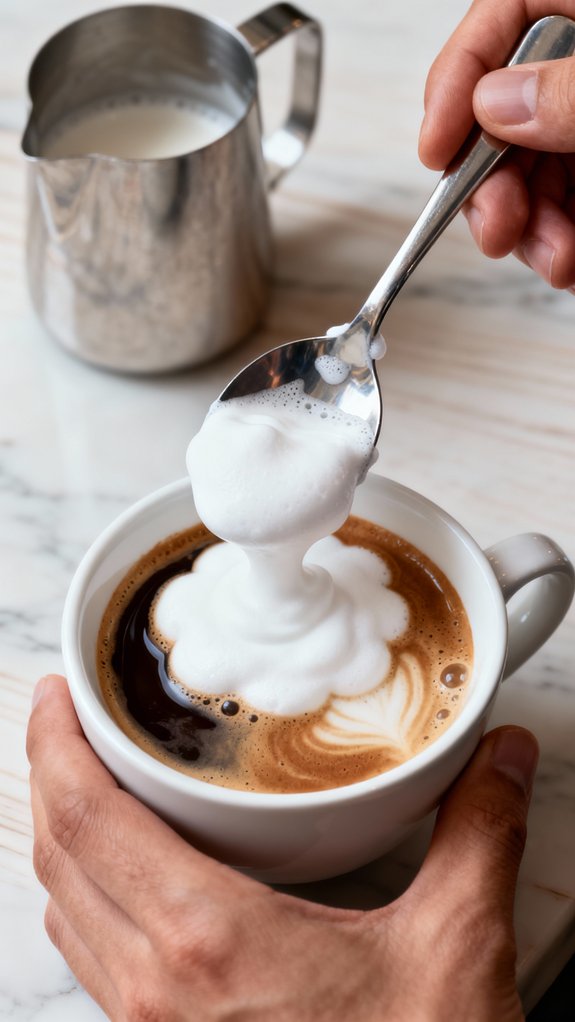
After spooning that last bit of foam onto my cappuccino, I always take a second to check if the cap looks right. The foam should sit thick and proud on top, about an inch high, holding its shape instead of sinking into the coffee below.
I learned this the hard way when my early attempts looked more like sad clouds than proper cappuccino tops. The key is getting that microfoam texture right when you steam the milk—it should be velvety, not full of big bubbles.
Once the foam cap is on there, I grab my cocoa powder or cinnamon and dust it lightly across the surface, which gives it that café look and adds a hint of extra flavor.
Final Thoughts
Making cappuccinos at home has honestly changed my morning routine in ways I didn’t expect.
There’s something satisfying about getting that foam just right, watching it settle on top like a little cloud. I mess up sometimes—the milk gets too hot or the foam’s too thin—but that’s part of learning.
Last weekend, I made cappuccinos for friends after brunch, and they were genuinely impressed. It felt good. The whole process takes maybe five minutes once you get comfortable with your equipment.
Now I rarely buy coffee out because I can make exactly what I want, tweaking the sweetness and adjusting the strength. It’s cheaper too, which my wallet definitely appreciates.
Frequently Asked Questions
What Is the Difference Between a Cappuccino and a Latte?
Think of them as espresso’s lighter and darker sides: you’ll get a bolder coffee punch with a cappuccino’s equal parts espresso, steamed milk, and foam, while a latte offers milder espresso with more steamed milk.
Can I Make Cappuccino Without an Espresso Machine?
Yes, you can! Use strongly brewed coffee instead of espresso, and create foam with a French press or handheld milk frother. The texture won’t be identical, but you’ll still enjoy a delicious cappuccino-style drink.
What Type of Milk Froths Best for Cappuccinos?
Whole milk reigns supreme for cappuccino foam, creating that silky, cloud-like texture you’re craving. Its fat content produces stable microfoam that won’t deflate. For dairy-free options, oat milk or barista-blend almond milk work wonderfully.
How Many Calories Are in a Cappuccino?
The knowledge provided doesn’t include calorie information for cappuccinos. You’ll need to check nutritional databases, but a typical 6-ounce cappuccino made with whole milk contains approximately 80-120 calories, depending on added sugar.
Why Is Cappuccino Traditionally Only Drunk in the Morning in Italy?
You’ll find cappuccino is traditionally morning-only in Italy because its milk content is considered too heavy for digestion after lunch. Italians believe consuming milk-based drinks later disrupts digestion, preferring straight espresso instead throughout the day.