You’ve probably walked past those fancy coffee shops charging seven dollars for cold brew and wondered what makes it special. I’ll admit, I used to think it was just iced coffee with better marketing until I made my first batch at home on a lazy Sunday morning. The difference hit me immediately—smooth, naturally sweet, without that bitter bite regular coffee gets when it cools down. Once you understand the simple trick behind it, you’ll never waste money on overpriced versions again.
History
While most of us think cold brew is a modern coffee shop invention, I was surprised to learn it’s actually been around for centuries. The method originated in Japan during the 1600s, where Dutch traders introduced a slow-drip brewing technique that created a smooth, concentrated coffee.
I find it fascinating that Japanese coffee makers refined this process, developing special towers that dripped cold water through coffee grounds over many hours, producing a remarkably clean flavor. The technique spread throughout Asia before quietly making its way to America.
Cold brew didn’t really catch on here until the early 2000s, when small coffee shops started serving it as a revitalizing alternative to iced coffee, which is just hot coffee poured over ice.
Recipe
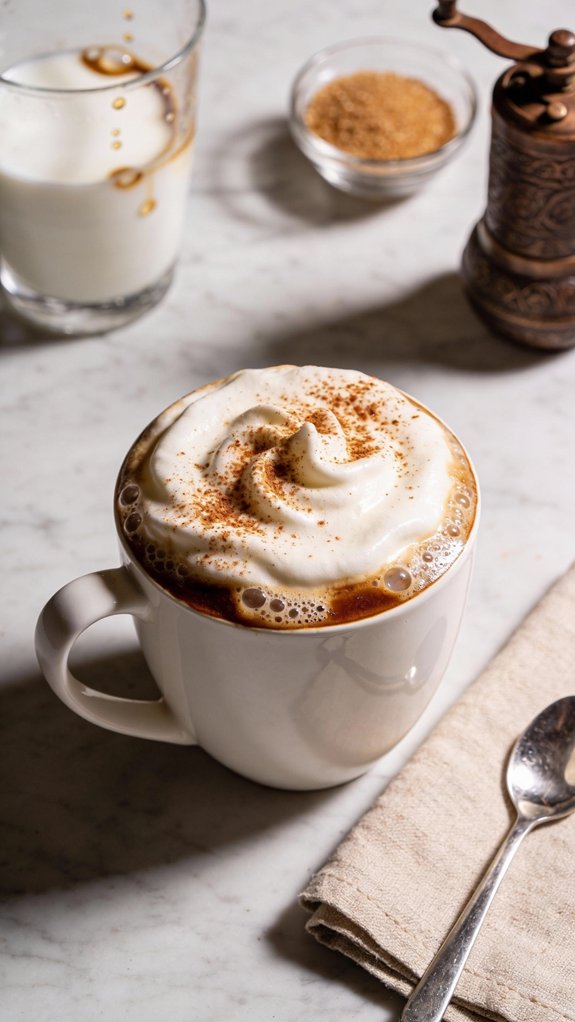
Cold brew coffee delivers a smooth, naturally sweet flavor with low acidity and subtle chocolate notes. The slow extraction process creates a mellow, revitalizing beverage that’s less bitter than traditional hot-brewed coffee, making it an ideal choice for those who find regular coffee too harsh on the stomach.
This versatile concentrate works perfectly as a morning energizer, an afternoon pick-me-up, or a base for creative coffee cocktails. The cold brewing method produces a drink that tastes clean and crisp, especially satisfying during warm weather or whenever you crave a cool, caffeinated revitalization.
Ingredients:
- 1 cup coarsely ground coffee
- 4 cups cold filtered water
- Ice cubes
- Milk (any variety)
- Simple syrup or sweetener of choice
Preparation:
- Combine the coarsely ground coffee and cold water in a large jar or pitcher.
- Stir gently to verify all grounds are saturated.
- Cover and refrigerate for 12 to 24 hours, depending on your desired strength.
- Strain the mixture through a fine-mesh sieve lined with cheesecloth or a coffee filter into a clean container.
- Discard the grounds.
- Fill a glass with ice and pour the cold brew concentrate over it.
- Dilute with water or milk to taste if the concentrate is too strong.
- Add milk to your preference and sweeten with simple syrup as desired.
Tips:
The concentrate keeps refrigerated for up to two weeks, making it excellent for batch preparation. For a dairy-free option, substitute with oat milk, almond milk, or coconut milk, each adding its own distinct flavor character.
Adjust sweetness by using honey, maple syrup, or flavored syrups instead of simple syrup, or skip sweetener entirely to enjoy the naturally sweet notes of the cold brew. A 1:1 coffee-to-water ratio during brewing creates a stronger concentrate that you can dilute to personal preference when serving.
Shop Related Products

Durable Cold Brew Pitcher: Crafted from thick, high-quality, food-grade soda-lime glass, this cold brew coffee maker is built for long-lasting durability. Unlike plastic, it’s BPA-free, lead-free, and free from harmful chemicals, ensuring your drinks stay fresh and free of unpleasant odors. With its sturdy construction, this pitcher is perfect for daily use. Trusted by over 150,000 coffee lovers, the Mason jar design makes it ideal for storing and pouring cold brew coffee, iced tea, and more

【⚠️ Important Usage Warning】: Do not pour boiling water directly into the container; the maximum safe operating temperature is 60°C (140°F). Avoid drastic sudden temperature shifts to stop cracking damage.

Heavy Duty Glass Pitcher: Crafted from high-quality, food-grade soda-lime glass with a thickness of 4.15mm, this heavy-duty pitcher feels solid and well-balanced in hand. Break-resistant and built to last, it preserves the taste of your drinks better than plastic. Perfect for cold brews, iced teas, juices, and more, this pitcher’s compact design fits easily in most fridge doors. Trusted by over 300,000 coffee enthusiasts, JunVpic Cold Brew Coffee Maker is the perfect addition to your kitchen.
Preparation Steps
Making cold brew isn’t complicated, but you’ll need a bit of patience.
The process starts when you mix your coarse coffee grounds with cold water in a jar, then let time do most of the work while it sits in your fridge overnight.
After the long steep, you’ll strain out the grounds and end up with a smooth concentrate that’s ready to pour over ice and customize with your favorite milk and sweetener.
Shop Related Products

EASY TO USE & CLEAN - Brew smooth cold brew coffee in just a few steps. No complicated setup needed, just Add grounds, pour water, and steep. This cold brew coffee maker is designed for everyday use, with dishwasher-safe parts for quick cleanup. (DO NOT ADD WARM OR BOILING WATER)

EASY TO USE & CLEAN - Brew smooth cold brew coffee in just a few steps. No complicated setup needed, just Add grounds, pour water, and steep. This cold brew coffee maker is designed for everyday use, with dishwasher-safe parts for quick cleanup. (DO NOT ADD WARM OR BOILING WATER)

Airtight and Leakproof Storage: Our Mason Jar Pitcher features an airtight and leakproof silicone seal, ensuring a seamless and mess-free storage experience. Keep your contents fresh and prevent leaks and drips, whether you store it in the fridge, on the counter, or in the pantry.
Step 1. Combine Coffee and Water
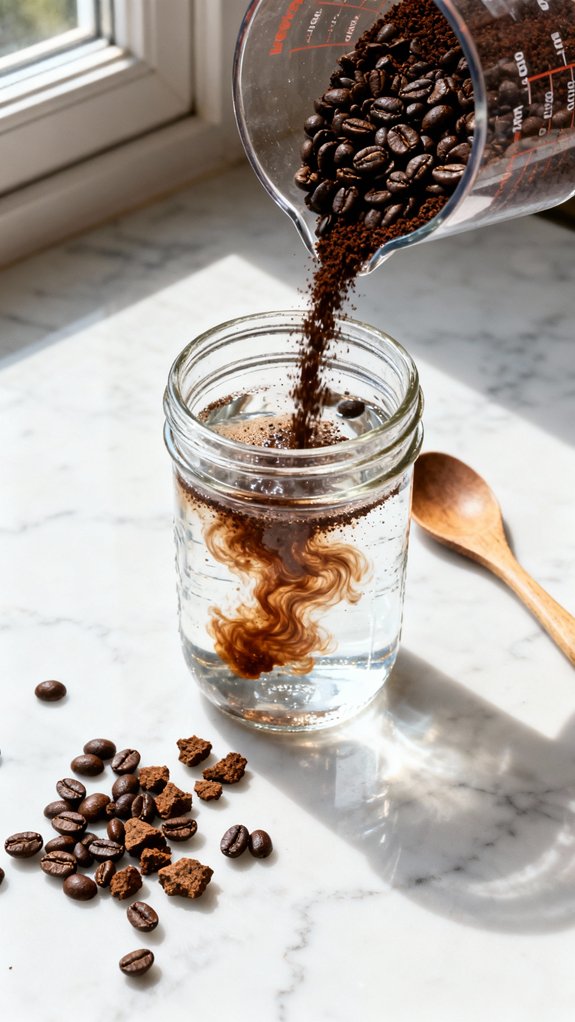
When I first started making cold brew at home, I learned that the mixing step is simpler than it looks but still needs a bit of attention.
You’ll pour your coarsely ground coffee into a large jar or pitcher first. Then add the cold filtered water directly over the grounds. I like to use a long spoon to give everything a gentle stir, making sure no dry coffee clumps float on top.
The goal isn’t to create a whirlpool or anything dramatic. You just want every ground saturated with water so the extraction happens evenly.
Once everything looks moistened and combined, cover your container with a lid or plastic wrap. Now it goes straight into the refrigerator for its long, patient steep.
Step 2. Refrigerate for 12-24 Hours
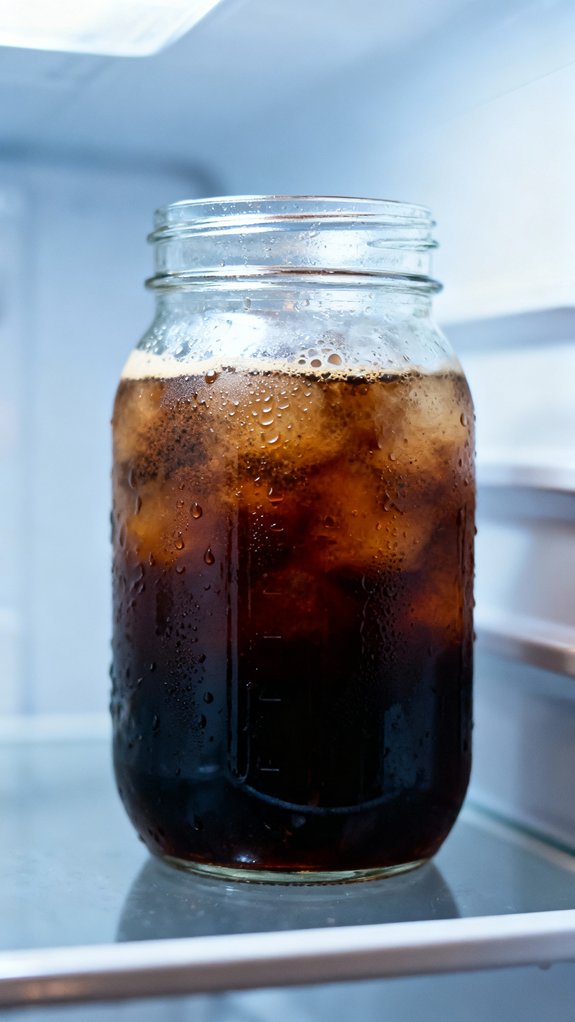
After you’ve stirred everything together and sealed up your container, the hardest part begins: waiting.
Slide that jar into your refrigerator and let it sit undisturbed for at least twelve hours, though I usually aim for the full twenty-four when I remember to start it the night before.
The longer it steeps, the stronger and more robust your concentrate becomes, extracting all those smooth, chocolatey flavors without any of the bitterness you’d get from hot water.
I’ve found that setting a phone reminder helps, since it’s easy to forget about it tucked away behind the milk and leftovers.
The coffee grounds will settle toward the bottom as the hours pass, which is completely normal.
Step 3. Strain Through Fine Mesh
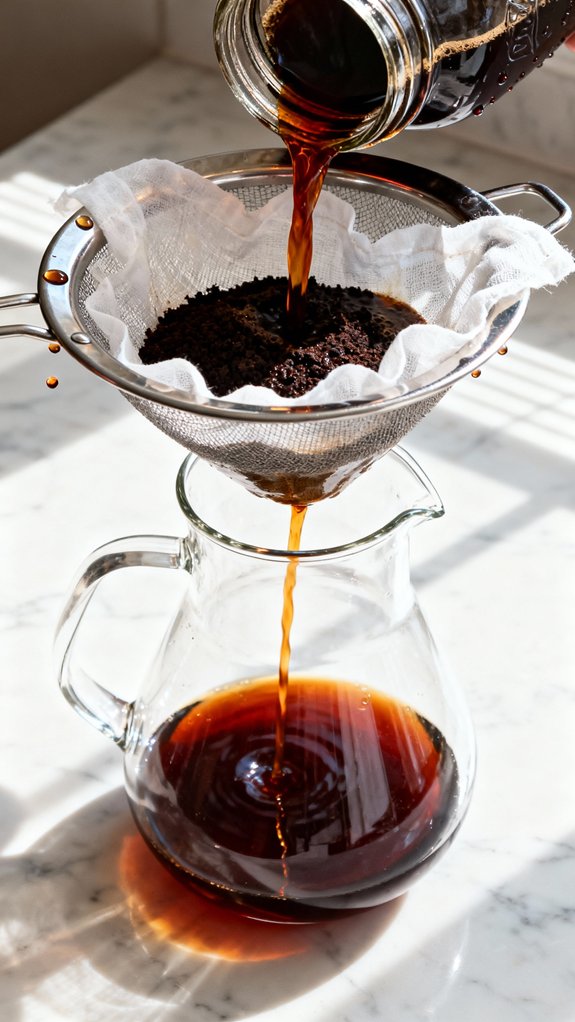
The moment you open that refrigerator door and pull out your jar, you’ll notice the liquid has turned a deep, rich brown while the grounds have mostly clumped together at the bottom.
Now comes the part where you separate the good stuff from the gritty bits. Set a fine-mesh sieve over a clean pitcher or bowl, then line it with cheesecloth or a coffee filter.
Pour the mixture slowly, letting gravity do most of the work. The liquid drips through at its own pace, leaving behind a pile of spent grounds.
Don’t rush it by pressing down too hard, or you’ll push bitter flavors and sediment into your concentrate. The whole process takes about five minutes, and what you’re left with is smooth, clean cold brew.
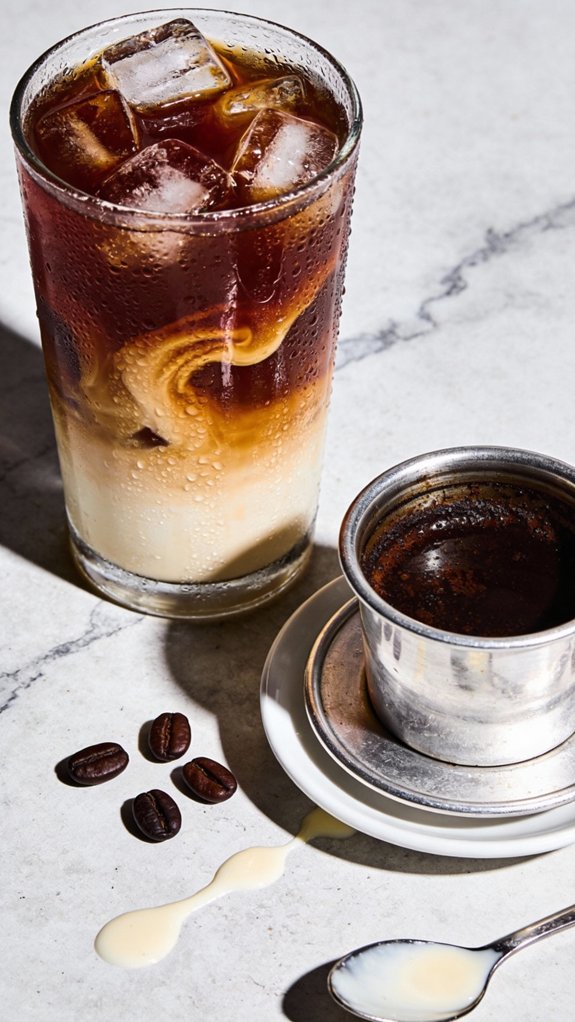
Step 4. Fill Glass With Ice

Your concentrate sits there in its container, perfectly strained and ready, but it’s still concentrated—too strong to drink straight. You need ice to chill things down and dilute that intensity into something actually drinkable.
Grab your favorite glass—I use a tall one because it feels more invigorating somehow—and fill it completely with ice cubes. Don’t be shy about this part. More ice means your drink stays colder longer and won’t get watery before you finish it.
The cubes will melt gradually as you sip, naturally adjusting the strength. I learned this after making the mistake of using just a few cubes once, ending up with lukewarm coffee halfway through. Pack that glass full.
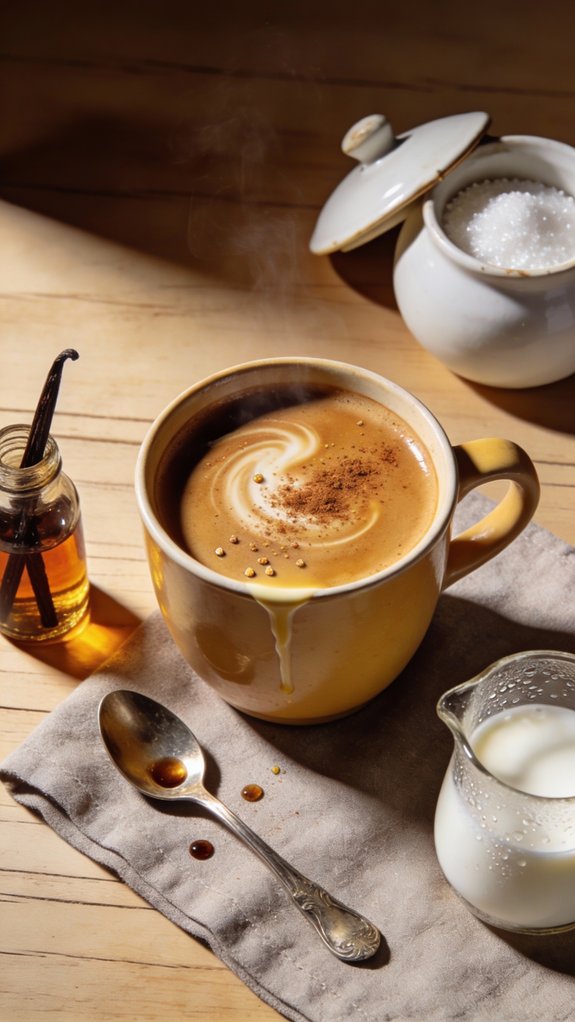
Step 5. Add Milk and Sweeten
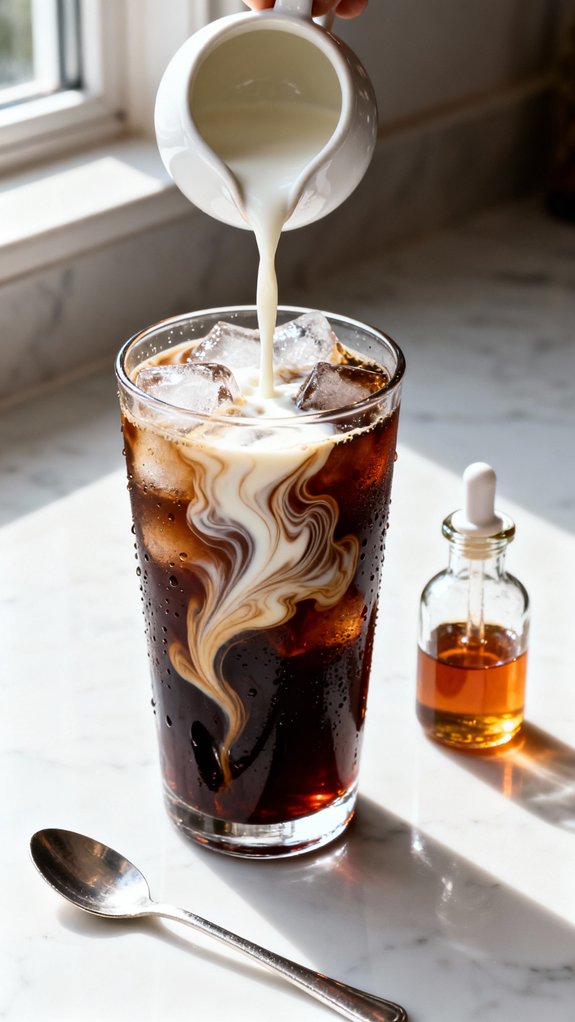
Once you’ve poured your cold brew over that ice-packed glass, it’s time to make it actually taste the way you want.
I usually start with a splash of milk—maybe two tablespoons if I’m going light, or a quarter cup if I want something creamier. Whole milk gives you that classic coffee shop richness, but oat milk adds this subtle sweetness that works surprisingly well.
Then comes the sweetener, which honestly depends on my mood. A teaspoon of simple syrup dissolves instantly without that gritty sugar situation. Sometimes I skip it entirely because cold brew already has natural sweetness from the slow extraction.
Stir everything together with a long spoon, and you’re done. The whole process takes maybe thirty seconds.
Final Thoughts
When I first started making cold brew at home, I couldn’t believe how simple it was compared to the fancy equipment I thought I’d need.
Just coffee, water, and time—that’s really all it takes. Now I keep a pitcher in my fridge almost every week, especially during summer when hot coffee feels like too much work.
The best part is how forgiving the process is. If you forget about it for an extra few hours, it’s fine. The concentrate waits patiently until you’re ready.
I’ve served it at backyard barbecues and Sunday brunches, and people always ask for the recipe. They’re surprised when I tell them there’s no special trick.
It’s just patience in a jar, turning into something smooth and invigorating.
Frequently Asked Questions
Can I Use Pre-Ground Coffee From the Store for Cold Brew?
Yes, you can use pre-ground coffee, but coarse grind works best for cold brew. If your store-bought coffee’s finely ground, it’ll create sediment and over-extract, making your brew bitter and muddy.
What’s the Difference Between Cold Brew and Iced Coffee?
Cold brew steeps coffee grounds in cold water for 12-24 hours, creating a smooth concentrate. You’d make iced coffee by brewing hot coffee and cooling it over ice, which produces a more acidic, traditional flavor.
Does Cold Brew Have More Caffeine Than Regular Hot Coffee?
Cold brew typically contains more caffeine than regular hot coffee because you’re using a higher coffee-to-water ratio. However, if you dilute the concentrate when serving, the final caffeine content depends on how much you add.
Can I Make Cold Brew at Room Temperature Instead of Refrigerating?
Yes, you can brew at room temperature for 8-12 hours instead of refrigerating, though refrigeration extends the process to 12-24 hours. Room temperature brewing extracts flavors faster but requires closer monitoring to prevent over-extraction and bitterness.
What’s the Best Coffee Roast Level to Use for Cold Brew?
You’ll get the best results with medium or medium-dark roasts for cold brew. They provide balanced flavor with chocolate notes and natural sweetness without becoming too bitter during the long steeping process that cold brewing requires.