You’ve probably heard that making iced coffee is just pouring hot coffee over ice, but that’ll give you a watered-down mess. I learned this the hard way one summer morning when I rushed through the process and ended up with something that tasted more like coffee-flavored water than the bold, rejuvenating drink I’d imagined. The real trick involves a bit more planning, and once you know it, you’ll wonder why you ever settled for less.
History
While most people assume iced coffee is a modern invention born in trendy cafés, it’s actually been around since the 1800s. The drink first appeared in Algeria, where French colonists mixed coffee syrup with cold water to beat the intense heat.
I find it fascinating that this simple idea traveled across continents, eventually reaching America where it became wildly popular during Prohibition as a socially acceptable café drink.
The Japanese developed their own version called Kyoto-style cold brew in the 1600s, using a slow-drip method that’s still used today.
Recipe
This classic iced coffee delivers a reviving caffeine boost with a smooth, bold flavor that’s perfectly balanced between rich coffee notes and creamy sweetness. The cold brewing method creates a naturally sweet, less acidic drink that’s incredibly smooth on the palate, while the addition of milk and sweetener rounds out the flavor profile for a café-quality beverage at home.
Best enjoyed on warm afternoons or as a morning pick-me-up during summer months, this iced coffee is versatile enough to serve at brunch gatherings or to prepare in batches for the week ahead. The simple combination of ingredients allows the quality of your coffee to shine through while providing enough customization to suit your personal taste preferences.
Ingredients:
- 1 cup strong brewed coffee, cooled
- 1 cup ice cubes
- ¼ cup milk
- 2 tablespoons simple syrup
- ½ teaspoon vanilla extract
Preparation:
- Brew your coffee at double strength and allow it to cool to room temperature, or refrigerate for 30 minutes.
- Fill a tall glass with ice cubes.
- Pour the cooled coffee over the ice.
- Add the milk, simple syrup, and vanilla extract.
- Stir vigorously for 15-20 seconds until all ingredients are well combined and the drink is thoroughly chilled.
Tips:
For a richer drink, substitute the milk with half-and-half, oat milk, or coconut milk depending on your dietary preferences.
Adjust sweetness by adding more or less simple syrup, or replace it entirely with honey, maple syrup, or your preferred sweetener.
To make this recipe ahead, brew a large batch of coffee and store it in the refrigerator for up to one week, allowing you to assemble individual servings in seconds.
For an extra-cold drink that won’t dilute, freeze some coffee into ice cubes and use those instead of regular ice.
Preparation Steps
Making iced coffee takes just a few simple steps, but getting them right makes all the difference between a watery disappointment and something you’ll actually crave.
I’ve learned that starting with double-strength coffee and letting it cool completely prevents that diluted taste that happens when hot coffee hits ice and melts it instantly.
Once you’ve got your chilled coffee ready, you’ll build your drink by layering ice, pouring the coffee over it, adding your milk and sweeteners, then giving everything a good stir until it’s perfectly blended and cold.
Shop Related Products
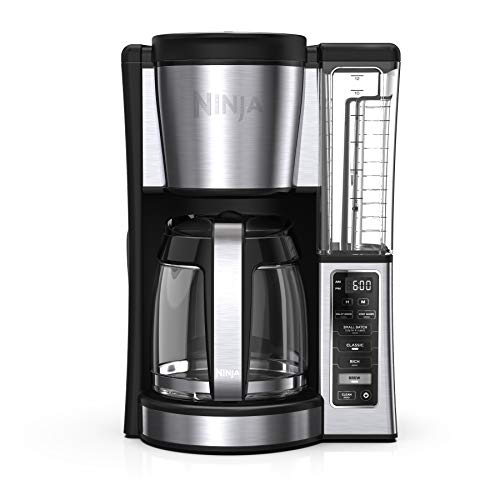
2 BREW STYLES: Classic or Rich, each brew is flavorful and never bitter with custom brew strengths.

SEMI-TRANSPARENT WATER RESERVOIR holds up to 5 cups of water capacity with a level indicator to always ensure you have enough water ready for brewing.

ULTIMATE BREWING: Enjoy smooth, delicious drinks at home! Brews the best iced coffees, iced lattes, iced tea, lemonade, flavored water & more!
Step 1. Brew Double-Strength Coffee First
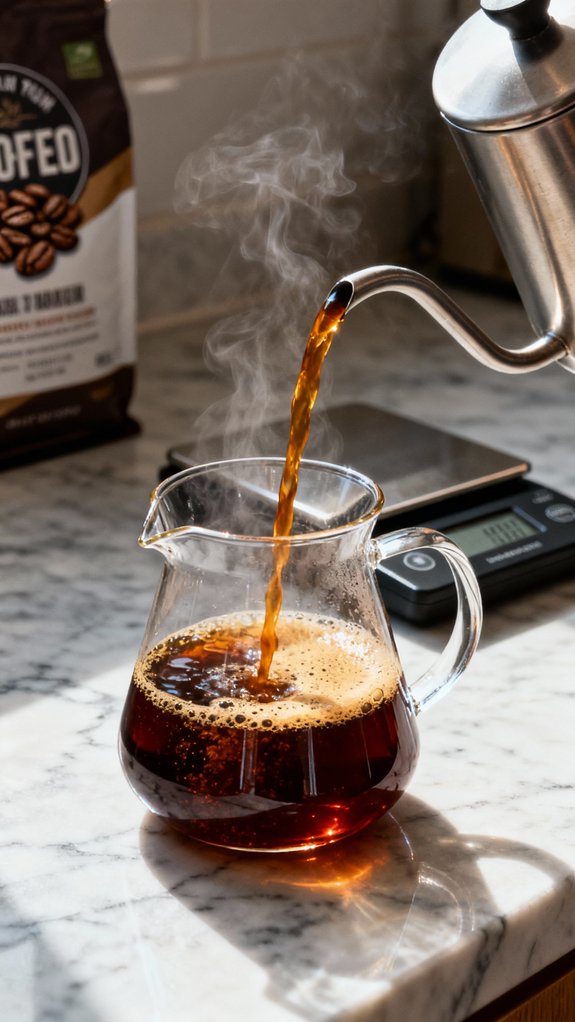
Because regular-strength coffee becomes watered down the moment it hits those ice cubes, I’ve learned to brew mine at exactly double the concentration I’d normally use for hot coffee.
For every cup of water, I use twice the coffee grounds. So if I typically measure two tablespoons of grounds for eight ounces of water, I’ll use four tablespoons instead. This sounds excessive until you watch the ice melt and realize it’s diluting everything by nearly half.
I let the coffee cool completely before assembling my drink—pouring hot coffee over ice creates a weak, sad beverage that tastes more like coffee-flavored water than actual iced coffee. Room temperature works fine, but refrigerating it for thirty minutes guarantees the best results.
Step 2. Cool Coffee Completely
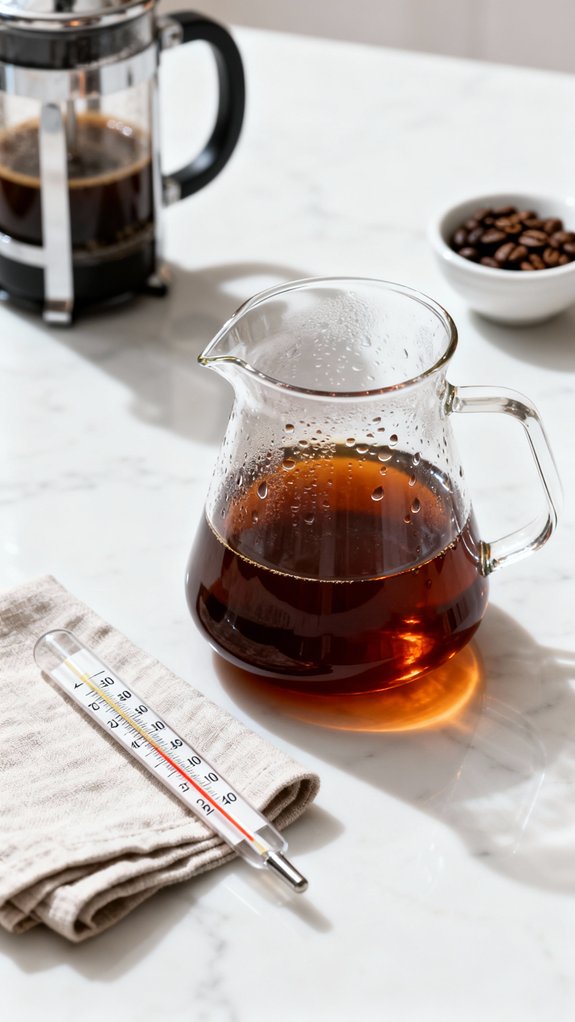
After brewing that double-strength coffee, I transfer it to a heat-safe container and face what feels like the longest wait in the coffee-making process.
You’ve got two main options here. The patient route involves leaving the container on your counter for about thirty minutes, letting it gradually reach room temperature while you prep other ingredients or scroll through your phone.
The faster method uses your refrigerator, which cools everything down in roughly the same time but feels more productive somehow.
I’ve tried pouring hot coffee directly over ice before, thinking I’d outsmart the system. Big mistake—it creates this watery, disappointing drink that tastes nothing like real iced coffee.
Trust the cooling process.
Step 3. Fill Glass With Ice
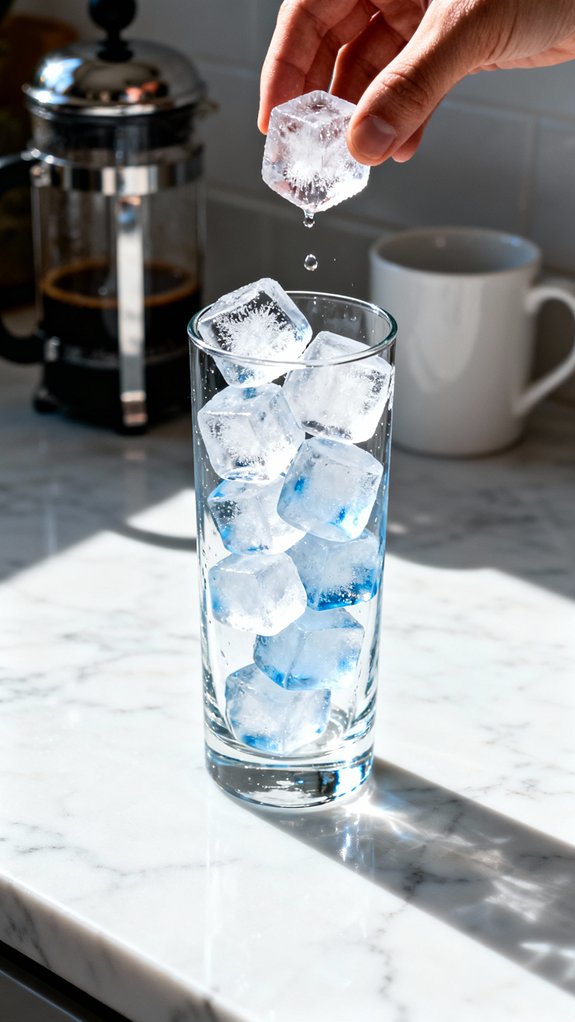
Once your coffee’s properly chilled, I grab my favorite tall glass from the cabinet—usually something clear so I can watch the layers form as everything comes together.
I fill it almost to the top with ice cubes, leaving just enough room for the coffee and milk without overflowing onto my counter. The ice should reach about three-quarters up the glass.
I’ve learned that more ice is better here because it keeps everything cold longer, and you want that crisp, invigorating temperature from first sip to last.
Room-temperature ice works fine, but if you’ve got those fresh-from-the-freezer cubes that are still cloudy and super frozen, even better. They’ll keep your drink cold without watering it down too quickly.
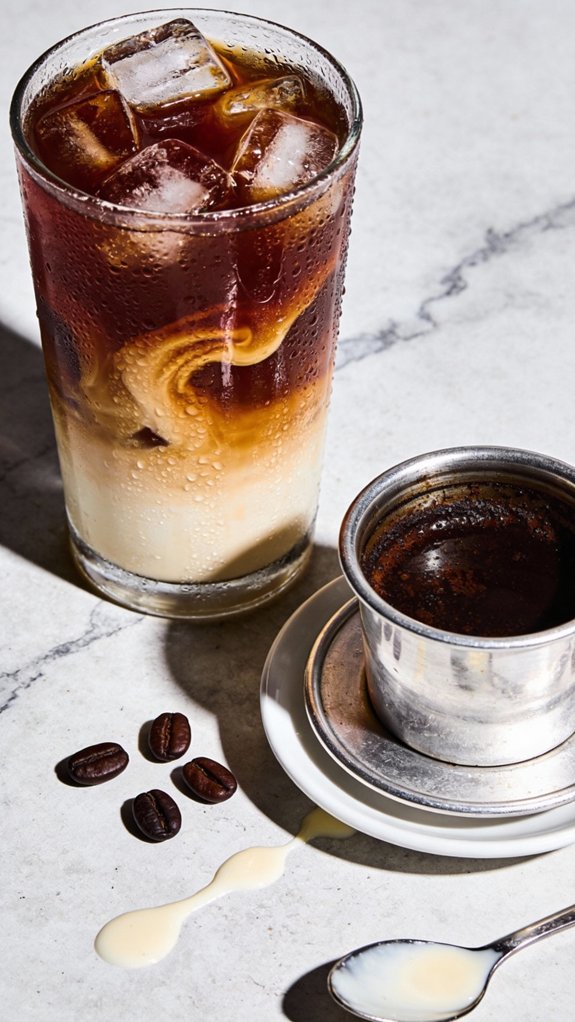
Step 4. Add Milk And Sweeteners

The transformation happens when I pour the milk into my glass, watching it swirl through the dark coffee like clouds drifting across a night sky. I add a quarter cup, though my sister uses half-and-half for special occasions.
The simple syrup comes next—two tablespoons that I’ve learned to measure carefully after making my first batch too sweet. I drizzle it in slowly, watching it sink to the bottom like honey.
The vanilla extract is my favorite part, just half a teaspoon that makes the whole drink smell like a coffee shop. I stir everything together for about twenty seconds, the spoon clinking against ice cubes, until the tan color tells me it’s perfectly mixed.
Step 5. Stir Until Well Blended
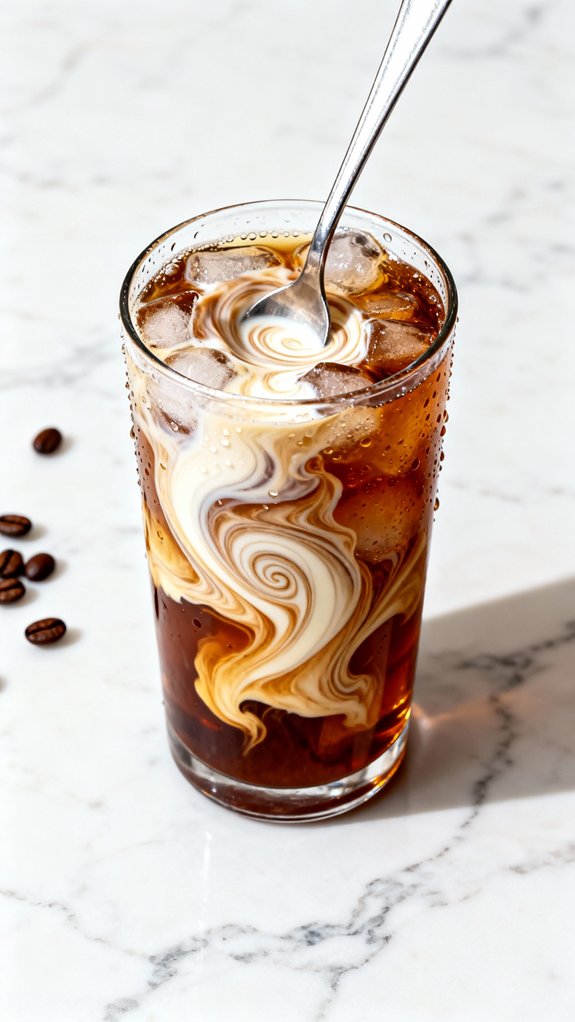
Stirring seems simple until you realize how much it actually matters for getting every sip to taste the same. I learned this after taking a big gulp of straight coffee followed by a mouthful of pure syrup—not pleasant.
You need to stir vigorously for at least 15 seconds, moving your spoon in circles from top to bottom. The cold temperature makes everything slower to mix, so really commit to it. I like using a long spoon that reaches all the way down, scraping the bottom where sweetener loves to hide.
You’ll know it’s ready when the color looks uniform throughout, without any darker or lighter streaks swirling around. The milk should be completely incorporated, creating that smooth, café-style appearance.
Final Thoughts
Making iced coffee at home has honestly changed my morning routine in the best way possible. I used to spend way too much money at coffee shops, but now I can make exactly what I want in about two minutes.
The best part is experimenting with different flavors—sometimes I’ll add a dash of cinnamon or try chocolate syrup instead of vanilla. Last week, I made a whole pitcher for a weekend brunch, and everyone kept asking for the recipe.
It’s really that simple. Once you get the basic method down, you’ll find yourself reaching for homemade iced coffee instead of hot coffee, even on cooler days. Your wallet will thank you, and honestly, your taste buds will too.
Frequently Asked Questions
Can I Use Instant Coffee Instead of Brewed Coffee for Iced Coffee?
Yes, you can use instant coffee for iced coffee. Simply dissolve two tablespoons of instant coffee in a small amount of hot water, let it cool, then proceed with the recipe as directed for a convenient alternative.
How Long Does Homemade Iced Coffee Stay Fresh in the Refrigerator?
Your prepared iced coffee stays fresh in the refrigerator for 3-4 days when stored in an airtight container. However, it’s best to add ice, milk, and sweeteners just before serving rather than storing the complete mixture.
What’s the Difference Between Iced Coffee and Cold Brew Coffee?
Ever wonder why they taste so different? Iced coffee’s brewed hot then cooled quickly, while cold brew steeps in cold water for 12-24 hours. You’ll notice cold brew tastes smoother and less acidic than iced coffee.
Does Iced Coffee Have the Same Caffeine Content as Hot Coffee?
Yes, iced coffee has the same caffeine content as hot coffee when you use equal amounts of coffee grounds. The brewing temperature doesn’t greatly affect caffeine levels—only the coffee-to-water ratio matters for caffeine concentration.
Can I Make Iced Coffee Without Any Sweetener or Sugar?
Absolutely, you can skip the sweet stuff and let your coffee’s natural flavors take center stage. Just omit the simple syrup from the recipe, and you’ll still have a revitalizing, bold iced coffee.