I’ve been making this Cheesy Taco Joe for my family dinners lately, and it’s become our go-to weeknight meal. It combines everything we love about tacos and sloppy joes into one satisfying dish that takes just 30 minutes from start to finish. The best part? My kids actually ask for seconds, and I don’t have to spend hours in the kitchen. Let me show you exactly how I pull this crowd-pleaser together.
Why You`ll Love this Cheesy Taco Joe
This recipe combines everything you love about tacos and sloppy joes into one incredible meal that’ll have your family asking for seconds.
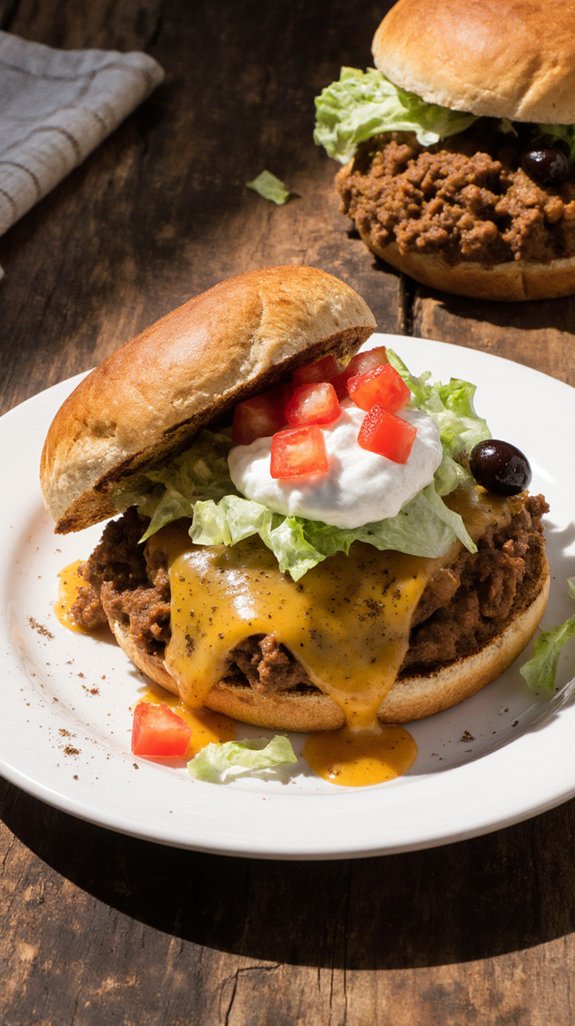
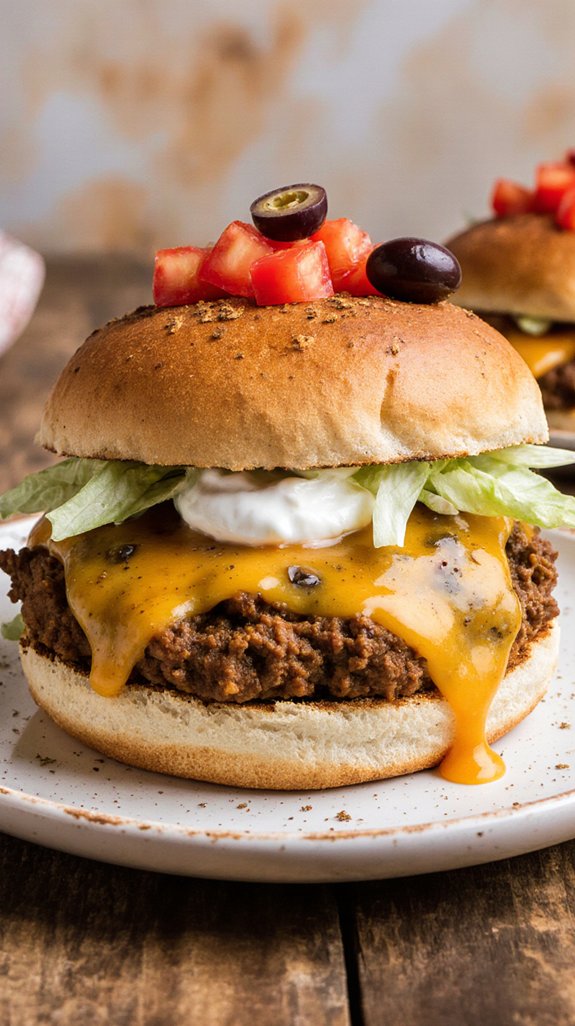
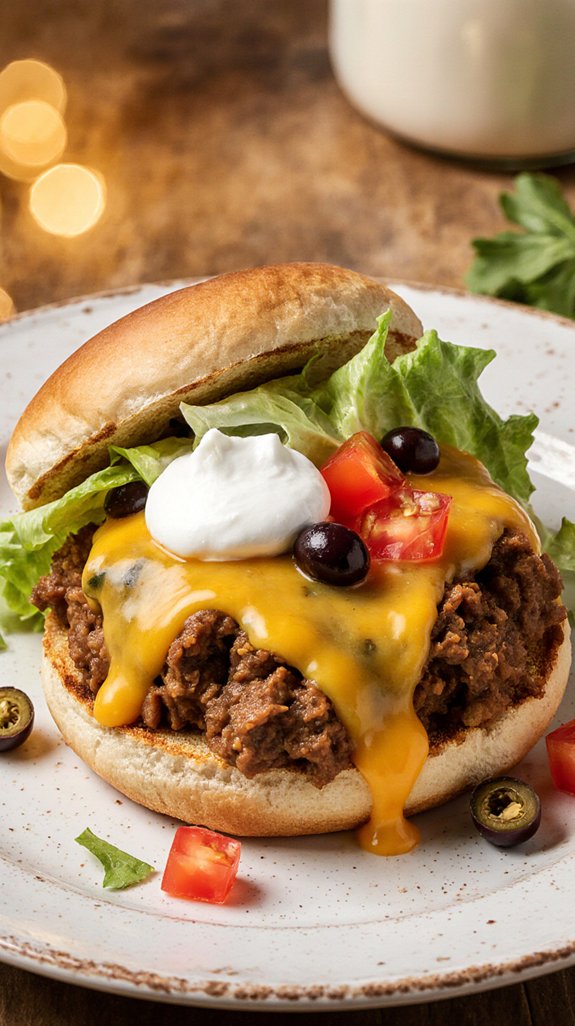
I’m talking about melted Velveeta cheese mixed with seasoned ground beef, refried beans, and zesty green chilies, all piled high on a soft hamburger bun. It’s the ultimate comfort food that takes just 30 minutes from start to finish.
The best part? You can customize each serving with your favorite toppings like sour cream, lettuce, tomatoes, and olives.
This family favorite works perfectly for busy weeknights when you need something satisfying that doesn’t require much effort. Plus, kids absolutely love the cheesy, slightly spicy filling.
It’s messy, delicious, and guaranteed to become a regular rotation in your dinner plans. Additionally, serving a salad alongside can be made easy with a commercial salad spinner, ensuring your greens are crisp and ready to complement this hearty dish.
What ingredients are in Cheesy Taco Joe?
The beauty of Cheesy Taco Joes lies in their simple yet flavorful ingredient list that you probably already have in your pantry. This recipe brings together ground beef, melted Velveeta cheese, and refried beans as the base, enhanced with tomato paste, green chilies, and classic seasonings like cumin and garlic. The combination creates a rich, cheesy filling that’s both hearty and satisfying.
For the Taco Joe Filling:
- Cooking spray
- 1/2 small onion, diced
- 3 cloves garlic, minced
- 1 lb ground beef
- 1 (15 1/2 ounce) can refried beans
- 1 cup Velveeta cheese, cubed and melted
- 1 teaspoon cumin
- 1 (6 ounce) can tomato paste
- 1 (4 ounce) can green chilies, drained
- 1/2 cup milk
For Serving:
- 6 hamburger buns
- 1/2 cup sour cream
- Lettuce, shredded (for garnish)
- Tomatoes, diced (for garnish)
- Black olives, sliced (for garnish)
When selecting your ingredients, opt for regular Velveeta cheese rather than substitutes to achieve that signature creamy, melty texture. The milk is used to adjust the consistency of the filling, so you may need slightly more or less depending on how thick your mixture becomes. Feel free to choose your favorite type of hamburger buns, from classic white to whole wheat or even brioche for added richness. The garnishes are completely customizable, so don’t hesitate to add other taco favorites like shredded cheese, jalapeños, or salsa.
How to make this Cheesy Taco Joe
Making Cheesy Taco Joes is wonderfully straightforward and comes together in just one skillet. Start by spraying a large skillet with cooking spray and heating it over medium-high heat. Once hot, add your 1/2 small diced onion and 3 cloves of minced garlic, sautéing them together until the onion becomes translucent and soft. This usually takes about 3-4 minutes and creates an aromatic base for your filling.
Next, add 1 lb of ground beef to the skillet and brown it thoroughly, breaking it up with a wooden spoon as it cooks. When the meat is no longer pink, drain off any excess grease to keep your Taco Joes from becoming too oily.
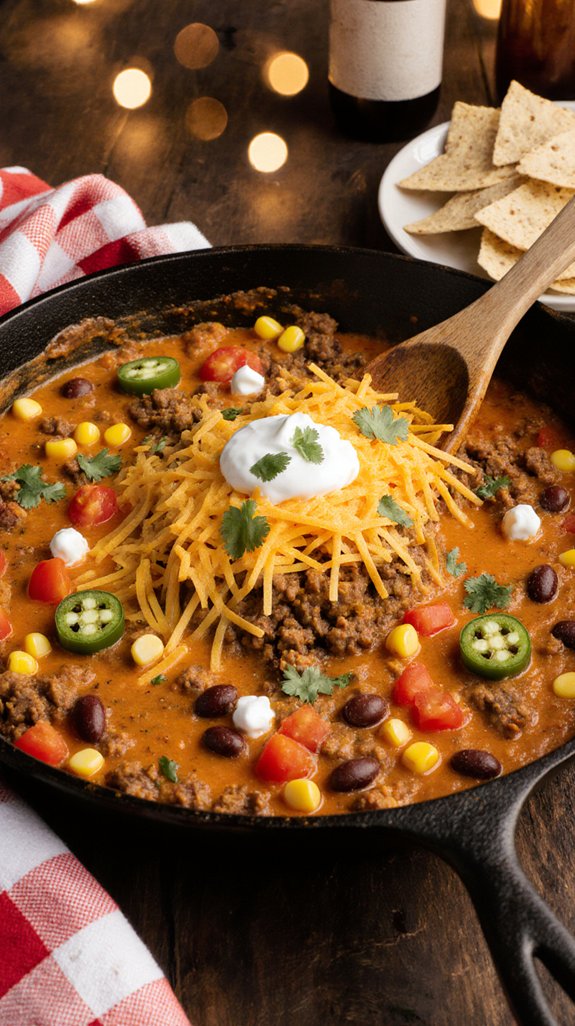
Now comes the fun part where everything transforms into that signature cheesy, flavorful filling. To your drained beef mixture, add the 1 (15 1/2 ounce) can of refried beans, 1 cup of cubed Velveeta cheese, 1 teaspoon of cumin, 1 (6 ounce) can of tomato paste, and 1 (4 ounce) can of drained green chilies. Stir everything together until it’s completely combined and the cheese has melted into a creamy, cohesive mixture.
If the filling seems too thick or difficult to spread, gradually add some of the 1/2 cup of milk until you reach a consistency similar to traditional Sloppy Joes—thick enough to stay on the bun but spreadable and saucy. The mixture should be rich and velvety, with all the ingredients working together in perfect harmony.
To assemble your Cheesy Taco Joes, spread each of the 6 hamburger buns with some of the 1/2 cup of sour cream, which adds a cool, tangy contrast to the warm, spicy filling. Spoon a generous portion of the meat mixture onto each bun, just like you’d with traditional Sloppy Joes.
Then comes the best part—adding your favorite toppings. Garnish with shredded lettuce, diced tomatoes, and sliced black olives, or get creative with other taco-inspired toppings like ranch dressing, shredded cheese, or whatever sounds delicious to you. The beauty of this recipe is that everyone can customize their own Taco Joe exactly how they like it.
Cheesy Taco Joe Substitutions and Variations
One of my favorite things about Cheesy Taco Joes is how easily you can adapt them to fit your dietary needs, preferences, or whatever ingredients you happen to have on hand.
Alternative proteins like ground turkey, chicken, or plant-based crumbles work beautifully, making vegetarian options totally achievable. You can adjust spice levels by adding jalapeños or hot sauce for heat lovers, or keeping it mild for sensitive palates.
For topping suggestions, try adding guacamole, salsa, or shredded cheddar alongside the classics. Cheese varieties beyond Velveeta, like pepper jack or Mexican blend, bring different flavor profiles.
Finally, bun alternatives such as tortillas, pita pockets, or even lettuce wraps offer fun twists on this family-friendly meal.
Shop Related Products

VERSATILE - Easily cook, warm up, & serve tortillas, rotis, chapatis, omelets, & family favorites at home or while camping with this heavy-duty cast iron comal for tortillas. The Mexican comal pan is perfect for exploring the culinary world!


What to serve with Cheesy Taco Joe
When you’re serving Cheesy Taco Joes, you’ll want sides suggestions that complement the bold, savory flavors without competing for attention.
I love pairing these sandwiches with crispy tortilla chips and fresh salsa for extra crunch. A simple Mexican street corn salad adds sweetness and texture, while Spanish rice rounds out the meal beautifully.
For lighter options, try a cool cucumber salad or creamy coleslaw to balance the richness.
When pairing drinks with Cheesy Taco Joes, I recommend ice-cold lemonade or horchata for a revitalizing contrast.
If you’re serving adults, Mexican beer or a tangy margarita works wonderfully. For kids, try fruit punch or agua fresca.
The key is choosing beverages that cleanse your palate between bites.
Final Thoughts
Cheesy Taco Joes have become one of my go-to weeknight dinners because they’re incredibly versatile and always a crowd-pleaser. I love how this recipe brings everyone to the table, creating opportunities for family bonding over flavorful meals that satisfy even the pickiest eaters.
The combination of seasoned beef, melted Velveeta, and refried beans delivers comfort food at its finest, while the customizable toppings let each person make their dinner exactly how they want it.
I’ve found that preparing these takes less than thirty minutes from start to finish, making them perfect for busy evenings when time is tight.
Whether you’re feeding hungry teenagers or young children, this recipe adapts to your needs and consistently delivers delicious results that’ll have everyone asking for seconds.
Frequently Asked Questions
Can I Make Cheesy Taco Joes Ahead of Time and Reheat Them Later?
Yes, I’ll make the taco joe mixture ahead of time for easy meal prep. I store it in the fridge for up to three days, then reheat and serve on fresh buns when ready.
How Long Do Leftover Cheesy Taco Joes Stay Fresh in the Refrigerator?
I’ll store your leftover Cheesy Taco Joes in an airtight container in the refrigerator for 3-4 days. For leftover storage success, follow these refrigerator tips: cool the mixture completely before sealing and refrigerating promptly.
Can I Freeze the Cheesy Taco Joe Meat Mixture for Meal Prep?
Yes, I can freeze the meat mixture for up to three months in freezer storage. I’d cool it completely before transferring to airtight containers, making meal prep incredibly convenient for busy weeknights ahead.
What’s the Best Way to Prevent the Buns From Getting Soggy?
I prevent soggy buns by toasting them lightly in a skillet or oven first, which creates a protective barrier. I also recommend using lettuce as a base layer between the bun and meat mixture for extra protection.
Can I Double This Recipe for a Large Party or Gathering?
I’d definitely double it for large groups! This recipe scales perfectly, and you won’t need any special recipe adjustments. Just use a bigger skillet or two separate pans to brown the meat evenly.