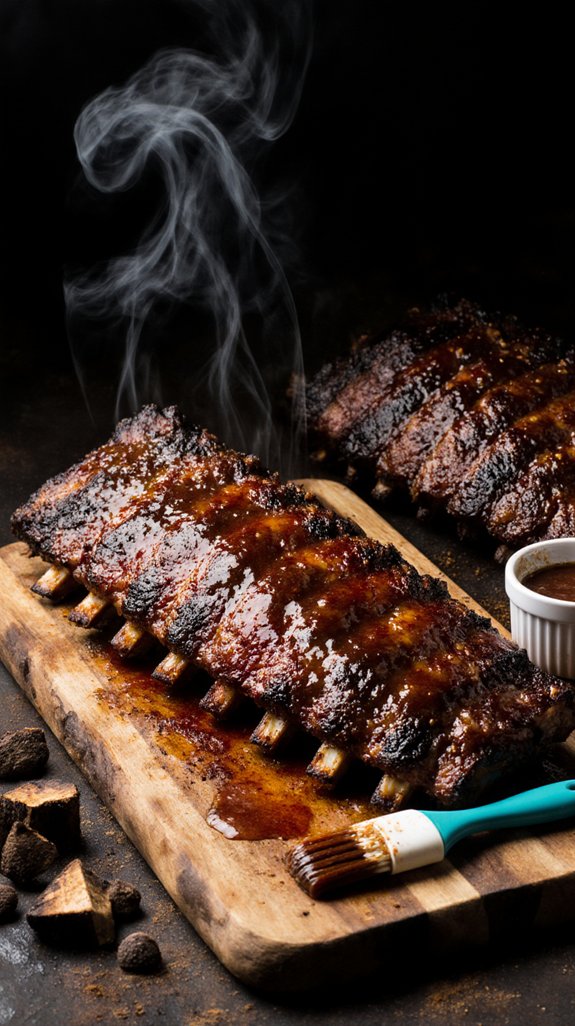
I’ve spent years chasing the perfect rack of ribs, the kind that make people close their eyes with that first bite and forget about whatever they were saying mid-sentence. You know the ones I’m talking about, where the meat practically slides off the bone without any tugging or wrestling. The secret isn’t some complicated technique or expensive equipment, and honestly, once you nail down this method, you’ll wonder why you ever bothered with anything else.
Why You`ll Love these Fall-Off-The-Bone Smoked Ribs
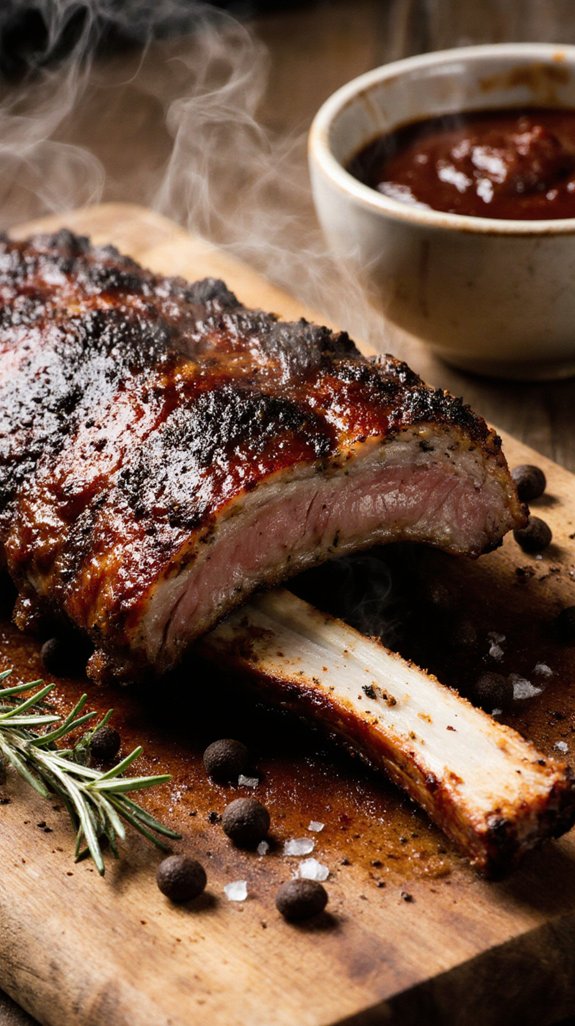
Why does everyone lose their minds over these smoked ribs? Because they’re ridiculously tender, falling right off the bone when you bite into them.
The smoked flavor penetrates every inch of meat, creating that perfect balance between savory and sweet that makes you want to lick your fingers.
I’ve tried countless cooking techniques over the years, and this method consistently delivers restaurant-quality results in your own backyard.
The secret’s in that initial boil with butter and marinade, which jumpstarts the tenderizing process before the ribs even hit the smoker.
Then those hickory chunks work their magic for hours, building layers of complexity you just can’t get from a regular grill.
Trust me, once you master this recipe, you’ll become the person everyone begs to bring ribs to every gathering.
What ingredients are in Fall-Off-The-Bone Smoked Ribs?
The foundation of these incredible smoked ribs starts with quality ingredients that work together to create that perfect tender, flavorful result. You’ll need baby back ribs as your base, along with a flavorful boiling mixture that tenderizes the meat before smoking. The smoking process requires hickory wood chunks for that authentic smoky flavor, while your choice of liquid in the water pan keeps everything moist throughout the long cooking time.
Ingredients:
- 2 baby back rib racks
- 1 cup butter
- 1/2 quart vinegar
- 1/2 cup lemon juice
- 1 (12 ounce) bottle marinade (Such as Dales, Moore’s, or Allegro, Allegro is the best)
- 1/4 cup your favorite barbecue rub
- 10-12 hickory wood chunks
- 1 quart apple juice or 1 quart beer
- Barbecue sauce
When selecting your ingredients, the marinade choice can greatly impact the final flavor profile, with Allegro being the recommended option for best results. You have flexibility with the liquid for your water pan—apple juice adds a subtle sweetness while beer contributes a maltier depth. Your barbecue rub selection is completely customizable to your taste preferences, whether you prefer something spicy, sweet, or savory. Make sure your hickory chunks are properly sized for smoking and not treated with any chemicals, as this will affect both flavor and safety.
How to make these Fall-Off-The-Bone Smoked Ribs
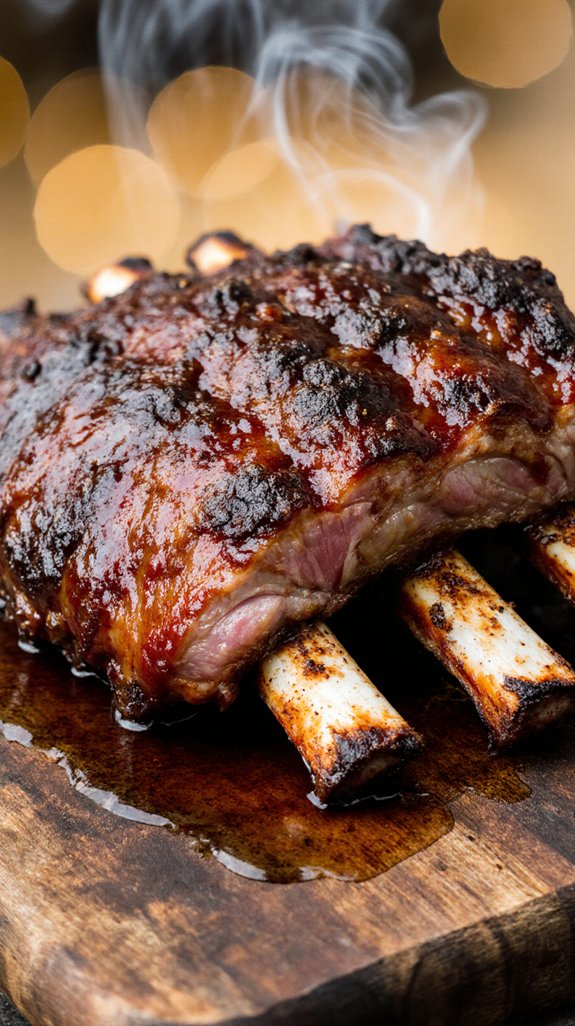
The process begins by preparing your smoker and creating a flavorful boiling mixture that will tenderize the meat before smoking. In a large pot, combine 1 cup of butter, 1/2 quart of vinegar, 1/2 cup of lemon juice, and 1 (12 ounce) bottle of marinade, then bring everything to a rolling boil on your stove.
Once the mixture is boiling, carefully drop your 2 baby back rib racks into the pot and let them cook until they turn a nice brown color, which typically takes about 5 to 10 minutes. After removing the ribs from the boiling mixture, allow them to cool for 5 to 10 minutes so they’re safe to handle.
While they’re cooling, this is the perfect time to generously coat both racks with 1/4 cup of your favorite barbecue rub, making certain to cover all surfaces for maximum flavor.
Now it’s time for the smoking process, which is where the magic really happens. Pour 1 quart of apple juice or beer into your smoker’s water pan to maintain moisture throughout the cooking time, then place a large handful of 10 to 12 hickory wood chunks on top of your charcoal to create that signature smoky flavor.
Place your seasoned ribs in the smoker and let them cook for 3 1/2 hours, making sure to rotate them once during this time to guarantee even cooking and smoke distribution. This extended cooking period at a low temperature is what creates those incredibly tender, fall-off-the-bone ribs that everyone loves.
After the 3 1/2 hours are up, brush your favorite barbecue sauce onto the ribs and continue cooking for an additional 30 minutes, allowing the sauce to caramelize and form a beautiful glaze.
The result will be perfectly smoked ribs with layers of flavor from the marinade, rub, smoke, and sauce that come together in each delicious bite. For even better results, consider investing in premium grill accessories that can help you achieve more consistent temperatures and easier handling throughout the smoking process.
Shop Related Products
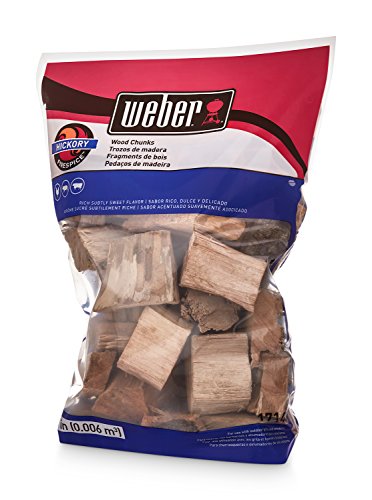

ALL NATURAL HICKORY WOOD CHUNKS: These smoking wood chunks are crafted from 100% hickory hardwood without any harsh chemicals. They naturally enhance chicken, pork, beef, and seafood with a slightly sweet, powerful smoke flavor and a deep color.

MATERIALS: Made from 100% natural seasoned hardwood with no unwanted byproducts, our wood chunks burn cleanly and evenly.
Fall-Off-The-Bone Smoked Ribs Substitutions and Variations
While this recipe calls for baby back ribs, you can absolutely use spare ribs or St. Louis-style ribs with great success.
I’ve experimented with alternative marinades over the years, swapping Dale’s for teriyaki or even Italian dressing when I’m feeling adventurous. The beauty of smoking is its forgiving nature. You can adjust cooking techniques based on your schedule—some folks prefer the 3-2-1 method, wrapping ribs in foil partway through.
I’ve tried both approaches, and honestly, they both work wonderfully. For the liquid pan, I alternate between apple juice and beer depending on what’s in my fridge.
Don’t be afraid to play with different wood chunks either—mesquite adds a bolder flavor, while cherry wood gives a milder, slightly sweet taste.
Shop Related Products

ALL NATURAL CHERRY WOOD CHUNKS: These smoking wood chunks are crafted from 100% cherry hardwood without any harsh chemicals. They naturally enhance chicken, pork, beef, and seafood with a sweet, fruity, and mildly nutty flavor and a deep, rich color.


What to serve with Fall-Off-The-Bone Smoked Ribs
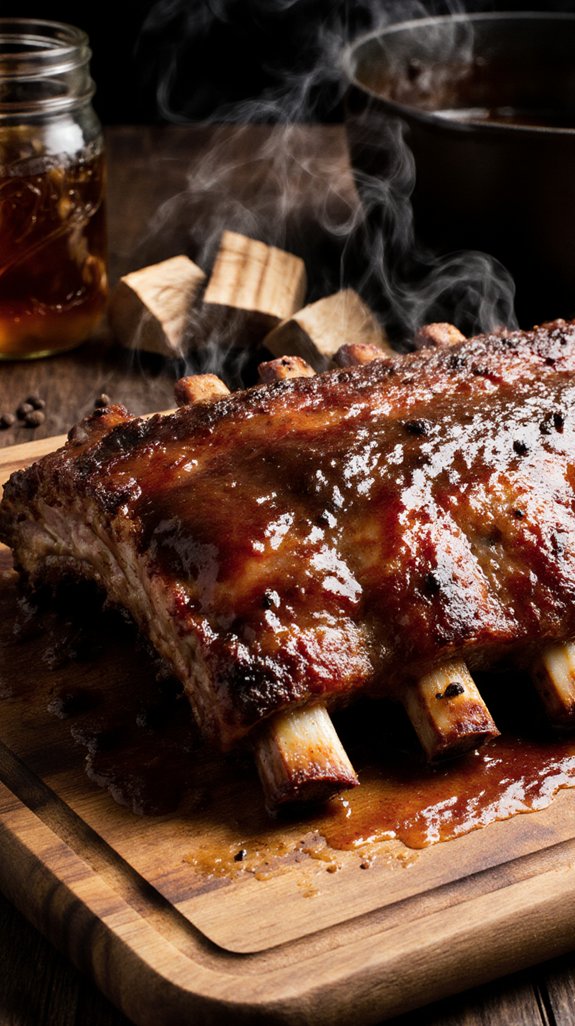
Perfect smoked ribs deserve sidekicks that can hold their own at the table, and I’ve learned through countless backyard cookouts that the right accompaniments make all the difference.
I always reach for classic side dishes like creamy coleslaw, which cuts through the richness beautifully, or baked beans sweetened with molasses.
Cornbread, still warm from the oven, soaks up every drop of sauce. My grandmother used to serve potato salad alongside ribs, and that combination still feels right.
For drink pairings, I prefer cold beer or sweet iced tea, though lemonade works wonderfully too.
Mac and cheese brings comfort, while grilled corn on the cob adds freshness.
These sides transform a simple rib dinner into a feast worth remembering.
Final Thoughts
Looking back on years of smoking ribs, I’ve come to realize that this craft isn’t about following a recipe perfectly—it’s about understanding the process and making it your own.
Each rack teaches you something new, whether it’s adjusting your heat or perfecting your timing. These cooking tips I’ve shared are guidelines, not commandments, so don’t stress if your first attempt isn’t flawless.
As for ribs storage, leftovers keep beautifully in the fridge for three to four days, wrapped tightly in foil. I actually prefer reheating them low and slow in the oven, which brings back that tender texture.
The real secret, though, is patience and practice. Your perfect rack is waiting somewhere between the smoke and the satisfaction.
Frequently Asked Questions
Can I Use Pork Spare Ribs Instead of Baby Back Ribs?
Yes, I can use spare ribs instead of baby back ribs! However, I’ll need to account for pork rib differences in size and thickness by adjusting cooking times—spare ribs typically require an additional 30-60 minutes of smoking.
What Temperature Should the Smoker Be Set To?
I’d set the smoker temperature to 225-250°F for ideal heat. This low and slow range guarantees your ribs become fall-off-the-bone tender during that 4-hour smoking process without drying out the meat.
How Do I Know When the Ribs Are Done?
I’ll know the ribs are done after the total 4-hour cook time. Visual cues include meat pulling back from bones and rib doneness indicators like tender texture when twisted with tongs.
Can I Make These Ribs in Advance and Reheat Them?
Yes, I can make these ribs in advance! For storage tips, I’ll refrigerate them up to 3 days or freeze for 3 months. When reheating methods matter, I’ll use low oven heat to maintain tenderness.
Do I Need to Remove the Membrane From the Ribs?
Yes, I’d recommend membrane removal during rib preparation. While the recipe doesn’t explicitly mention it, removing that thin membrane from the bone side helps the rub penetrate better and improves the final texture considerably.