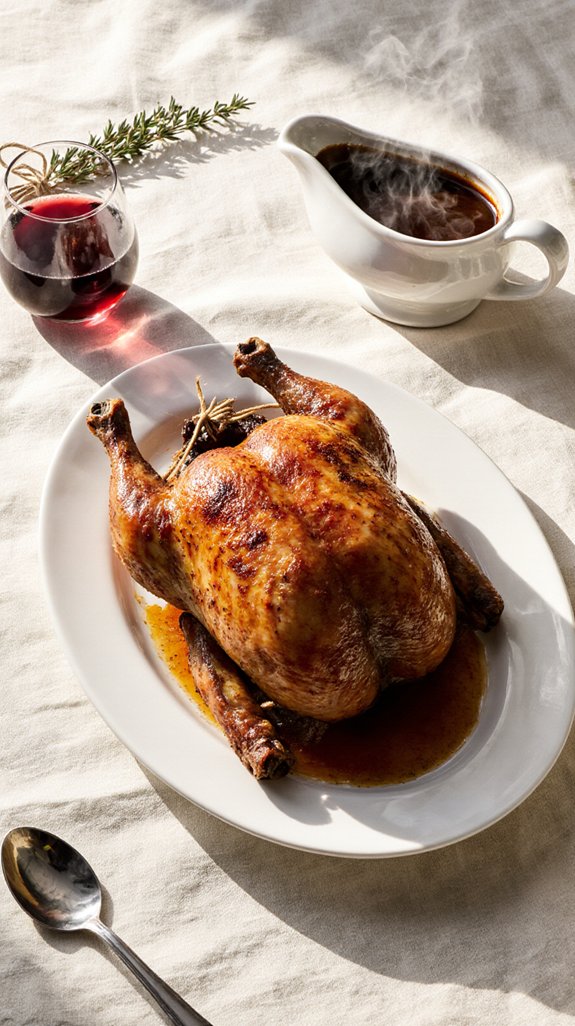
I’ve spent years perfecting my roast chicken technique, and I’m convinced this recipe is the one that’ll transform your weeknight dinners forever. There’s something magical about achieving that golden, crispy skin while keeping the meat incredibly juicy inside. The secret isn’t complicated equipment or fancy ingredients—it’s all about understanding a few key techniques that make the difference between good chicken and absolutely unforgettable chicken. Let me show you exactly how it’s done.
Why You`ll Love this Perfect Golden Roast Chicken
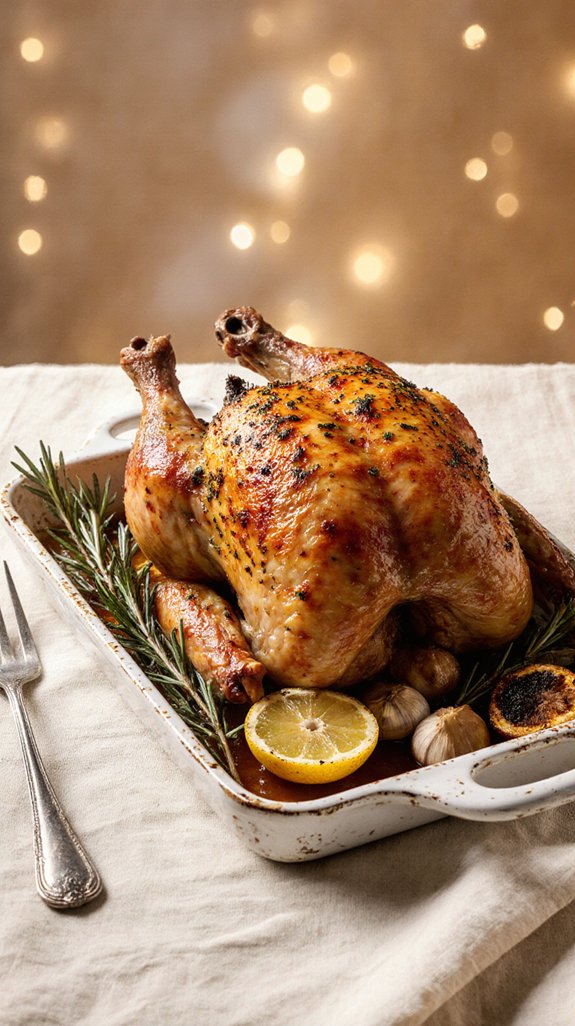
While roast chicken might seem intimidating at first, this recipe transforms it into one of the easiest weeknight dinners you’ll master.
I love how the simple technique of starting at high heat and then reducing the temperature creates incredibly crispy skin that everyone fights over at the dinner table.
The flavorful stuffing of celery, onion, and thyme infuses the meat with aromatic goodness from the inside out, while the butter coating guarantees golden perfection.
What really excites me is how this one-pan method means less cleanup, and you can even make gravy right in the roasting pan afterward.
With just six ingredients and straightforward steps, you’ll have a restaurant-quality meal that looks impressive but requires minimal effort.
What ingredients are in Perfect Golden Roast Chicken?
This perfectly seasoned roast chicken starts with simple, everyday ingredients that come together to create an impressive main course. The foundation is a whole roasting chicken complemented by aromatic vegetables and herbs that infuse flavor throughout the cooking process. The minimal ingredient list makes this recipe accessible and budget-friendly while still delivering maximum flavor.
- 3 1/2 lbs roasted chicken
- 1 stalk celery
- 1 onion, quartered
- 1 tablespoon butter, softened, divided
- 1/2 teaspoon dried thyme
- 1/2 teaspoon salt
When selecting your chicken, look for one that’s approximately 3 1/2 pounds for ideal cooking time and even roasting. The butter should be softened to room temperature so it spreads easily over the chicken’s skin, ensuring that beautiful golden color. While the recipe calls for dried thyme, you can substitute fresh herbs if preferred, using about three times the amount. The celery and onion don’t need to be perfectly chopped since they’re primarily for flavoring the cavity, and you’ll also want to keep some water on hand to add to the bottom of the roasting pan to prevent drippings from burning.
How to make this Perfect Golden Roast Chicken
Making this perfect golden roast chicken is easier than you might think, and it all starts with proper preparation. First, preheat your oven to 475°F to get it nice and hot.
While the oven heats up, slice your 1 stalk of celery and prepare the chicken by sprinkling 1/2 teaspoon of dried thyme and 1/2 teaspoon of salt inside the cavity. Add 1 teaspoon of the softened butter along with the sliced celery and 1 quartered onion into the cavity—these aromatics will flavor the chicken from the inside out as it roasts.
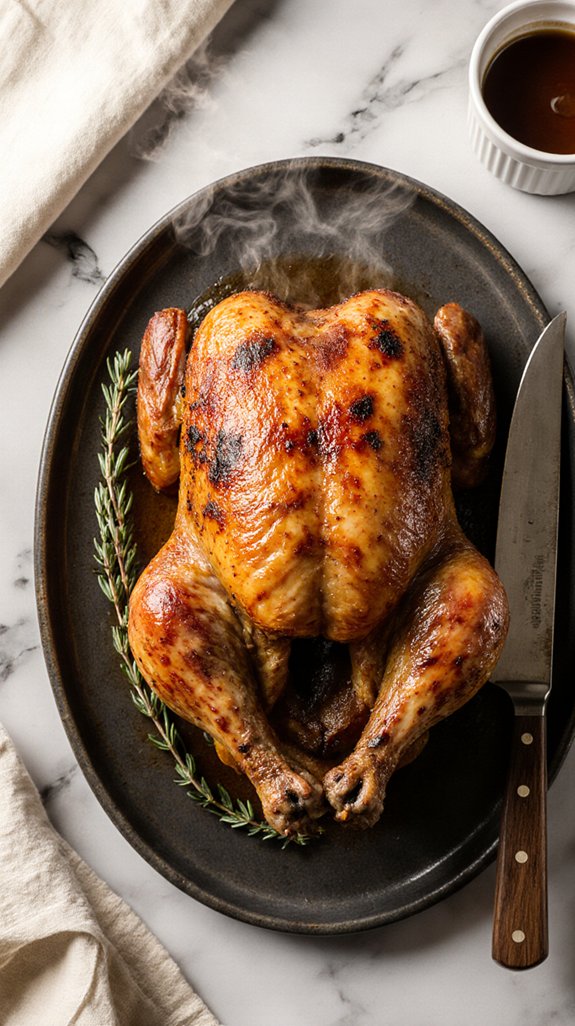
Take the remaining butter and rub it all over the outside of the chicken, making sure to coat the skin evenly. This butter is what creates that gorgeous golden color we’re after. Tuck the wing tips under the back of the chicken to prevent them from burning, then place the chicken breast-side down on a rack in your roasting pan.
Once your chicken is positioned, add enough water to cover the bottom of the pan, which keeps the drippings from burning and helps maintain moisture during cooking.
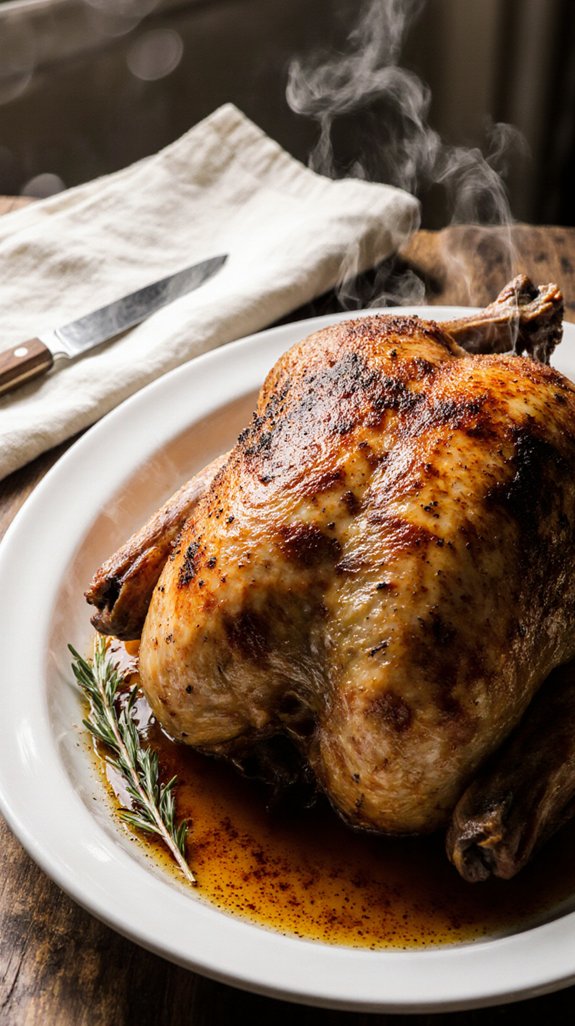
Pop it in the oven and roast for 10 minutes at that high temperature, then reduce the heat to 375°F and continue roasting for another 20 minutes. At this point, carefully turn the chicken breast-side up and roast for about 30 more minutes until the skin is beautifully browned and crispy.
The total cooking time should be around an hour, but the real test is that golden-brown color and making sure the juices run clear.
If you want to take things a step further, you can make gravy right in the roasting pan by stirring in 1 tablespoon of flour for each cup of pan juices along with a little water, then cooking over medium-high heat while stirring constantly until it thickens—no extra dishes required. Using premium cookware sets with heavy-bottomed roasting pans ensures even heat distribution and prevents hot spots that could cause uneven browning.
Shop Related Products

Healthy Material - The Tifanso heavy-duty turkey roasting pan with rack is made of high-quality, non-toxic stainless steel and contains no chemical coatings, ensuring that no harmful substances leach into your food. This turkey roasting pan can withstand temperatures up to 450℉ and is corrosion-resistant, promising a long service life without easy deformation. The oven pan heats quickly and distributes heat evenly, allowing you to make delicious gravies directly on an induction stove.

EXCEPTIONAL DESIGN: The Cuisinart 16-inch rectangular roaster is made with a high-performance stainless steel exterior and riveted stainless steel handles. The steel rack is large enough to handle a big Thanksgiving turkey and perfect for slow-roasting root vegetables
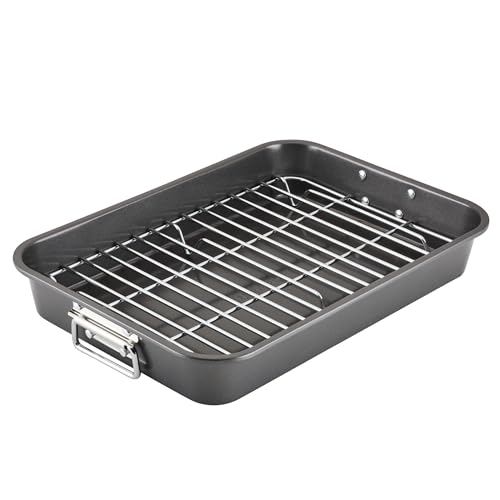
SUPERIOR COOKING FOR YEARS TO COME: Heavy-duty steel roaster pan designed to resist warping for years of roasting performance
Perfect Golden Roast Chicken Substitutions and Variations
One of the best things about roast chicken is how easily you can customize it to suit your taste or work with what’s already in your kitchen.
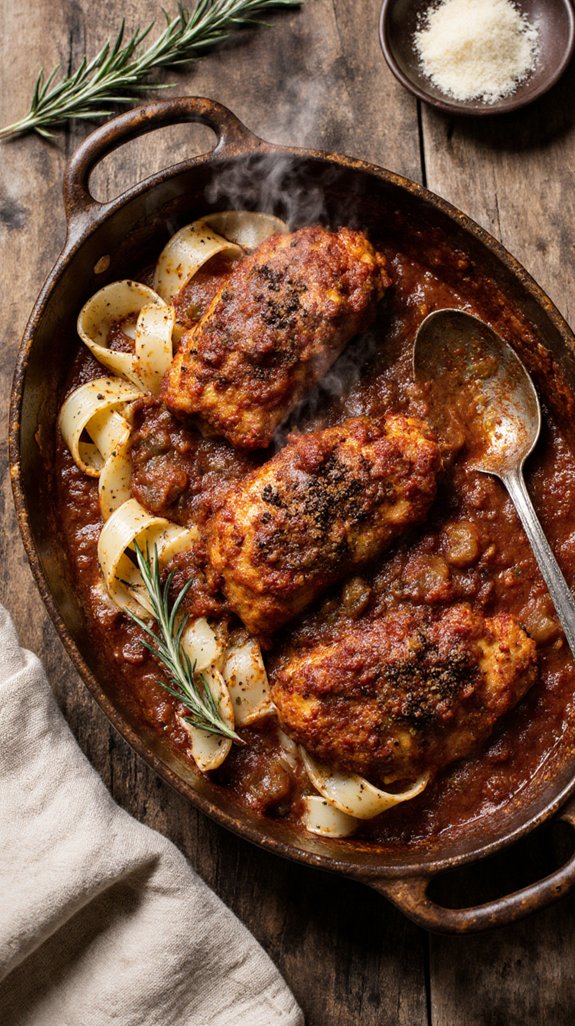
For herb variations, I love swapping thyme for rosemary, sage, or even a mix of Italian herbs. Fresh herbs work wonderfully too, just use triple the amount.
If you don’t have butter, olive oil creates an equally crispy, golden skin. Different cooking methods can also work well—try spatchcocking the chicken to reduce cooking time by about 20 minutes, or use a slow roaster for incredibly tender meat.
You can even stuff the cavity with lemon halves, garlic cloves, or fresh herbs instead of celery and onion. The possibilities are endless, and experimentation keeps things exciting.
Shop Related Products
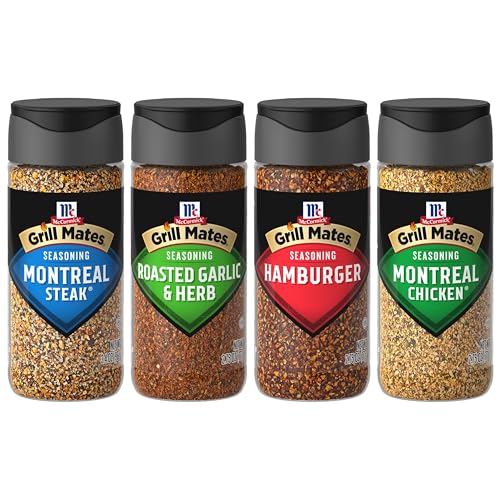
Four most-loved Grill Mates Seasonings together in one set

Heavy-Duty Meat Claws - Alpha Grillers meat shredder claws are heavy-duty BBQ tools designed for shredding pulled pork, lifting roasts, and handling large cuts of meat. These durable grilling accessories, also known as bear claws, are heat-resistant, and must-have grill accessories for any barbecue master or backyard chef.

What to serve with Perfect Golden Roast Chicken

Roast chicken becomes a complete meal when you pair it with sides that complement its rich, savory flavors.
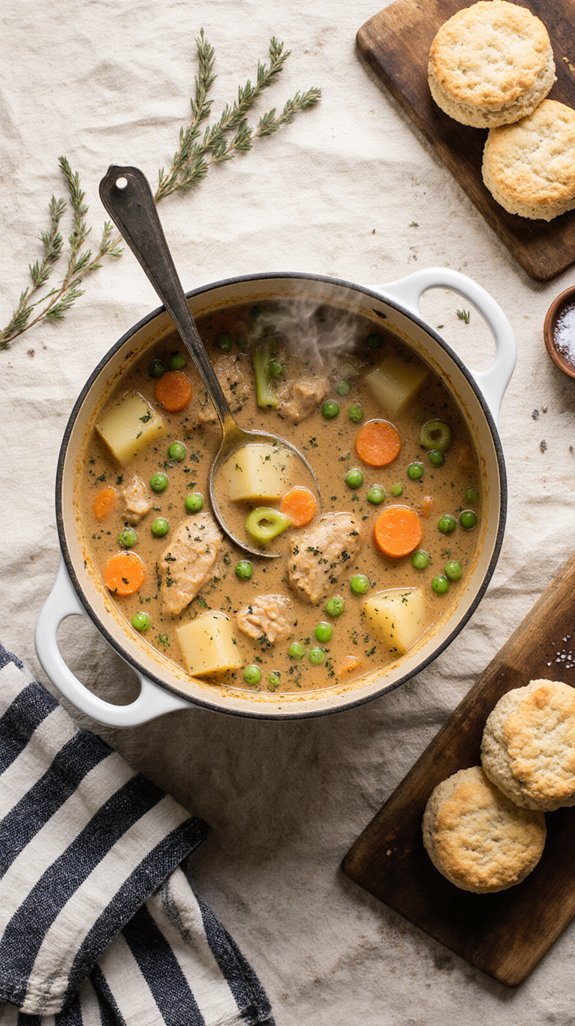
I love serving mine with classic roasted vegetables like carrots, potatoes, and Brussels sprouts that cook alongside the chicken. A fresh green salad adds brightness, while creamy mashed potatoes or buttery dinner rolls soak up the delicious pan juices.
For side dishes with more texture, try roasted asparagus or sautéed green beans with garlic.
When it comes to wine pairings, I recommend a crisp Chardonnay or light Pinot Noir that won’t overpower the chicken’s natural taste.
If you’re making gravy from the pan drippings, as suggested in the recipe, you’ll want something starchy to enjoy it with.
Final Thoughts
After you’ve mastered this recipe, you’ll find yourself turning to it again and again for family dinners and special occasions alike.
The beauty of roasting chicken lies in understanding basic cooking techniques that transform simple ingredients into something extraordinary. By controlling oven temperature and timing, you’ve learned how proper heat management creates that perfect golden skin we all crave.
The flavor enhancement from butter, herbs, and aromatics proves that sometimes the simplest additions make the biggest impact. I encourage you to experiment with different herb combinations or add garlic to the cavity for variation.
Once you’re comfortable with these fundamentals, you’ll develop the confidence to adapt the recipe to your family’s preferences while maintaining those essential techniques that guarantee success every time.
Frequently Asked Questions
Can I Use Frozen Chicken or Does It Need to Be Thawed First?
I’d strongly recommend thawing your frozen chicken completely before roasting. Cooking from frozen considerably increases cooking time and results in uneven cooking, where the outside burns while the inside remains dangerously undercooked and unsafe to eat.
How Do I Know When the Chicken Is Fully Cooked Inside?
I’ll check the internal temperature with a meat thermometer inserted into the thickest part of the thigh—it should reach 165°F. I also look for visual cues like clear juices and no pink meat near the bone.
Should I Cover the Chicken With Foil While Roasting?
I don’t recommend covering this chicken with foil. You’ll get beautifully crispy, golden-brown skin without it. Foil benefits steaming but prevents browning. The cooking times provided work perfectly for achieving that delicious crispy exterior uncovered.
How Long Should the Chicken Rest Before Carving and Serving?
I recommend letting the chicken rest for 10-15 minutes before carving. This resting time allows the juices to redistribute throughout the meat. For carving tips, I suggest using a sharp knife and cutting against the grain for tender slices.
Can Leftovers Be Safely Stored and How Long Do They Last?
I’ll store leftover roast chicken in airtight containers in the refrigerator within two hours of cooking. For safe consumption, I recommend using the leftovers within three to four days or freezing them for longer storage.