What’s better than combining your coffee fix with chocolate cravings on a sticky summer day? I stumbled onto iced mochas last July when our office AC died, and honestly, it changed my afternoon slump routine. The drink’s straightforward—espresso, chocolate syrup, milk, ice—but getting the proportions right makes all the difference. You’ll want to know the trick that keeps it from tasting like watered-down disappointment.
History
The iced mocha doesn’t have some grand origin story in a famous Italian café or a dramatic invention moment.
It’s really just what happened when someone decided regular iced coffee needed chocolate. The drink probably emerged in American coffee shops during the 1990s, when cafés started getting creative with espresso drinks and customers wanted cold versions of everything.
Mochas themselves trace back to mocha coffee beans from Yemen, which had natural chocolate notes.
But the iced version? That’s pure modern convenience. Coffee shops noticed people ordering hot mochas even in summer, so they simply poured the same flavors over ice.
Now it’s a menu staple everywhere, from chain stores to independent cafés, no dramatic backstory required.
Recipe
The iced mocha combines the boldness of espresso with rich chocolate and creamy milk, creating a café-quality beverage that rivals any coffee shop offering.
This indulgent drink strikes the perfect balance between coffee’s bitterness and chocolate’s sweetness, all served over ice for a revitalizing treat. The smooth, velvety texture makes each sip feel like a special occasion.
This drink shines during warm afternoons when you need an energy boost or as a dessert-like treat that won’t weigh you down. Whether you’re working from home, entertaining guests, or simply craving something more exciting than regular iced coffee, the iced mocha delivers satisfaction in every glass.
Its chocolate-forward flavor appeals to both coffee enthusiasts and those who prefer their caffeine with a sweeter twist.
Ingredients
- 2 shots espresso (or ½ cup strong brewed coffee)
- 2 tablespoons chocolate syrup
- 1 cup cold milk
- Ice cubes
- Whipped cream
Instructions
- Brew 2 shots of espresso or ½ cup of strong coffee and let it cool slightly.
- Add 2 tablespoons of chocolate syrup to a tall glass.
- Pour in the espresso and stir well to combine with the chocolate syrup.
- Fill the glass three-quarters full with ice cubes.
- Pour in 1 cup of cold milk and stir gently to mix all ingredients.
- Top with a generous dollop of whipped cream and serve immediately.
Tips
For a lighter version, swap regular milk for almond, oat, or skim milk, keeping in mind that each will slightly alter the drink’s creaminess.
Adjust sweetness by increasing or decreasing the chocolate syrup, or use dark chocolate syrup for a more sophisticated, less sweet flavor.
The espresso can be brewed ahead and refrigerated for up to 24 hours, making morning preparation quick and effortless.
For an extra-decadent touch, drizzle additional chocolate syrup over the whipped cream before serving.
Preparation Steps
Making an iced mocha is simpler than you’d think, and I promise you’ll have it ready in under five minutes.
The process starts with brewing your espresso and letting it cool just enough that it won’t melt all your ice immediately.
From there, it’s just a matter of layering chocolate syrup, ice, and milk in the right order to create that café-style drink you’re craving.
Step 1. Brew and Cool Espresso
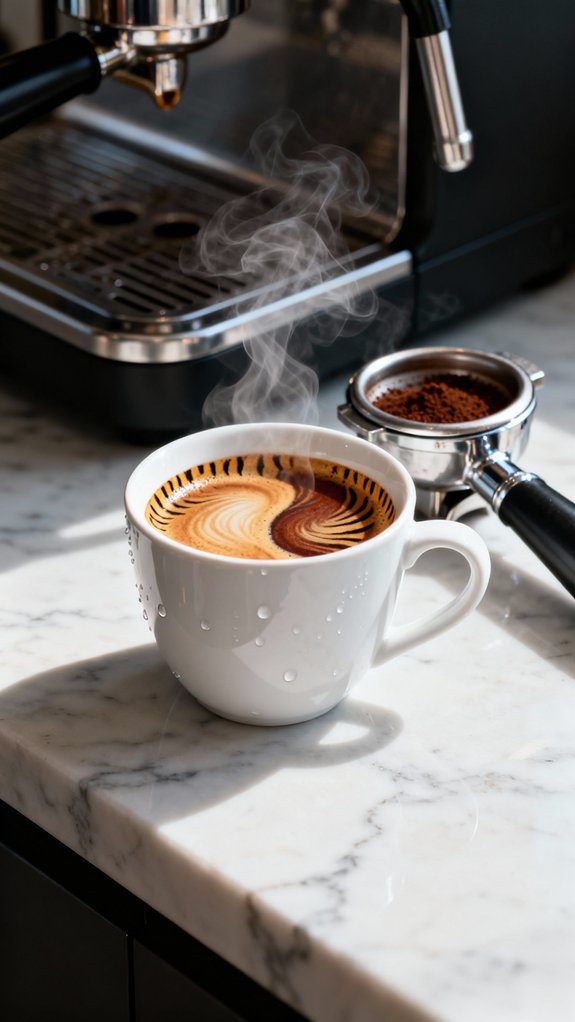
First things first, you’ll want to pull those espresso shots or brew your strong coffee. I use my little espresso machine most mornings, the one that sits next to the toaster and makes that satisfying hissing sound.
Two shots is perfect for one serving. If you don’t have an espresso maker, don’t stress—just brew about half a cup of really strong coffee instead. The key here is letting it cool for a few minutes before you do anything else.
Hot espresso meeting ice creates a watery mess that nobody wants. I usually set my shots aside while I gather the chocolate syrup and milk from the fridge. By the time I’m ready, the espresso has cooled just enough to work with perfectly.
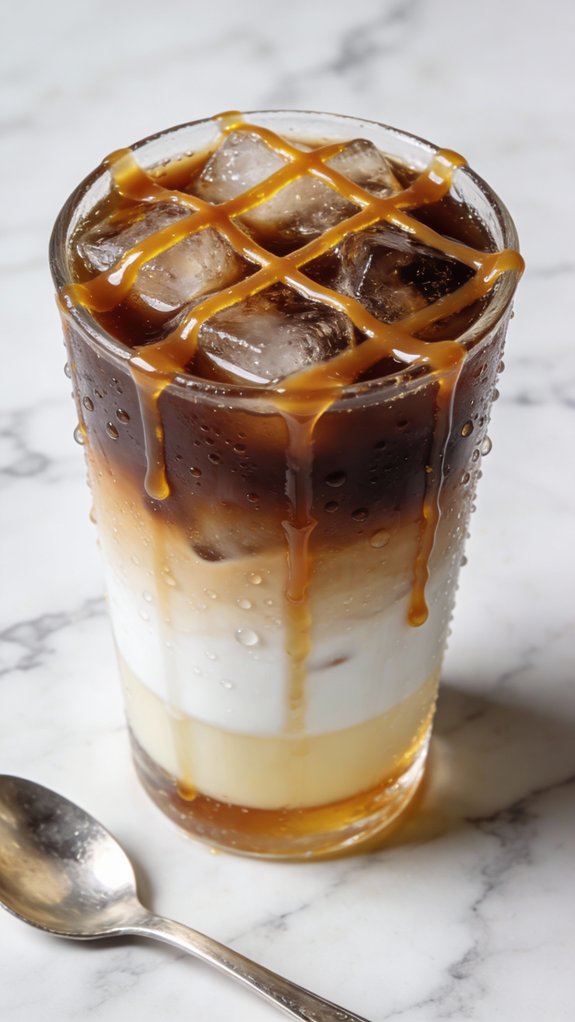
Step 2. Add Chocolate Syrup to Glass
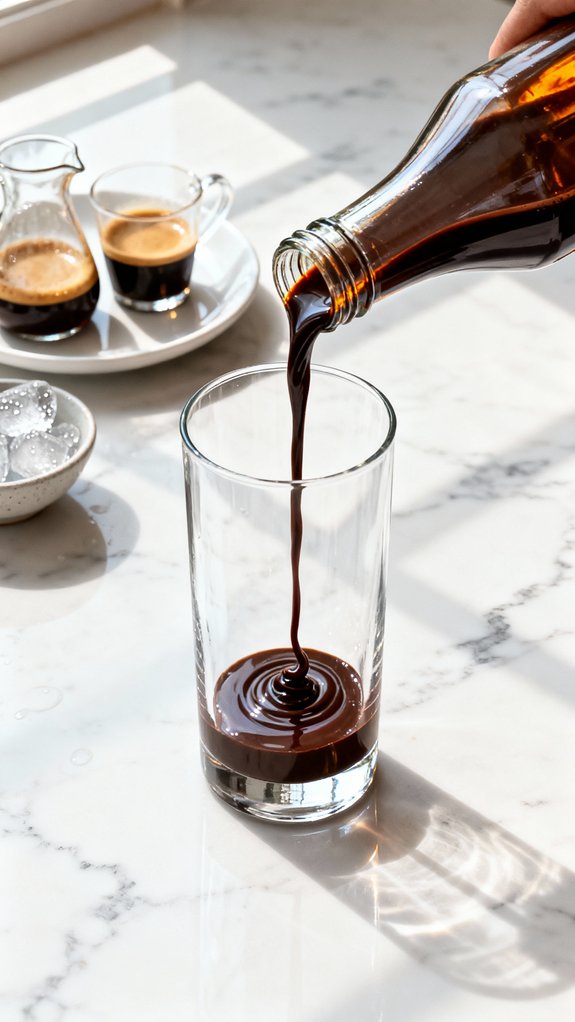
Chocolate syrup at the bottom of the glass creates this sweet foundation that everything else builds on.
I always grab a tall glass, something clear if I’ve it, because watching those dark ribbons of chocolate swirl with the espresso later makes the whole thing feel more special.
Pour in about two tablespoons of your favorite chocolate syrup, letting it pool at the bottom. The exact amount depends on how sweet you want things, but I’ve found two tablespoons hits that perfect spot where you taste both coffee and chocolate without one drowning out the other.
Some mornings I use a spoon to spread it slightly up the sides, creating those café-style drizzle patterns that make it look professional.
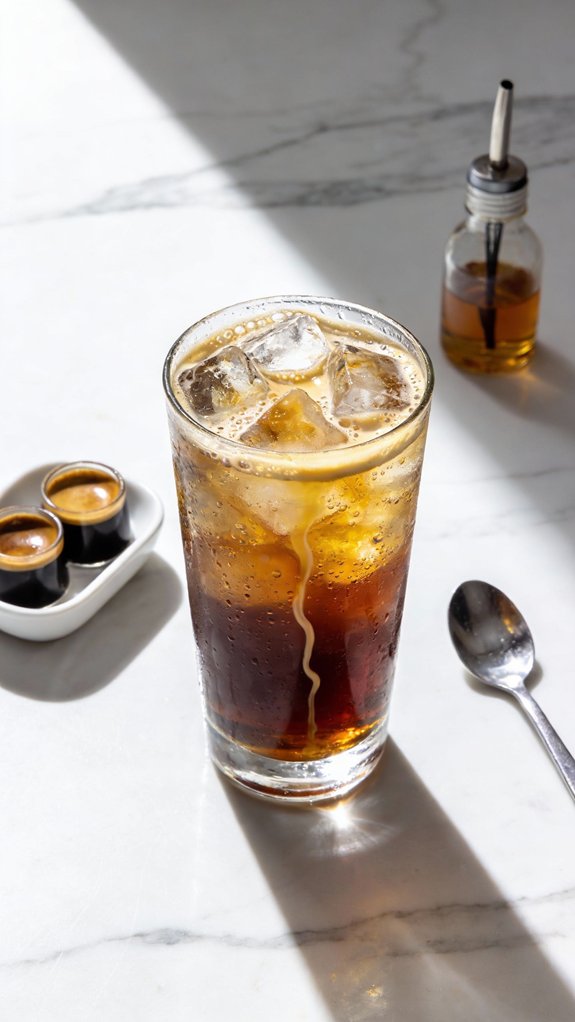
Step 3. Fill Glass With Ice
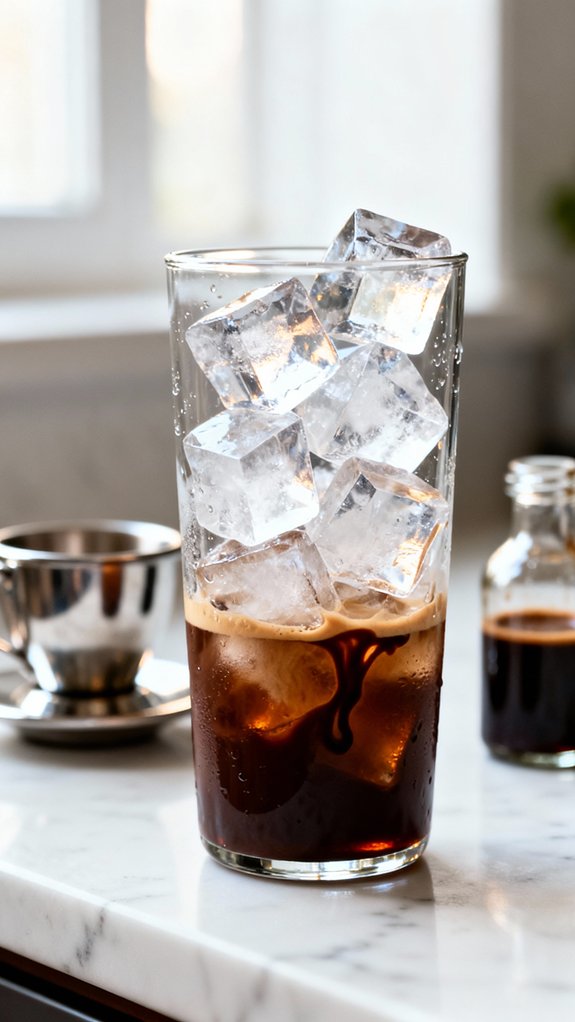
With that chocolate syrup waiting at the bottom, it’s time to grab your ice.
I usually fill the glass about three-quarters full, leaving enough room for the milk you’ll add next. Regular ice cubes work perfectly fine, though smaller cubes create a smoother drinking experience since they chill faster and blend better with the liquid.
You’ll hear that satisfying clink as the cubes hit the chocolate-coated glass. Don’t skimp here—plenty of ice keeps your mocha cold from the first sip to the last drop.
I learned this the hard way after making a lukewarm version that tasted more like chocolate milk than a proper iced coffee drink. The ice transforms everything.
Step 4. Pour Cold Milk In
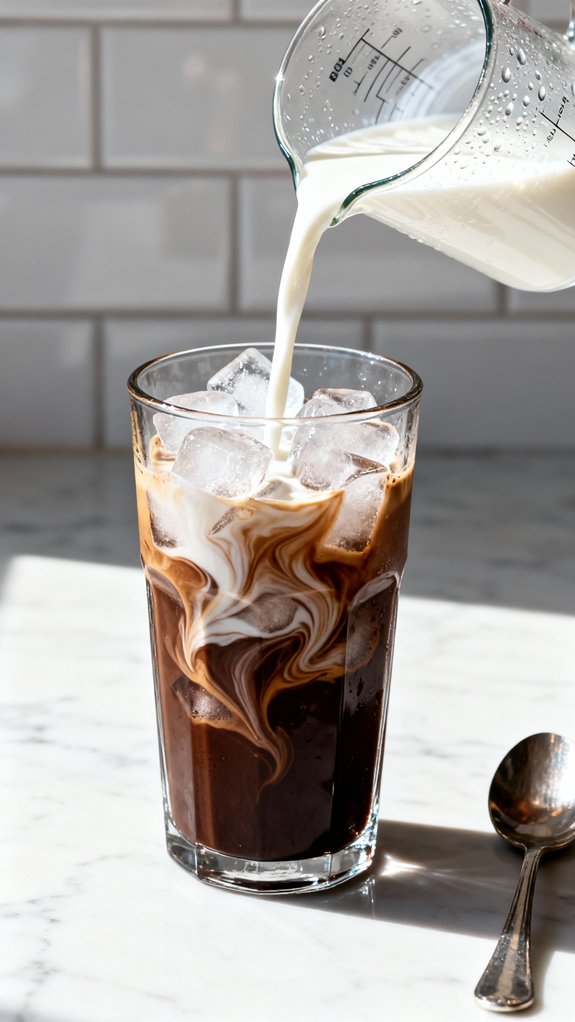
After you’ve got that ice settled in the glass, the cold milk goes in next to bring everything together.
I usually pour about a cup, letting it cascade over the ice and blend with the espresso-chocolate mixture below. The milk should be properly cold from the fridge, not room temperature, because that’s what makes this drink actually invigorating instead of just lukewarm and disappointing.
As you pour, you’ll notice the dark espresso swirling up through the lighter milk, creating these cool marbled patterns before everything settles.
Give it a gentle stir with a long spoon to make sure the chocolate syrup at the bottom doesn’t just stay stuck there. The milk mellows out the espresso’s intensity while keeping that coffee kick intact.
Step 5. Top With Whipped Cream
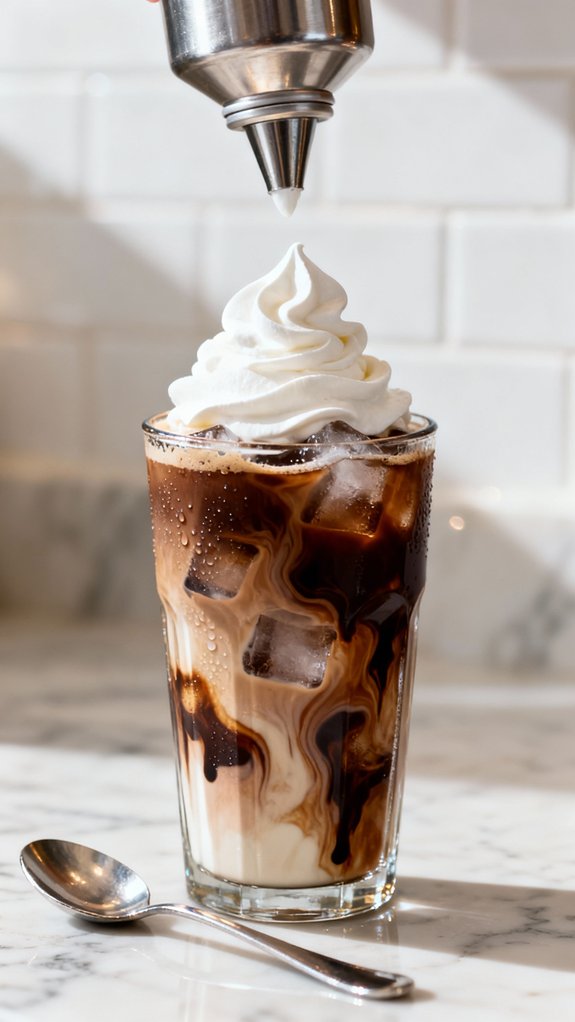
The whipped cream crowns the drink and turns it from just another iced coffee into something that feels genuinely special. I always add a generous dollop—about a quarter cup—right on top of the iced mocha.
The cream should sit like a fluffy cloud above the chocolate-streaked milk below. You’ll notice it starts to slowly melt into the drink, creating these beautiful swirls as it mingles with the cold espresso and milk.
Some people prefer spreading it across the entire surface, while others pile it high in the center. Either way works perfectly.
The contrast between the cold, creamy topping and the rich mocha underneath makes every sip more interesting than the last, transforming your kitchen creation into something that looks straight out of a café.
Final Thoughts
Making this iced mocha at home has genuinely changed how I think about coffee drinks. I used to grab them from the café down the street, spending five or six dollars without thinking twice.
Now I make them in my kitchen for less than a dollar, and honestly, they taste just as good. The whole process takes maybe five minutes once you’ve got your espresso ready.
I’ve made these for friends during weekend brunches, and they always ask for the recipe. It’s become my go-to afternoon pick-me-up when I’m dragging around three o’clock.
The best part is customizing everything exactly how I want it, adjusting the chocolate or milk until it’s perfect.
Frequently Asked Questions
Can I Make Iced Mocha Without an Espresso Machine?
Yes, you can! Think of espresso like a sports car—thrilling but unnecessary. You’ll brew strong coffee instead, using ½ cup as your base, then follow the same chocolate syrup, milk, and ice method for delicious results.
How Many Calories Are in a Typical Iced Mocha?
A typical iced mocha contains between 200-350 calories, depending on milk type, chocolate syrup amount, and whipped cream. You’ll reduce calories considerably by using skim milk, sugar-free syrup, and skipping the whipped cream topping.
What’s the Difference Between Iced Mocha and Iced Latte?
The key difference is chocolate—you’ll add chocolate syrup to an iced mocha, while an iced latte contains only espresso and milk. Both use the same coffee base, but mocha’s sweeter and richer from that chocolate addition.
Can I Prepare Iced Mocha the Night Before?
You can brew the espresso ahead and refrigerate it for up to 24 hours, but you’ll get the best results if you assemble the drink fresh with ice, milk, and toppings right before serving.
Does Iced Mocha Contain More Caffeine Than Regular Coffee?
Your iced mocha packs a similar caffeine punch to regular coffee since both use the same coffee base. The chocolate and milk don’t dilute the caffeine—they just make it taste sweeter and more indulgent.