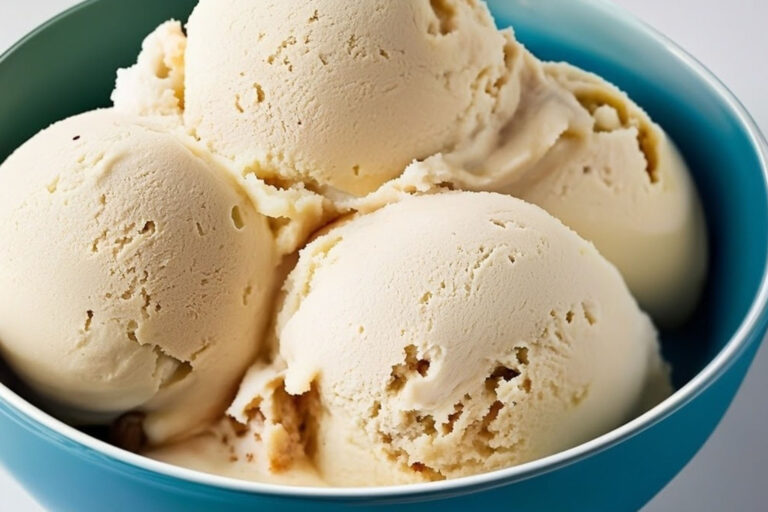
How to Make Ice Cream with a KitchenAid Mixer: Easy Ice Cream Recipe for Every Home
Imagine enjoying a rich, creamy bowl of homemade ice cream, fresh from your kitchen, crafted with your very own hands using a KitchenAid mixer. No more heading to the store to pick up your favorite flavor—now you can make it yourself! If you’ve ever wondered how to make ice cream with a KitchenAid mixer, you’ve come to the right place. In this step-by-step guide, we’ll walk you through how to create delicious ice cream at home, using your KitchenAid mixer and its Ice Cream Maker Attachment. Whether you’re a seasoned pro or a beginner, you’ll find this easy-to-follow recipe to be the key to homemade, customizable ice cream.
Table of contents
- How to Make Ice Cream with a KitchenAid Mixer: Easy Ice Cream Recipe for Every Home
- What You Need to Make Ice Cream with a KitchenAid Mixer
- Step-by-Step Guide to Making Ice Cream with Your KitchenAid Mixer
- Common Ice Cream Recipe Variations for KitchenAid Mixers
- Helpful Tips and Troubleshooting for Making Ice Cream with a KitchenAid Mixer
- Conclusion: The Joy of Homemade Ice Cream
- FAQs About Making Ice Cream with a KitchenAid Mixer
What You Need to Make Ice Cream with a KitchenAid Mixer
Before we dive into the recipe, let’s go over the essentials. You’ll need a few ingredients, a KitchenAid mixer, and the right attachment to get started. Here’s what you’ll need to make the perfect batch of homemade ice cream.
Essential Ingredients for Your Ice Cream Recipe KitchenAid
Making ice cream at home is surprisingly simple, and it all starts with just a few basic ingredients. Here are the essentials:
- Heavy Cream: This is the base for your ice cream, giving it that rich, creamy texture.
- Whole Milk: Adding milk ensures your ice cream isn’t too thick or too runny.
- Sugar: A bit of sweetness is needed to balance the richness of the cream.
- Vanilla Extract: Pure vanilla extract gives your ice cream that traditional, comforting flavor.
- Eggs (optional): Some ice cream recipes include eggs for a custard-based treat that’s extra creamy.
- Salt: A pinch of salt helps bring out the natural sweetness of your ice cream.
Optional Ingredients: You can get creative with flavor add-ins and mix-ins such as:
- Chocolate Chips
- Crushed Nuts
- Fruit (berries, mango, etc.)
- Cocoa Powder for a chocolate twist
These ingredients will form the backbone of your ice cream. But the real fun begins when you start adding your unique flavor combinations!
KitchenAid Mixer Attachments and Tools
To make ice cream with your KitchenAid mixer, you’ll need the KitchenAid Ice Cream Maker Attachment. This attachment is designed specifically for making ice cream in a KitchenAid mixer and makes the whole process quick and easy. Here’s a breakdown of the components:
- Ice Cream Maker Attachment: This attachment comes with a dasher, a freezing bowl, and a drive assembly that fits onto your KitchenAid mixer.
- Freezer Bowl: The freezing bowl must be kept in the freezer for at least 24 hours before you use it to churn your ice cream. This is essential to achieving that perfect creamy texture.
- Mixer: Your KitchenAid stand mixer will provide the motor and support to churn the ice cream.
Step-by-Step Guide to Making Ice Cream with Your KitchenAid Mixer
Now that you have your ingredients and equipment ready, it’s time to make your ice cream! Here’s how you can do it:

Step 1: Prepare Your Ice Cream Mixture
Making ice cream starts with preparing your mixture. You’ll combine the cream, milk, sugar, and any additional ingredients in a bowl. If you’re making a custard-based ice cream, you’ll need to temper the eggs first to avoid scrambling them. Here’s a quick breakdown:
- Combine the Milk, Cream, and Sugar: In a large mixing bowl, whisk together the heavy cream, whole milk, and sugar. Stir until the sugar is fully dissolved.
- Add Vanilla Extract (or other flavorings): Stir in the vanilla extract or your choice of flavorings (like cocoa powder, mint extract, or fruit puree).
- For Custard Ice Cream: If you prefer a richer, custard-style ice cream, whisk the eggs separately in a bowl. Gradually pour some of the warm cream mixture into the eggs, then slowly combine everything. Heat the mixture on low to thicken, but avoid boiling.
Once your ice cream mixture is ready, it’s time to move on to the churning process.
Step 2: Attach the Ice Cream Maker Attachment
This is where the KitchenAid mixer really shines. Attach the Ice Cream Maker Attachment to your mixer, ensuring the freezing bowl has been in the freezer for at least 24 hours. Follow these steps:
- Place the frozen bowl on the mixer stand and attach the dasher (the paddle-like part that stirs the ice cream).
- Secure the drive assembly to your KitchenAid mixer.
- Turn on your mixer to the lowest speed setting.
Now you’re ready for the fun part!
Step 3: Churn Your Ice Cream
Pour the prepared ice cream mixture into the freezing bowl. With the mixer running on the lowest setting, the dasher will churn the mixture while the frozen bowl cools it down.
- Churning Time: This process typically takes about 20-25 minutes. The ice cream will thicken as it churns.
- Consistency: If you like your ice cream soft-serve style, you can stop churning when it reaches your desired consistency. For firmer ice cream, let it churn a little longer.
Tip: If your ice cream is still too soft, you can transfer it to a container and freeze it for 2-3 hours to firm it up.
Step 4: Freeze Your Ice Cream
Once your ice cream has reached the desired consistency, transfer it from the freezing bowl into an airtight container. Smooth it out with a spatula and cover it tightly.
- Freeze Time: Let the ice cream freeze for at least 3-4 hours for the best texture.
- Storage: You can store your homemade ice cream in the freezer for up to a week (if it lasts that long!).
Common Ice Cream Recipe Variations for KitchenAid Mixers
The great thing about making ice cream with a KitchenAid mixer is how customizable it is. Here are a few easy recipe variations to try:
Vanilla Ice Cream Recipe with KitchenAid Mixer
This classic vanilla ice cream is the perfect starting point for your homemade ice cream journey. It’s rich, creamy, and incredibly easy to make.
- Ingredients: Heavy cream, whole milk, sugar, vanilla extract.
- Instructions: Follow the steps outlined earlier to prepare your vanilla ice cream mixture, churn it, and freeze.
Chocolate Ice Cream Recipe with KitchenAid Mixer
For all the chocolate lovers out there, this variation will be a hit. Using either cocoa powder or melted chocolate, you can create a deep, rich chocolate flavor.
- Ingredients: Heavy cream, whole milk, sugar, cocoa powder (or melted chocolate), vanilla extract.
- Instructions: Follow the same steps as the vanilla recipe but add cocoa powder or melted chocolate to the mixture.
Dairy-Free Ice Cream Recipe with KitchenAid
If you’re dairy-free or lactose intolerant, no worries! You can still enjoy the joys of homemade ice cream. Use coconut milk, almond milk, or oat milk instead of dairy products.
- Ingredients: Coconut milk (or almond milk), sugar, vanilla extract, salt.
- Instructions: Substitute coconut milk or another dairy-free alternative for the cream and milk in the original recipe. Follow the same steps.
Helpful Tips and Troubleshooting for Making Ice Cream with a KitchenAid Mixer
Here are a few tips to ensure your homemade ice cream turns out perfectly:
Tips for Perfect Ice Cream Every Time
- Chill the Ice Cream Maker: The freezing bowl must be frozen for at least 24 hours before use. This step is crucial for the proper texture of the ice cream.
- Use Cold Ingredients: If your ingredients are cold when you start, your ice cream will churn faster and have a smoother consistency.
- Don’t Over-Churn: Churning for too long can cause the ice cream to turn icy. Keep an eye on the texture!
Troubleshooting Common Ice Cream Problems
- Soft Ice Cream: If your ice cream is too soft, place it in the freezer for a couple of hours after churning.
- Hard Ice Cream: If your ice cream turns out too hard after freezing, let it sit at room temperature for a few minutes before scooping.
Conclusion: The Joy of Homemade Ice Cream
Making ice cream with your KitchenAid mixer is a simple and fun way to treat yourself, your family, and your friends. With a few ingredients and the right attachment, you can create endless flavors that are better than anything you’d buy at the store. Whether it’s a hot summer day or a cozy winter evening, homemade ice cream is a sweet treat that’s always worth the effort.
Ready to try making your own ice cream? Grab your KitchenAid mixer, freeze that bowl, and start churning your way to the best homemade ice cream you’ve ever had.
FAQs About Making Ice Cream with a KitchenAid Mixer
Can you make ice cream without the KitchenAid Ice Cream Attachment?
Yes, it’s possible to make ice cream without the attachment, but it requires more effort and may not result in the same creamy consistency. The KitchenAid attachment makes the process quicker and easier.
How long does it take to make ice cream with a KitchenAid mixer?
The churning process typically takes about 20-25 minutes. After that, you’ll need to freeze the ice cream for a few hours to firm it up.
What’s the best consistency for homemade ice cream?
For soft-serve ice cream, churn for a shorter time. If you prefer firmer ice cream, let it churn for longer, and then freeze it for a few hours.
Making ice cream with your KitchenAid mixer is not only fun but also a rewarding experience. By following these easy steps, you’ll be able to whip up batches of delicious homemade ice cream in no time. So, what are you waiting for? Get your KitchenAid mixer out, and start creating!


