Did you know that nearly 60% of coffee drinkers prefer their brew iced, even in winter? I stumbled onto vanilla sweet cream cold foam last summer when my usual coffee shop order got expensive. You’ve probably seen those gorgeous layered drinks on Instagram, with that thick, velvety foam sitting perfectly on top. Making it at home took me three tries to nail down the right consistency, but once I figured out the simple trick with just four ingredients, everything changed.
History
When Starbucks introduced their sweet cream cold foam in 2018, I remember thinking it was just another trendy coffee add-on that would disappear in a few months. Boy, was I wrong. The velvety topping became so popular that people started making it at home almost immediately, tweaking recipes to match that perfect cloud-like texture.
Before cold foam, we’d regular whipped cream that would either sink or melt too quickly on iced drinks. Cold foam solved that problem by staying suspended on top, creating those Instagram-worthy layers everyone loves.
The technique itself isn’t entirely new—baristas have been aerating milk for hot drinks for decades. What changed was figuring out how to make it work with cold ingredients, giving iced coffee the same luxurious treatment hot lattes always enjoyed.
Recipe
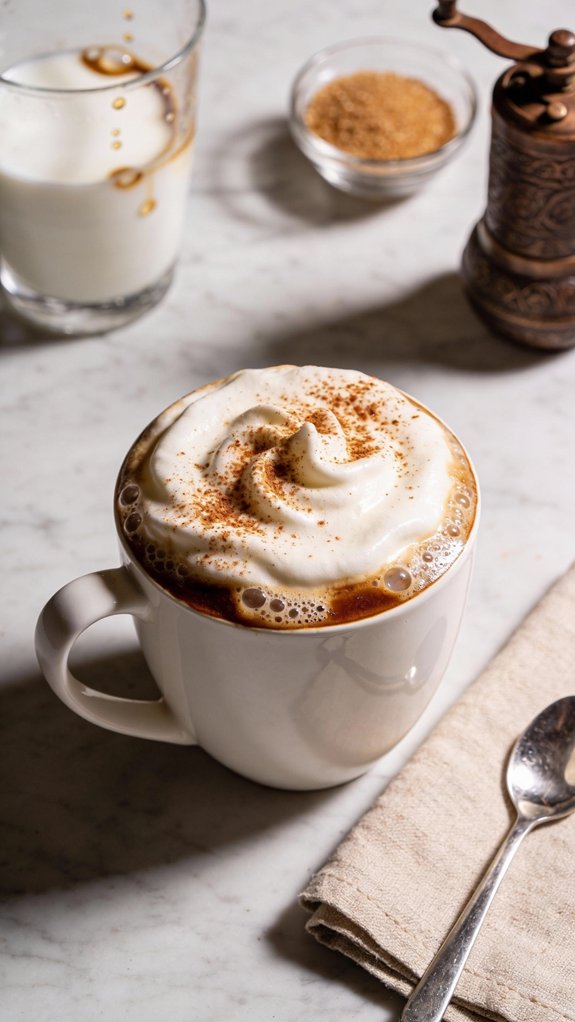
Vanilla sweet cream cold foam transforms any iced coffee into a luxurious café-style beverage with its silky, cloud-like texture and subtle sweetness.
This velvety topping sits beautifully atop cold brew or iced coffee, creating layers of creamy vanilla flavor that blend into each sip. The foam adds a sophisticated touch without overpowering the coffee’s natural taste, making it perfect for those who enjoy a hint of sweetness and richness.
This cold foam topping is ideal for warm afternoons, morning pick-me-ups, or anytime you want to elevate your at-home coffee experience.
The light, airy texture provides the indulgence of a specialty drink while keeping things invigoratingly simple. It’s become a staple for iced coffee enthusiasts who appreciate that perfect balance between coffee and cream.
Shop Related Products
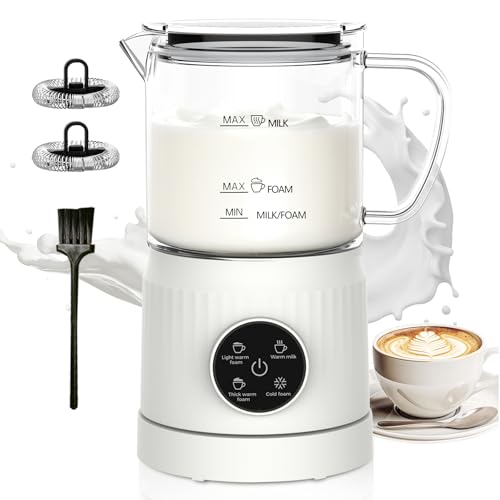
WORKS WITH WHOLE MILK: Designed for whole milk to create foam for lattes, cappuccinos, macchiatos, matcha, and iced coffee drinks

CREAMY FROTH IN SECONDS: Featuring a powerful high-speed motor and an upgraded double-spring whisk head, this milk frother handheld creates thicker, creamier foam in as little as 20 seconds. Perfect for lattes, cappuccinos, matcha, hot chocolate, and all your favorite drinks
MAKE LATTES, CAPPUCCINOS, AND MORE: Whips milk and dairy alternatives into a light, silky froth to make specialty coffee beverages in seconds.
Ingredients
- 2 tablespoons heavy cream
- 2 tablespoons whole milk
- 1/4 teaspoon vanilla extract
- 1/2 tablespoon powdered sugar
- Cold brew or iced coffee (for serving)
- Ice
Shop Related Products

Perfect Combination Of Milk Frothing Pitcher And Latte Art Pen: The milk frother jug can be used in different ways: froth or steam milk for lattes; measure liquids; serve milk or cream. Featured with a latte art pen which can shape kinds of beautiful coffee pattern. Perfect for making frothing or steaming milk for espresso, cappuccino or hot chocolate. Be your own barista in home and office.

TOP QUALITY - The frother pitcher is made of #304 stainless steel with non-stick teflon coating, ust-proof, stain-proof and crash-proof, unbreakable for daily use. Dishwasher-safe & easy to clean with soapy water.

Preparation Steps
- Combine the heavy cream, whole milk, vanilla extract, and powdered sugar in a French press, milk frother, or small jar with a lid.
- If using a French press or handheld frother, froth vigorously for 30-45 seconds until the mixture doubles in volume and becomes thick and foamy.
- If using a jar, seal the lid tightly and shake vigorously for 45-60 seconds until foam forms.
- Fill a glass with ice and pour in your cold brew or iced coffee.
- Gently spoon or pour the cold foam over the top of the coffee, allowing it to float on the surface.
Tips
For a dairy-free version, substitute the heavy cream and whole milk with equal parts full-fat coconut cream and oat milk, though the foam may be slightly less stable.
Adjust sweetness by adding more or less powdered sugar, or swap it for maple syrup or honey for a different flavor profile.
The mixture froths best when all ingredients are cold, so refrigerate them beforehand for best results.
You can make a larger batch and store it in the refrigerator for up to 3 days, though you’ll need to re-froth it before each use as the foam will settle.
Preparation Steps
Making vanilla sweet cream cold foam is surprisingly simple once you’ve got your cold ingredients ready to go.
I remember the first time I tried making it at home, thinking it would be complicated like those fancy café drinks, but honestly it just takes about a minute of frothing.
You’ll combine everything in whatever frothing tool you have—French press, handheld frother, or even just a jar with a tight lid—then watch as it transforms into that signature airy, cloud-like topping.
Step 1. Gather All Cold Ingredients

Success with cold foam starts with temperature.
You’ll want everything properly chilled before you begin. I learned this the hard way when my first attempt turned into a lukewarm mess that wouldn’t foam properly.
Take out your heavy cream, whole milk, and even the vanilla extract if you keep it refrigerated. Let them sit together on the counter while you fill a glass with ice and pour your cold brew.
The powdered sugar can stay at room temperature—that’s fine. If you’re really committed, I’ve chilled my French press or frother cup in the freezer for ten minutes beforehand. It makes a noticeable difference in how quickly the foam develops and how stable it remains.
Step 2. Combine Ingredients in Container
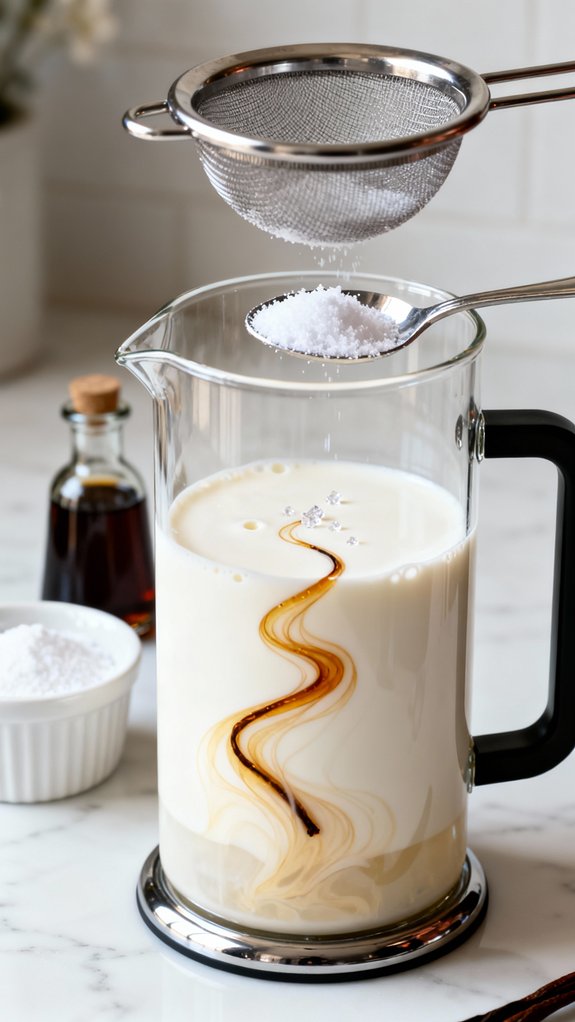
Once everything’s cold, grab your French press, milk frother, or jar—whatever you’ve decided to use.
I usually reach for my French press since it’s already sitting on the counter from this morning’s coffee.
Pour in 2 tablespoons of heavy cream first, then add 2 tablespoons of whole milk right on top.
The liquids should look pretty thin and unimpressive at this point, which is normal.
Next comes 1/4 teaspoon of vanilla extract—I just eyeball it honestly, letting a few drops fall in.
Finally, add 1/2 tablespoon of powdered sugar.
You’ll see it float on the surface before slowly dissolving.
Don’t stir anything yet.
The magic happens in the frothing step, where these simple ingredients transform completely.
Step 3. Froth Until Mixture Doubles
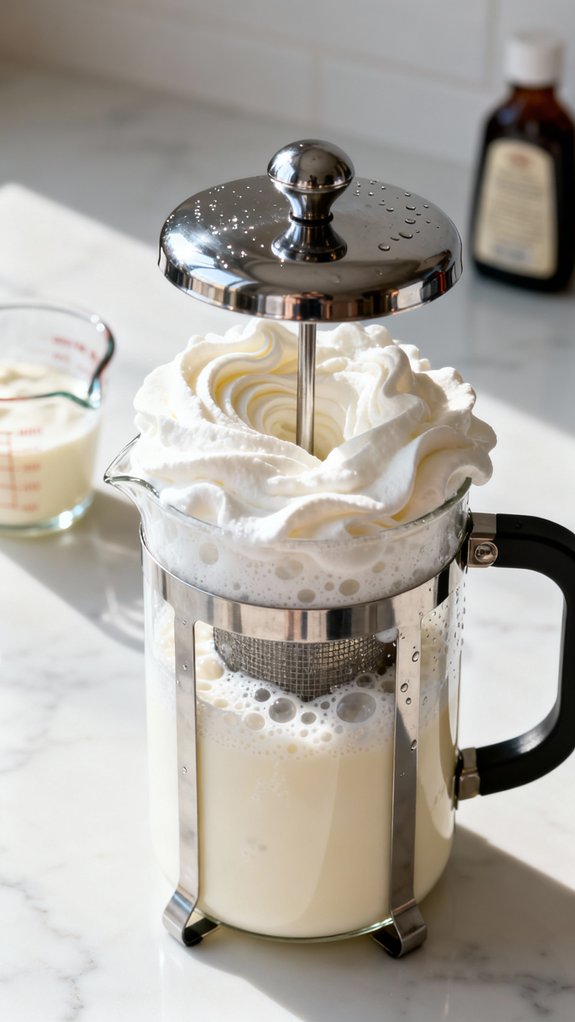
Now comes the fun part where you actually see the transformation happen right before your eyes.
Start frothing your mixture with quick, vigorous motions if you’re using a French press or handheld frother. You’ll notice bubbles forming almost immediately, and the liquid will start climbing up the sides of your container.
Keep going for about 30 to 45 seconds without stopping. The mixture should roughly double in size and take on this thick, pillowy texture that’s completely different from where you started.
If you’re using a jar instead, shake it hard and fast for closer to 60 seconds. Your arm might get a little tired, but that’s how you know you’re doing it right.
Step 4. Pour Coffee Over Ice

Grab your favorite glass and fill it about three-quarters of the way with ice cubes. I like using a clear glass so you can see those beautiful layers forming, but any cup works fine.
Pour your cold brew or iced coffee directly over the ice, leaving about an inch of space at the top for the foam. This gap is important because you don’t want your coffee overflowing when you add that fluffy topping.
The cold coffee hitting the ice creates this satisfying crackling sound, and you’ll notice little wisps of condensation forming on the outside of the glass. That’s when you know everything’s perfectly chilled and ready for its crowning moment.
Step 5. Top With Sweet Foam
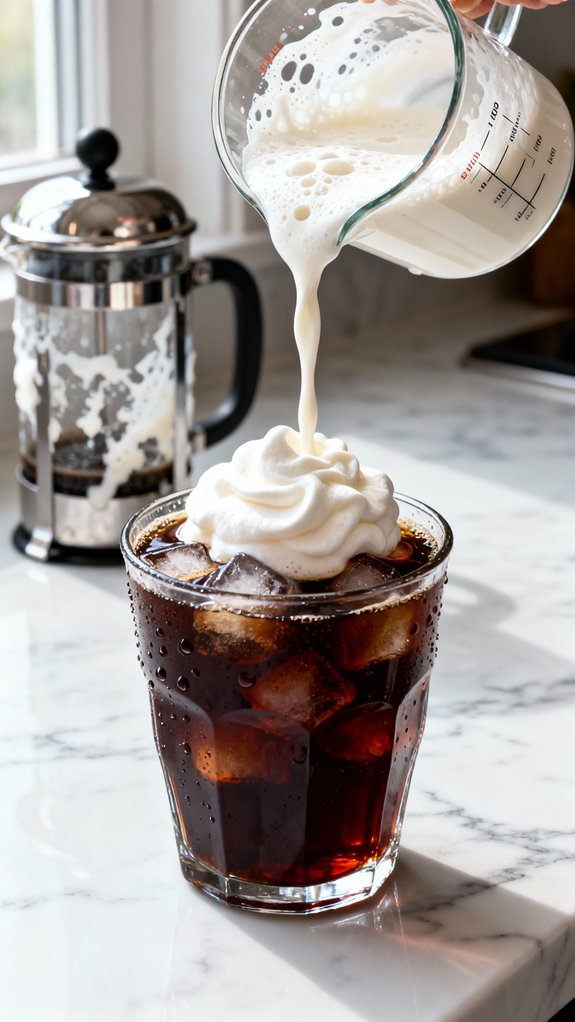
With your coffee poured and waiting, the foam deserves a moment of care before it lands on top.
You’ll want to work gently here. I usually hold my spoon just above the coffee’s surface and pour the foam slowly onto the back of it. This helps the foam spread evenly instead of sinking straight through.
If you’ve gotten a good froth going, it’ll float naturally, creating those Instagram-worthy layers everyone loves.
Don’t worry if some foam mixes in with the coffee—that’s actually part of the charm. The first sip always gets a little foam, a little coffee, and that hint of vanilla all at once.
It’s what makes the whole thing worth it.
Final Thoughts
Since mastering this vanilla sweet cream cold foam, I’ve saved myself countless trips to the coffee shop while still enjoying that same café-quality experience right at home.
The recipe takes maybe two minutes once you’ve got the rhythm down, and I keep the ingredients stocked in my fridge year-round.
I’ve started making it for guests too, and they’re always surprised when I tell them how simple it is.
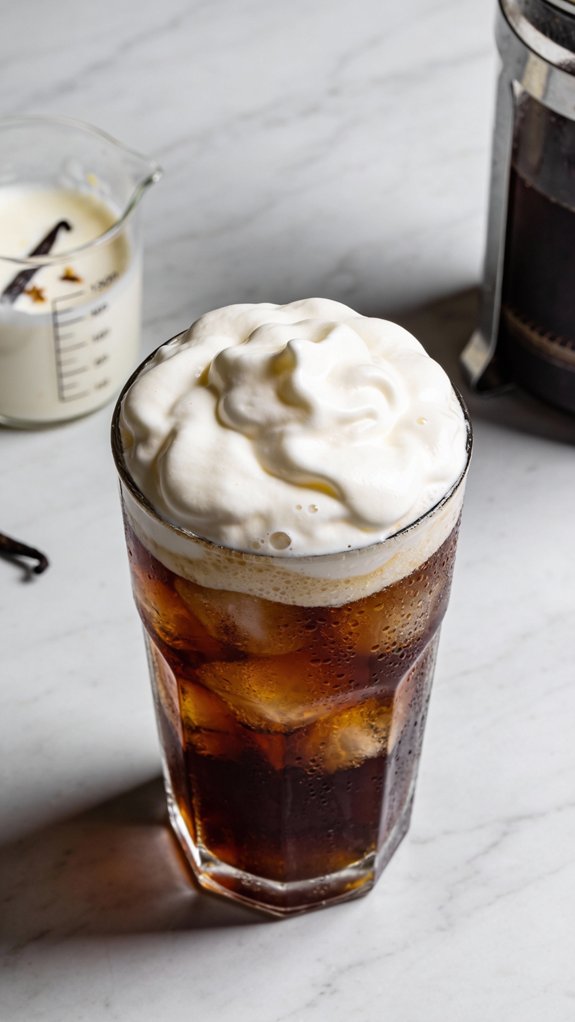
The foam looks impressive floating on top of dark cold brew, creating those Instagram-worthy layers without any fuss.
Whether you’re a daily coffee drinker or just want something special on weekends, this sweet cream addition makes every glass feel like a treat worth savoring.
Frequently Asked Questions
Can I Use Skim Milk or Low-Fat Milk Instead of Whole Milk?
You can use skim or low-fat milk, but your foam won’t be as thick or stable since lower-fat milk produces less creamy foam. You’ll get better results if you increase the heavy cream proportion slightly.
How Long Does Cold Foam Stay Fluffy After Adding to Coffee?
You’ll notice your cold foam stays fluffy for about 15-20 minutes after pouring it over iced coffee. The foam gradually settles and blends into your drink, but it’ll maintain that signature creamy texture throughout your coffee experience.
What’s the Best Milk Frother to Use for Cold Foam?
You’ll get the best results with a handheld milk frother or French press for cold foam. Both create excellent texture and volume. Electric frothers with cold settings work well too, though manual options give you more control.
Can I Add Different Flavors Like Caramel or Cinnamon to the Foam?
You can absolutely add different flavors! Simply stir in caramel sauce, cinnamon, cocoa powder, or flavored syrups before frothing. Start with small amounts and adjust to taste for your perfect customized foam.
Does Cold Foam Work on Hot Coffee or Only Iced Drinks?
Ironically, “cold” foam isn’t ideal for hot coffee—the heat quickly dissolves that airy texture you’ve worked to create. You’ll want to stick with iced drinks where the foam maintains its signature cloud-like consistency and visual appeal.